This documentation is for developers who want to host Silex themselves. Users don't need to install Silex CMS because it is installed on v3.silex.me.
You may be looking for the user guide for Silex CMS which explains how to use this feature on v3.silex.me directly
Silex CMS uses GraphQL, 11ty static site generator and Gitlab pages. This feature bridges the gap between no-code and the JAMStack composable architecture.
Silex CMS is a Silex plugin you need to configure to work with Silex. Here is the plugin source code and here is the code behind v3.silex.me which configure Silex CMS for the public instance hosted for free by Silex Labs organisation.
Silex CMS integrates any GraphQL API and lets uers design on real data. When the user publishes the website it will generate 11ty.dev pages and data files to query the API at build time.
11ty versions > 3 is required
Silex CMS feature request is here, updated with the latest development status
This page will explain to developers how to do the following:
- Configure Silex with the CMS plugin
- Configure 11ty.dev
- Optional: host Silex + 11ty + a headless CMS online
- Optional: handle user authentication and offer a real SaaS experience to your users
Alternatively you can run this project instead which has the strapi integration ready
¶ Run Silex
Requirements: nodejs 18+
There are multiple ways to run Silex on your local computer. We start with this simple command:
npx @silexlabs/silex
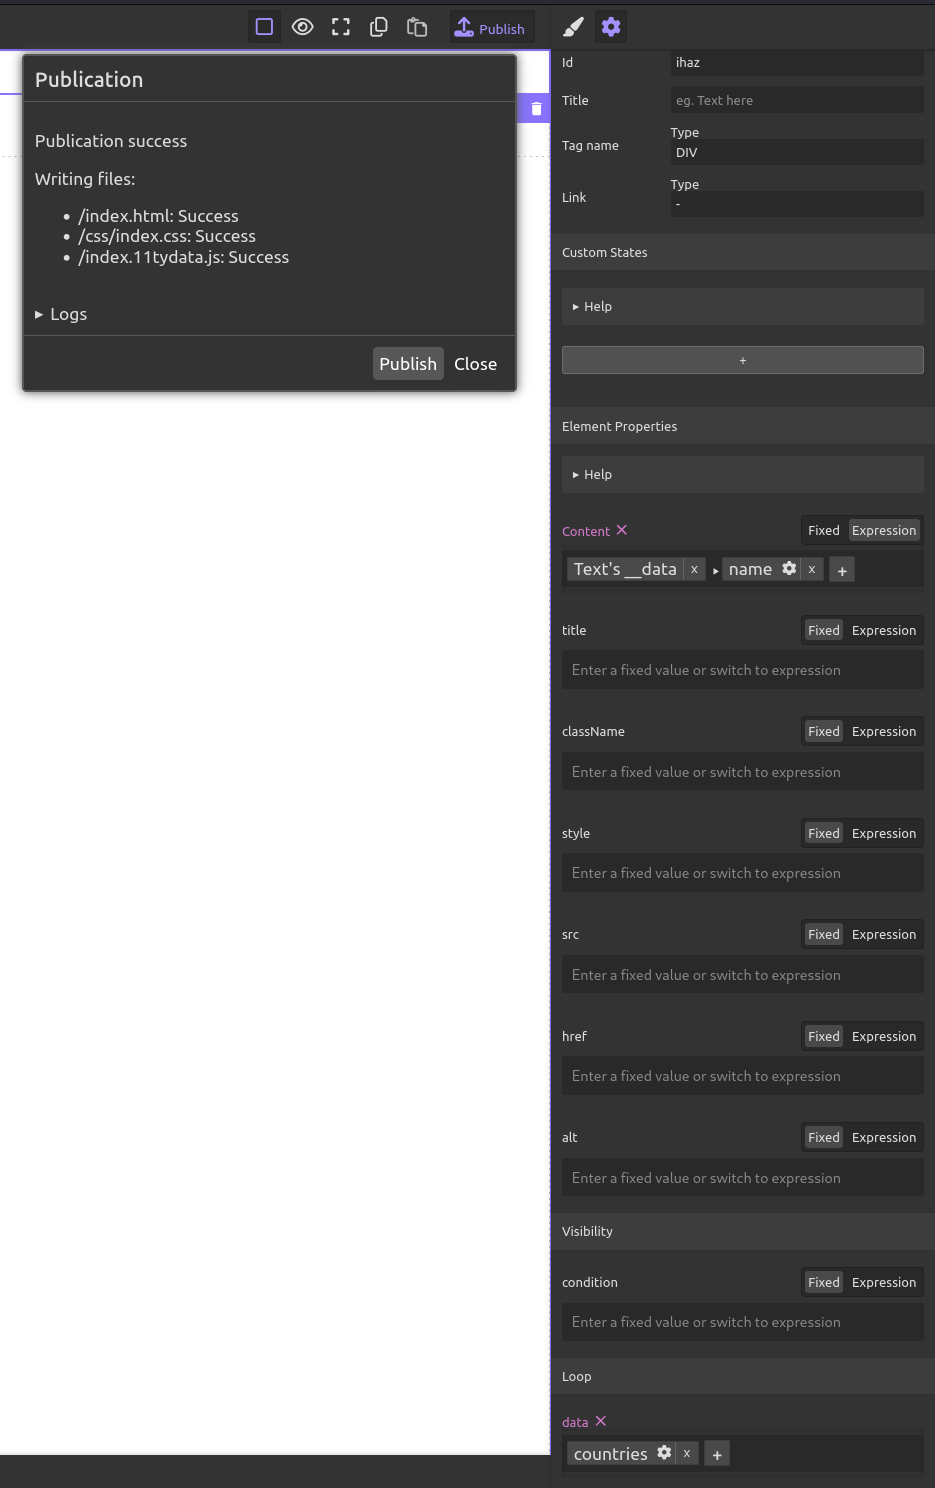
Then open http://localhost:6805 and check that Silex works correctly. Also publish the website to be sure everything is functional.
You will notice that Silex has saved the website in ./silex/storage/ and published the website to ./silex/hosting/
$ tree
.
└── silex
    ├── hosting
    │   ├── assets
    │   ├── css
    │   │   └── index.css
    │   └── index.html
    └── storage
        └── default
            ├── assets
            ├── meta.json
            └── website.json
¶ Silex CMS plugin: the 11ty integration
Here is the plugin which brings the CMS feature to Silex: Silex CMS plugin
It makes Silex publish an 11ty website, which builds your site with both Silex pages and your CMS data.
Create a config file for Silex, let's call it ./silex/client.js and add this config to it:
// silex/client.js
import cms from 'https://unpkg.com/@silexlabs/silex-cms/dist/client.js'

export default function(config, options) {
  config.addPlugin(cms)
}
Check Silex CMS options in the plugin readme
Read more about Silex config files (client and server side)
Read more about Silex + 11ty
Now open Silex again on http://localhost:6805/
¶ Run 11ty
Similarily there are multiple ways to run 11ty on your local computer
Open a new terminal and run
npx @11ty/eleventy --serve
This will build the website to ./_site and watch for a change to keep the site up to date on http://localhost:8080 - keep a browser tab open.
Here are the files that we have now:
$ tree
.
├── silex
│   ├── hosting
│   │   ├── assets
│   │   ├── css
│   │   │   └── index.css
│   │   └── index.html
│   └── storage
│       └── default
│           ├── assets
│           ├── meta.json
│           └── website.json
└── _site
    └── silex
        └── hosting
            └── index.html
¶ Build your first static site with dynamic data
Build an 11ty site with Silex: Follow the getting started with Silex CMS guide
You should end-up with a site like this:

Which you can see on http://localhost:8080
Here are the files you should have:
$ tree -I node_modules
.
├── package.json
├── package-lock.json
├── silex
│   ├── client.js
│   ├── hosting
│   │   ├── assets
│   │   ├── css
│   │   │   └── index.css
│   │   ├── index.11tydata.js
│   │   └── index.html
│   ├── server.js
│   └── storage
│       └── default
│           ├── assets
│           ├── meta.json
│           └── website.json
└── _site
    └── index.html
¶ Online and possibly mutli-user, multi-websites
You can host Silex online and 11ty too and have your personal Webfow/Elementor/...
Here is the config I use to deploy the official v3.silex.me instance. It lets users login and store their websites with FTP and gitlab.
You may also be interested in the grapesjs-directus-storage plugin to authenticate your users with directus. Check out the example config and plugins.