This guide starts where the previous guide left us, with a text field. We removed all the styles applyed to this text field and we will show you how to use best web design practices in Silex: we will style the elements with reusable CSS classes. The classes should be named following the BEM convention for an easier to maintain website.
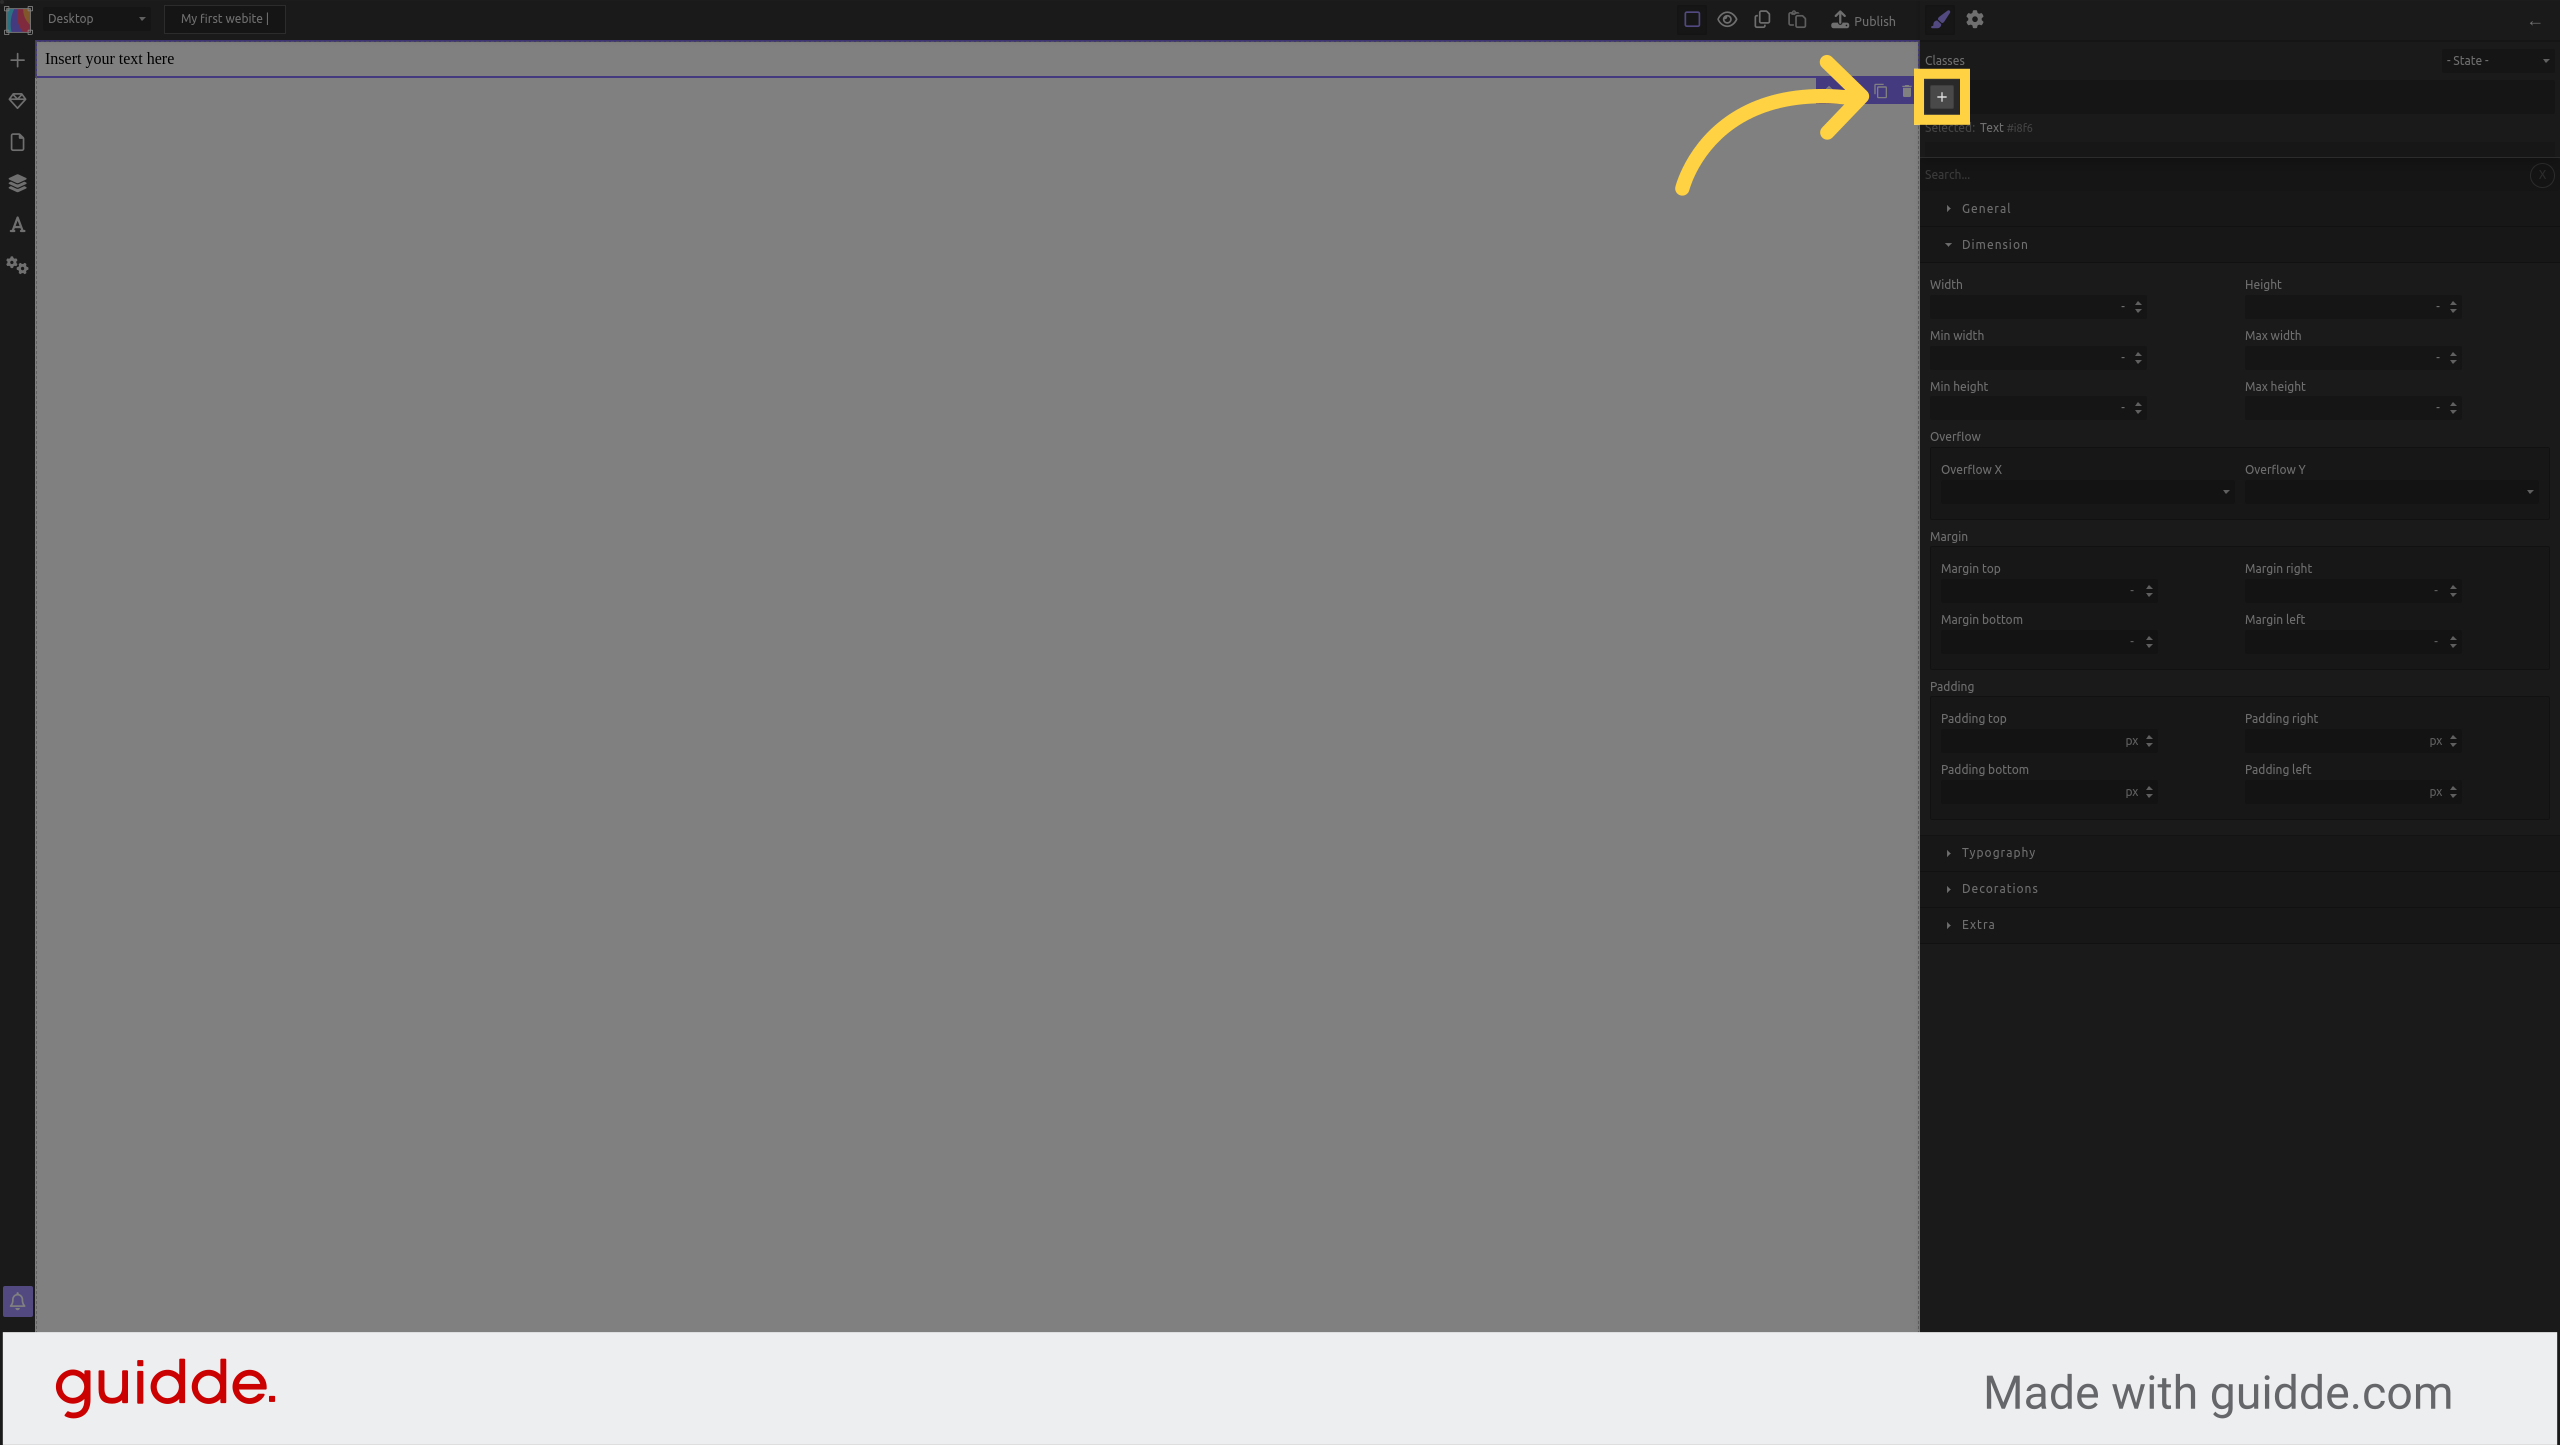
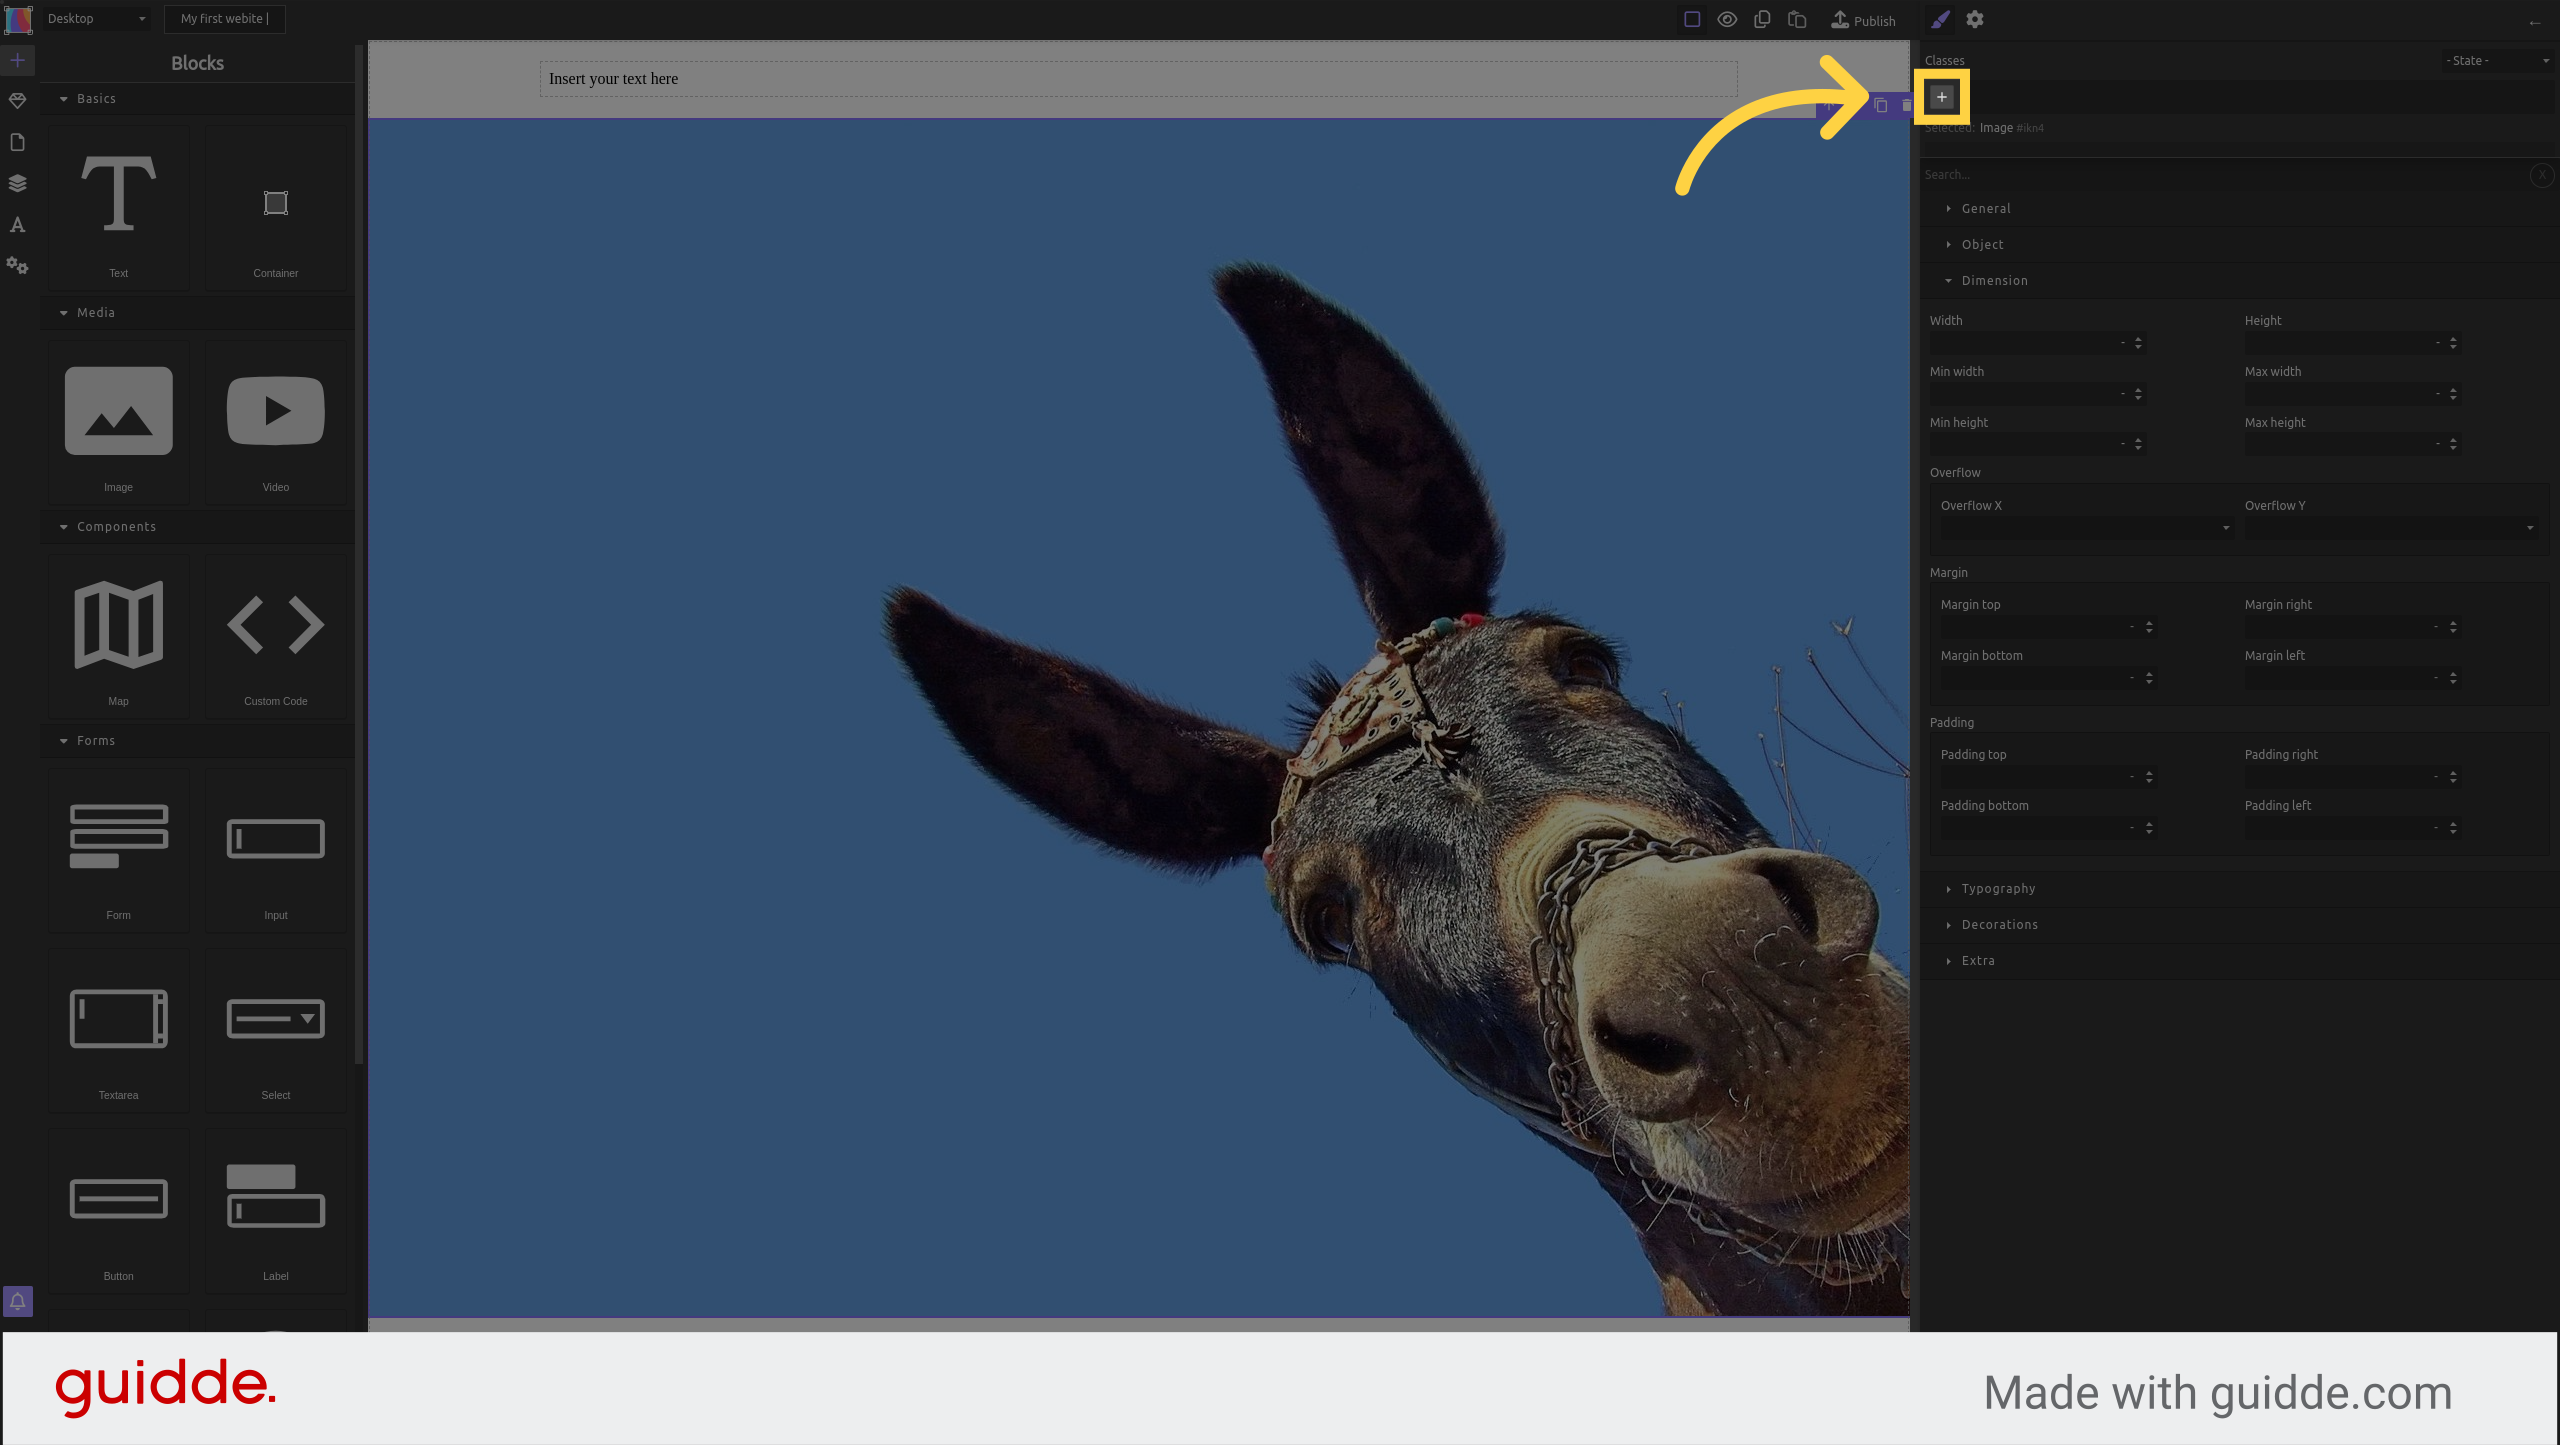
¶ A new CSS class
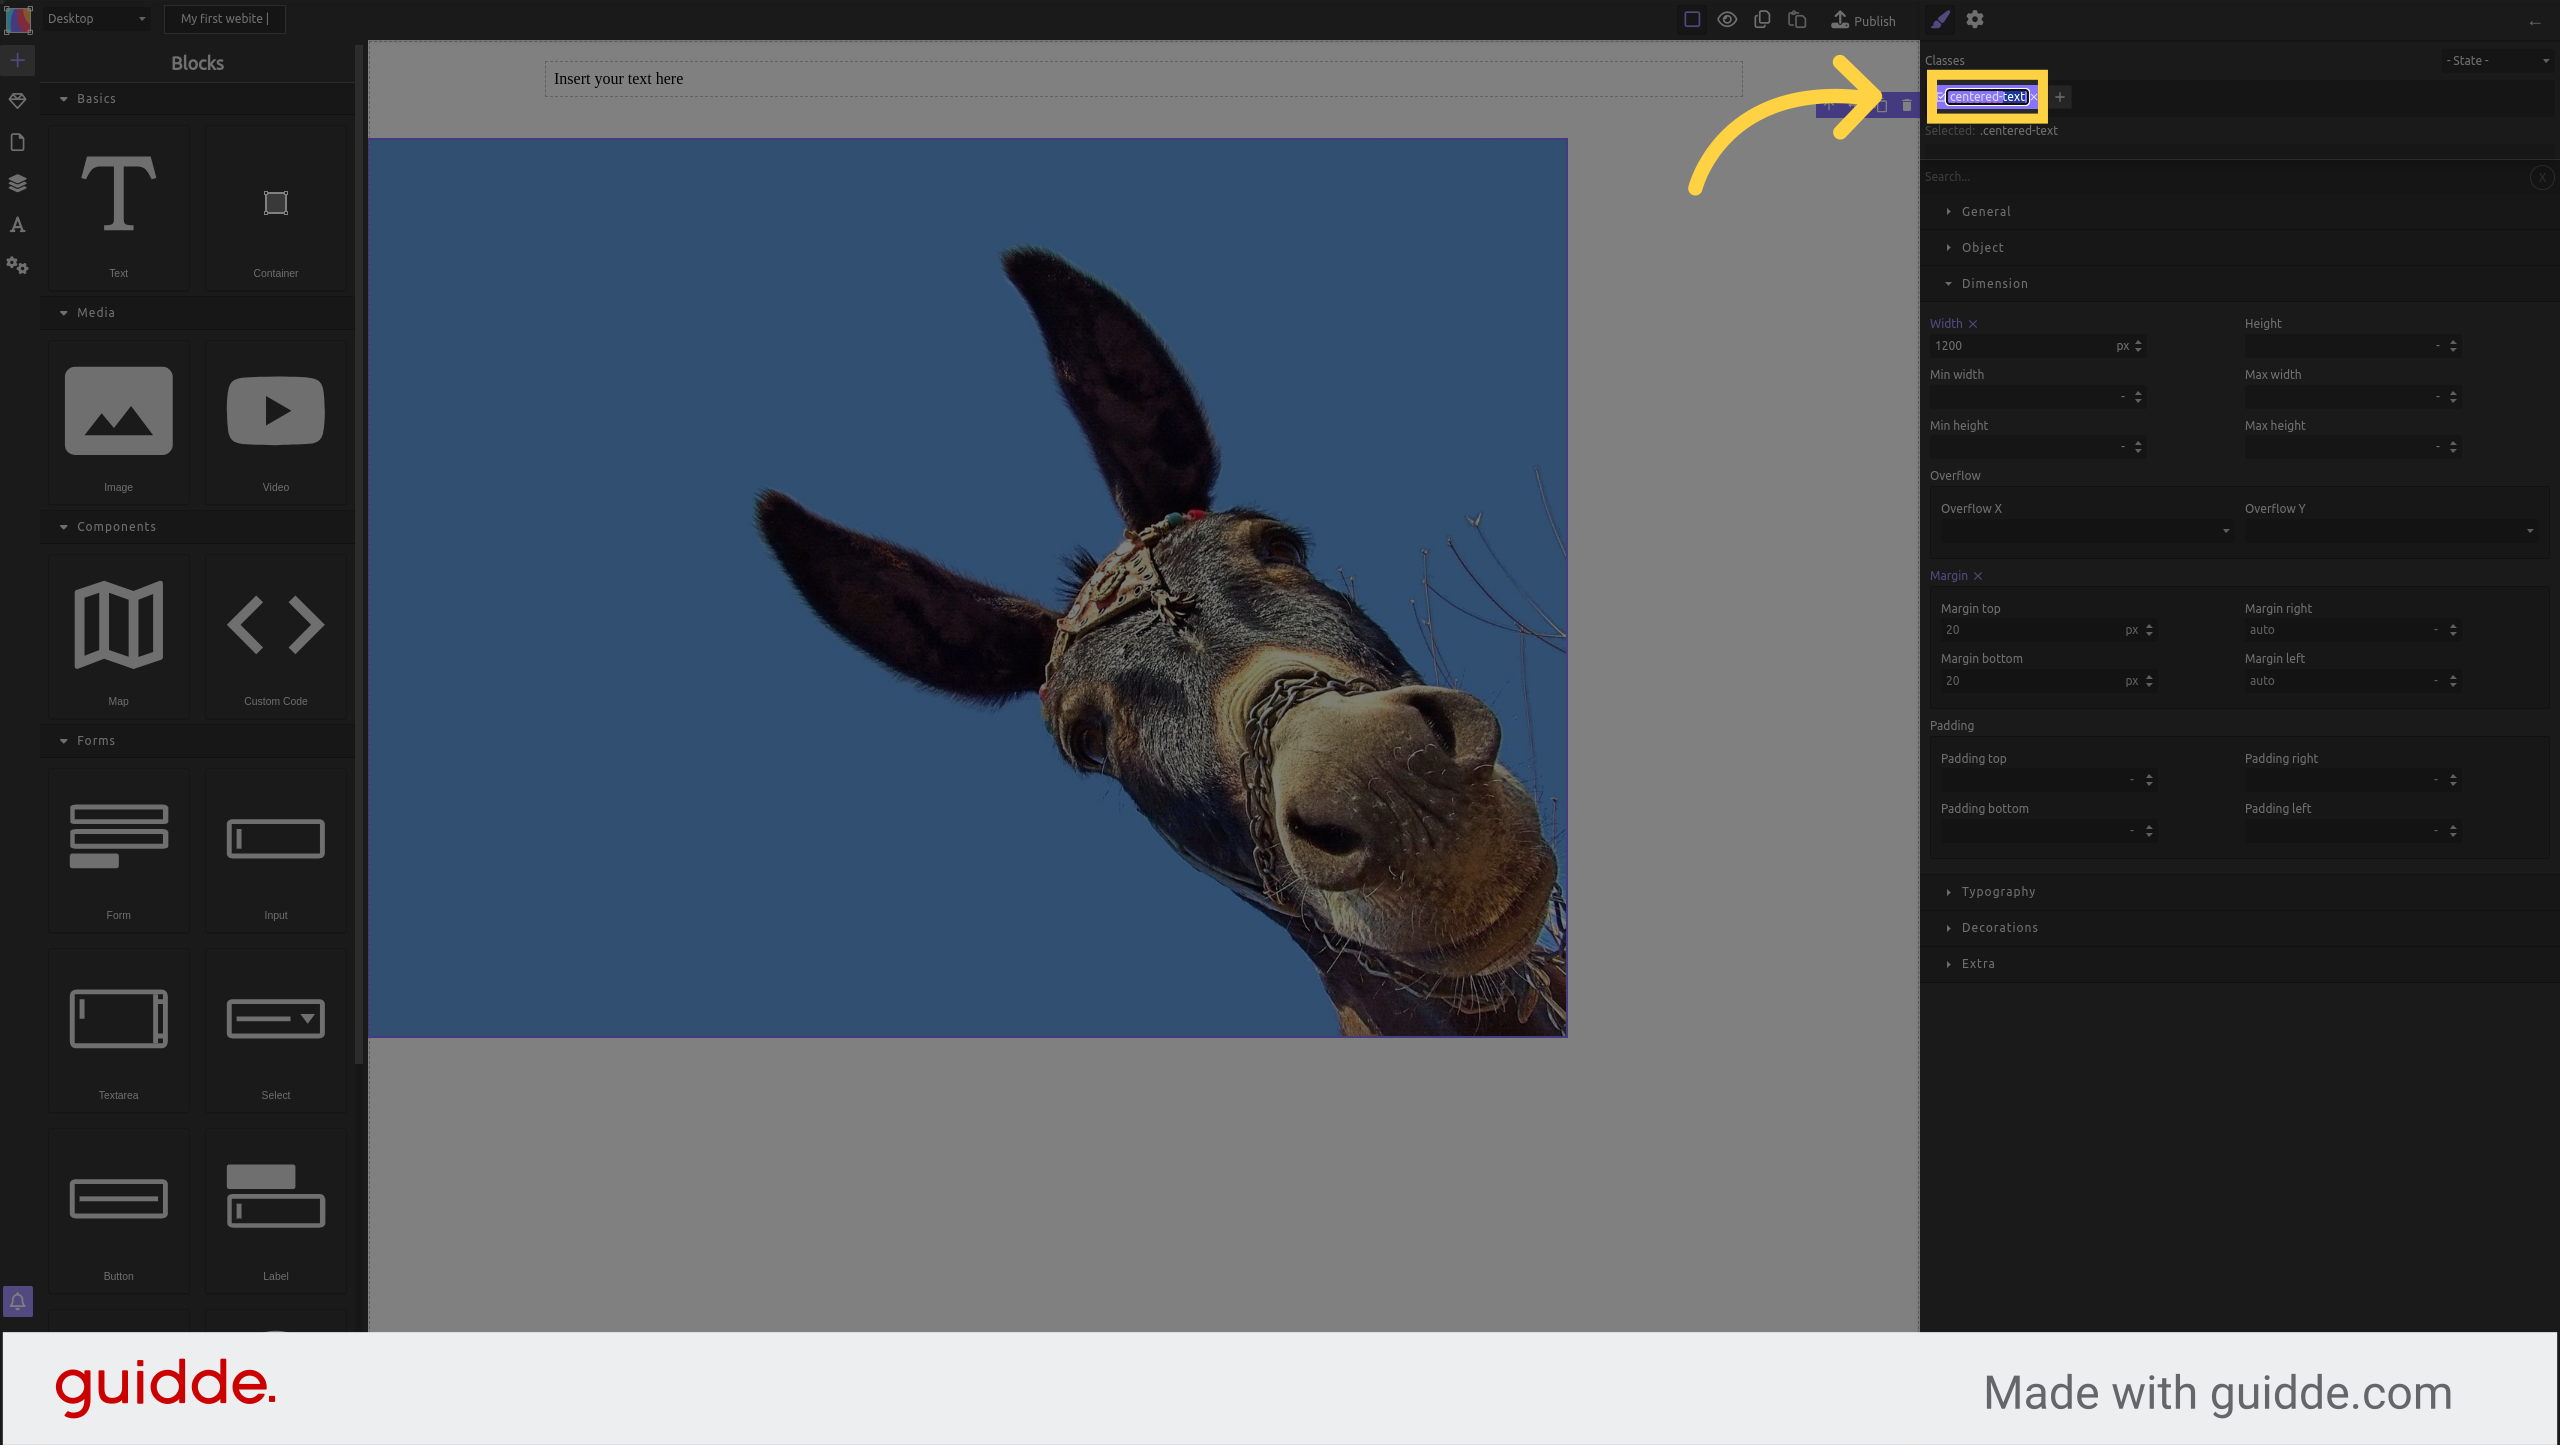
Click the "+" to add a new CSS class
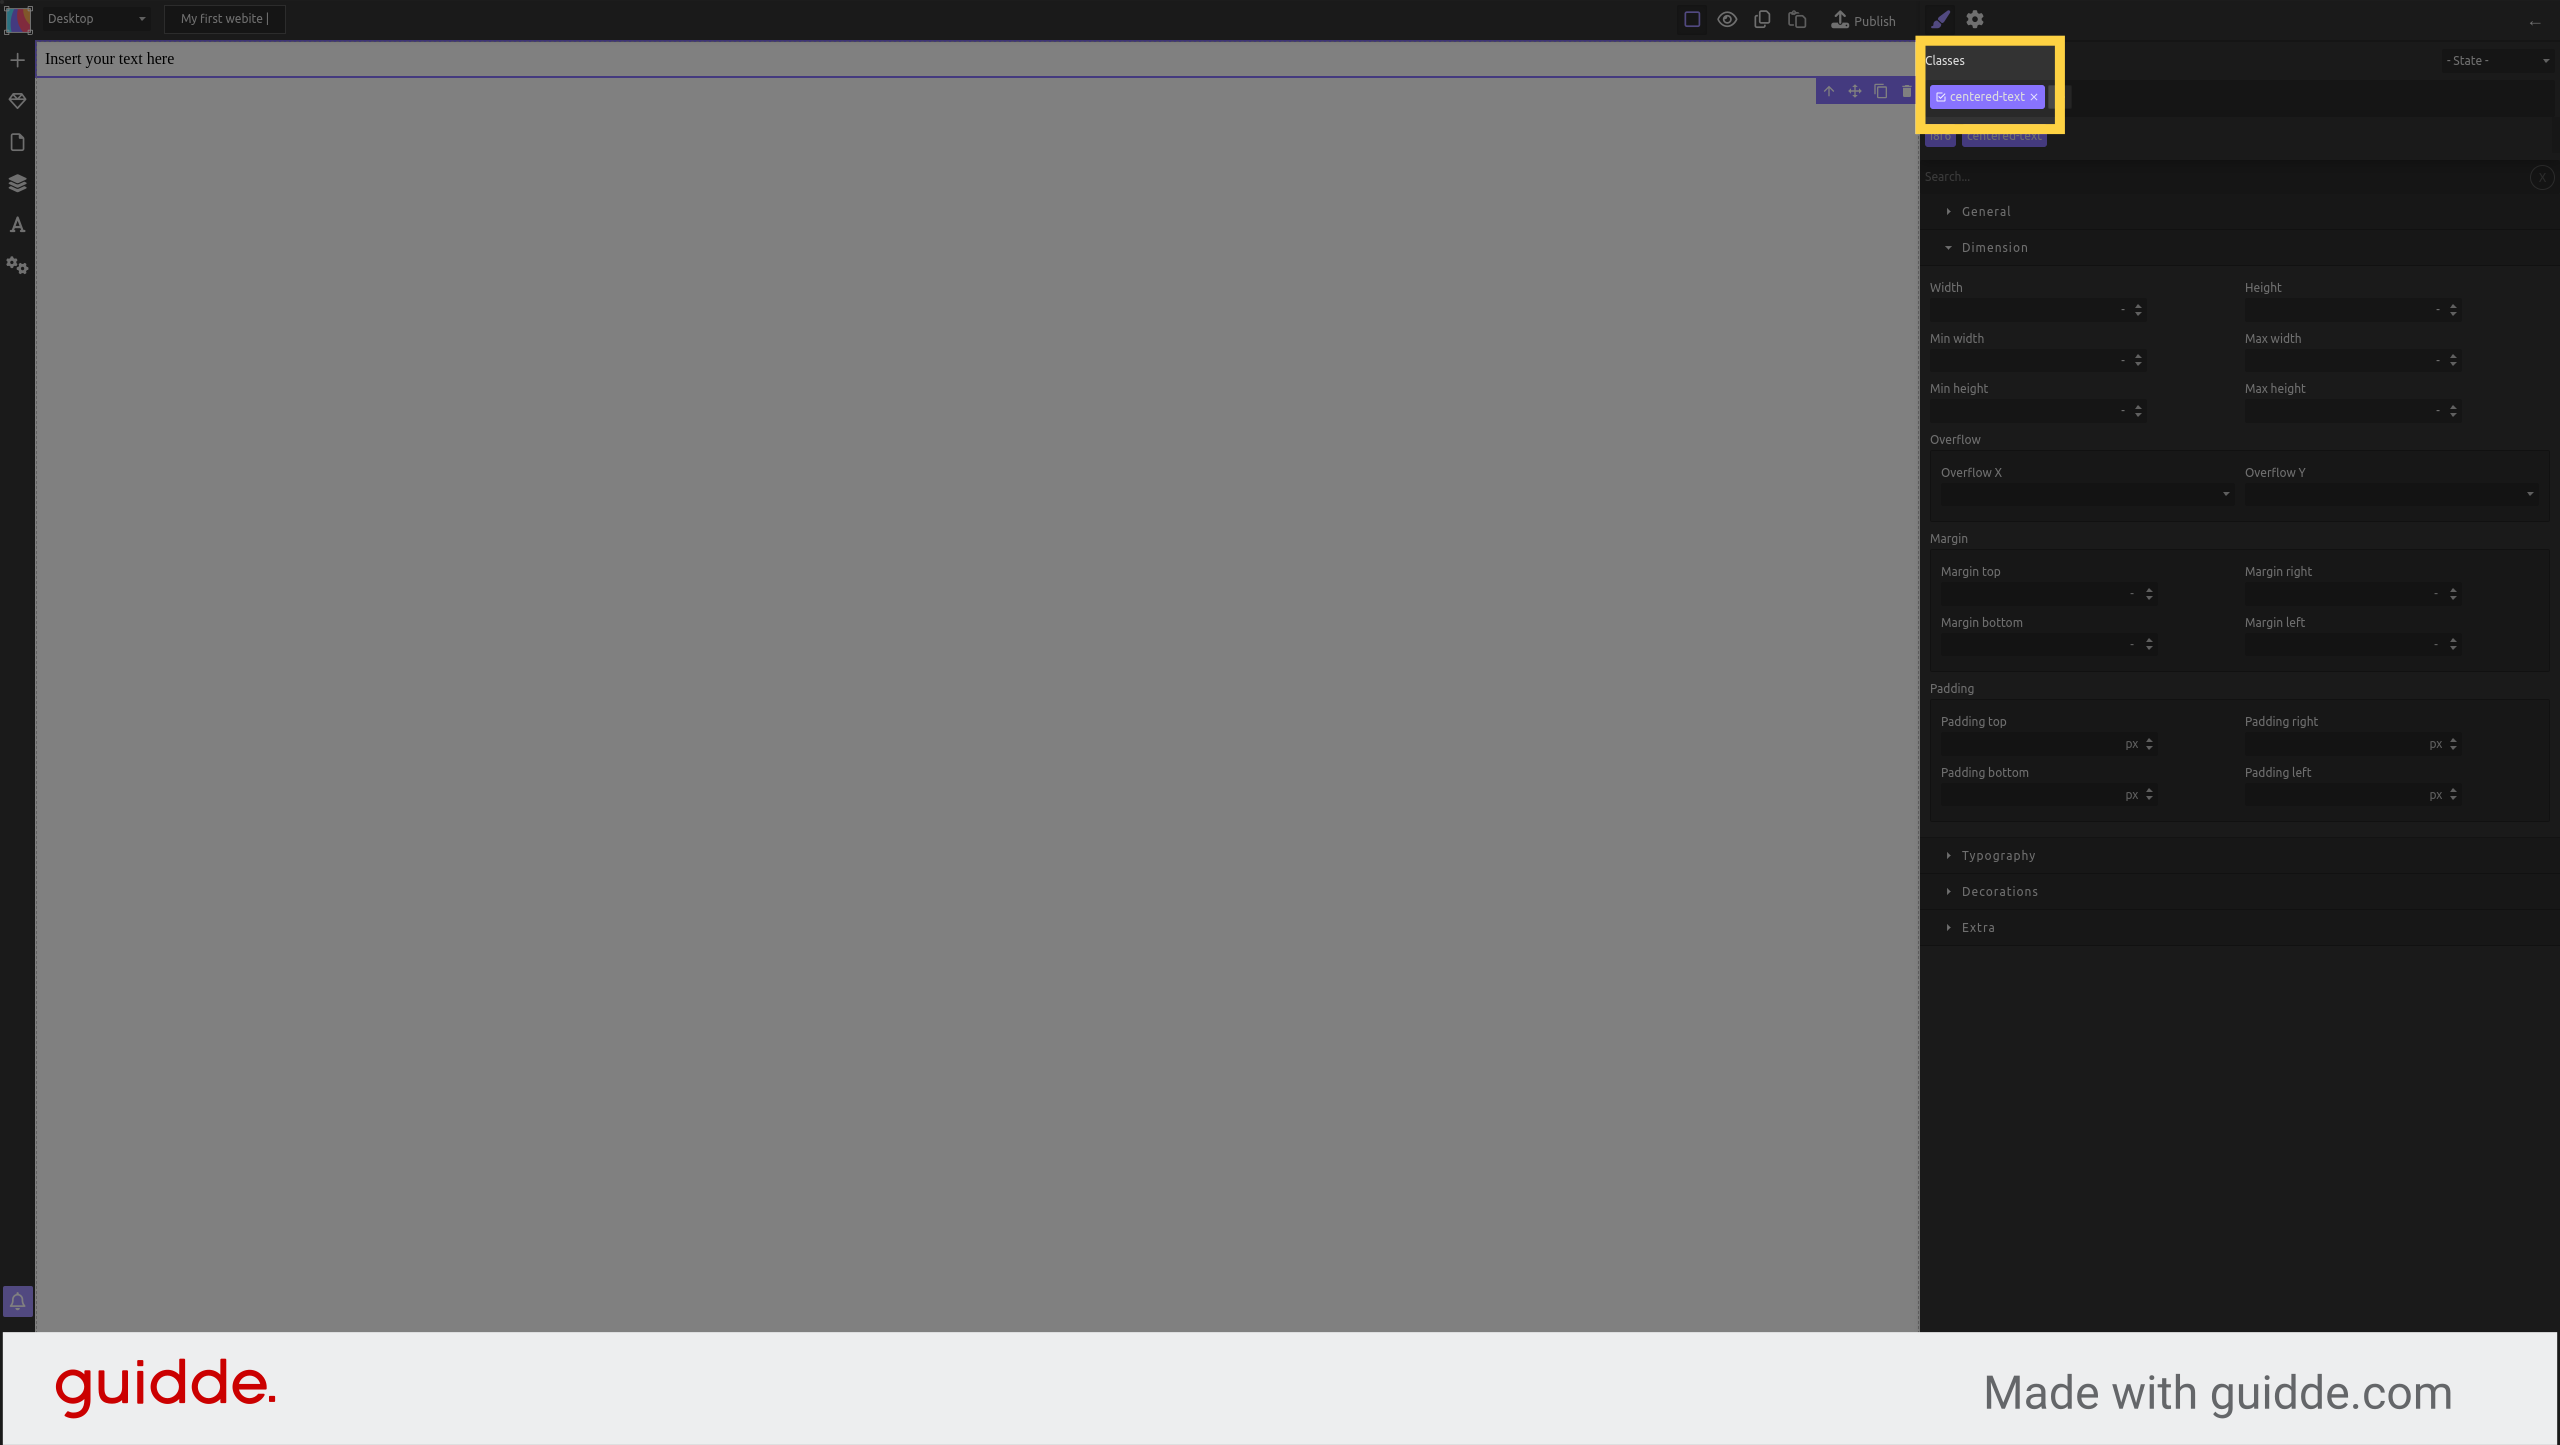
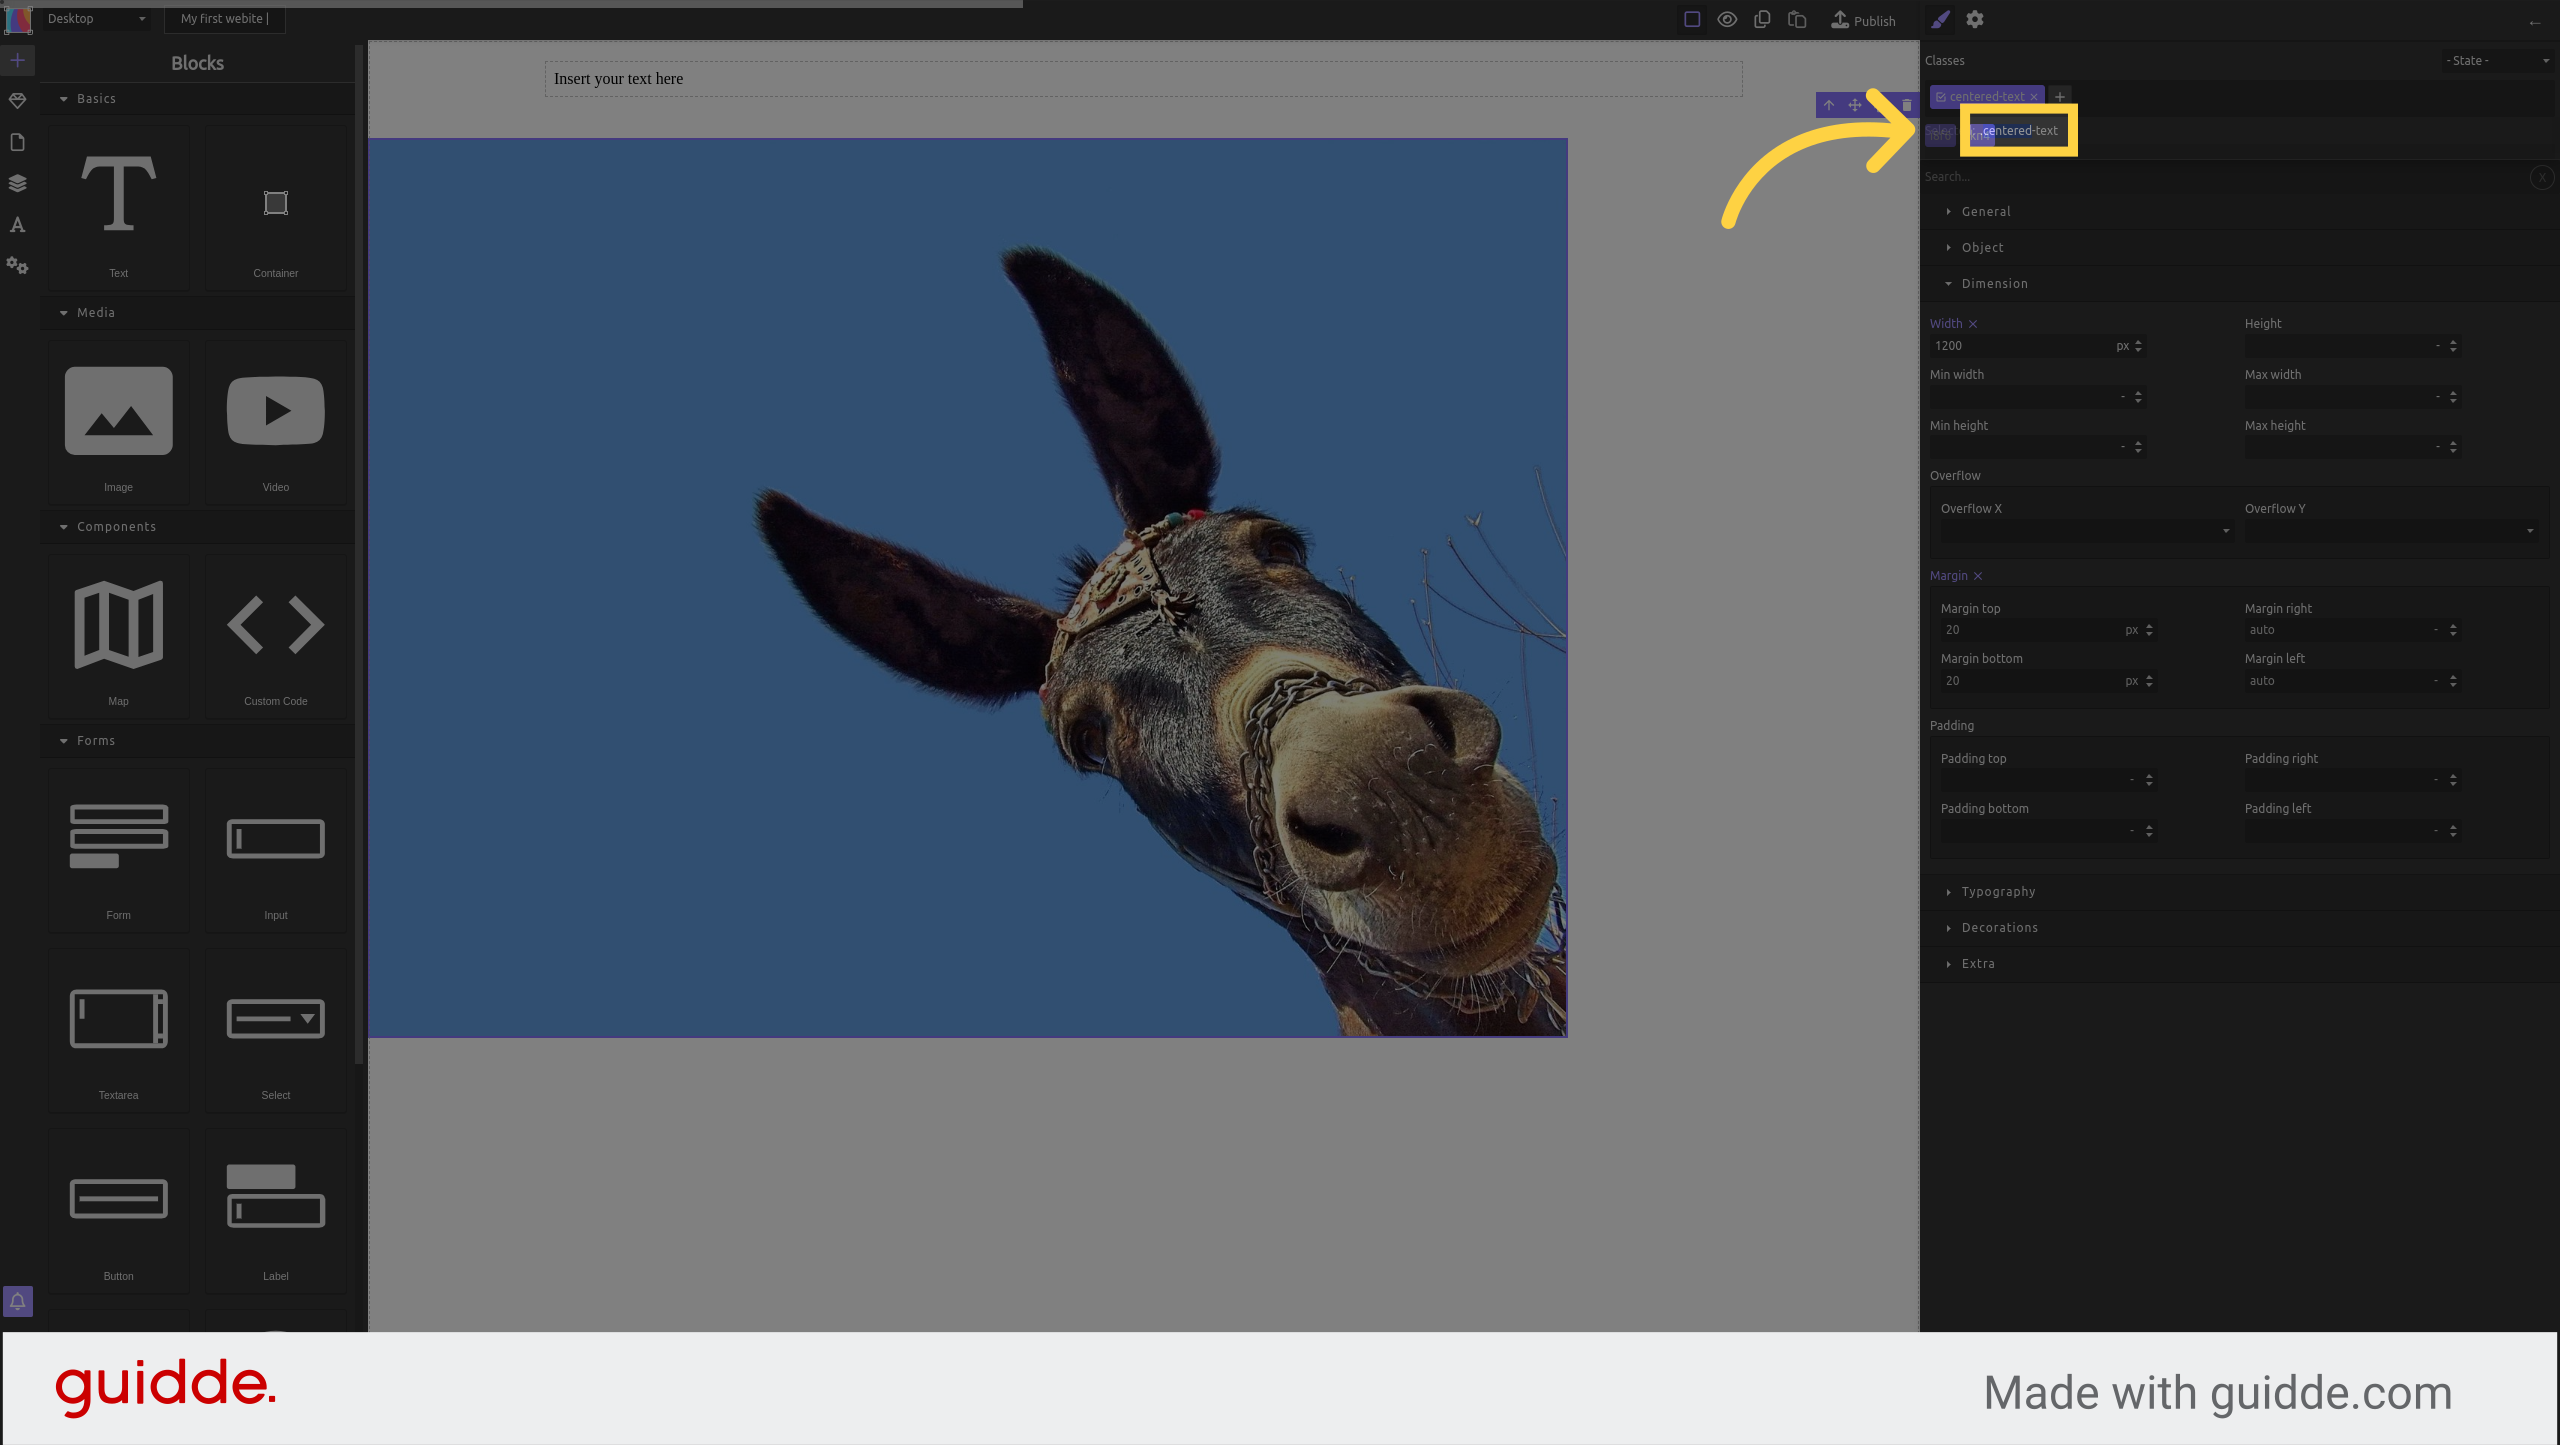
Type a class name: "centered-text"
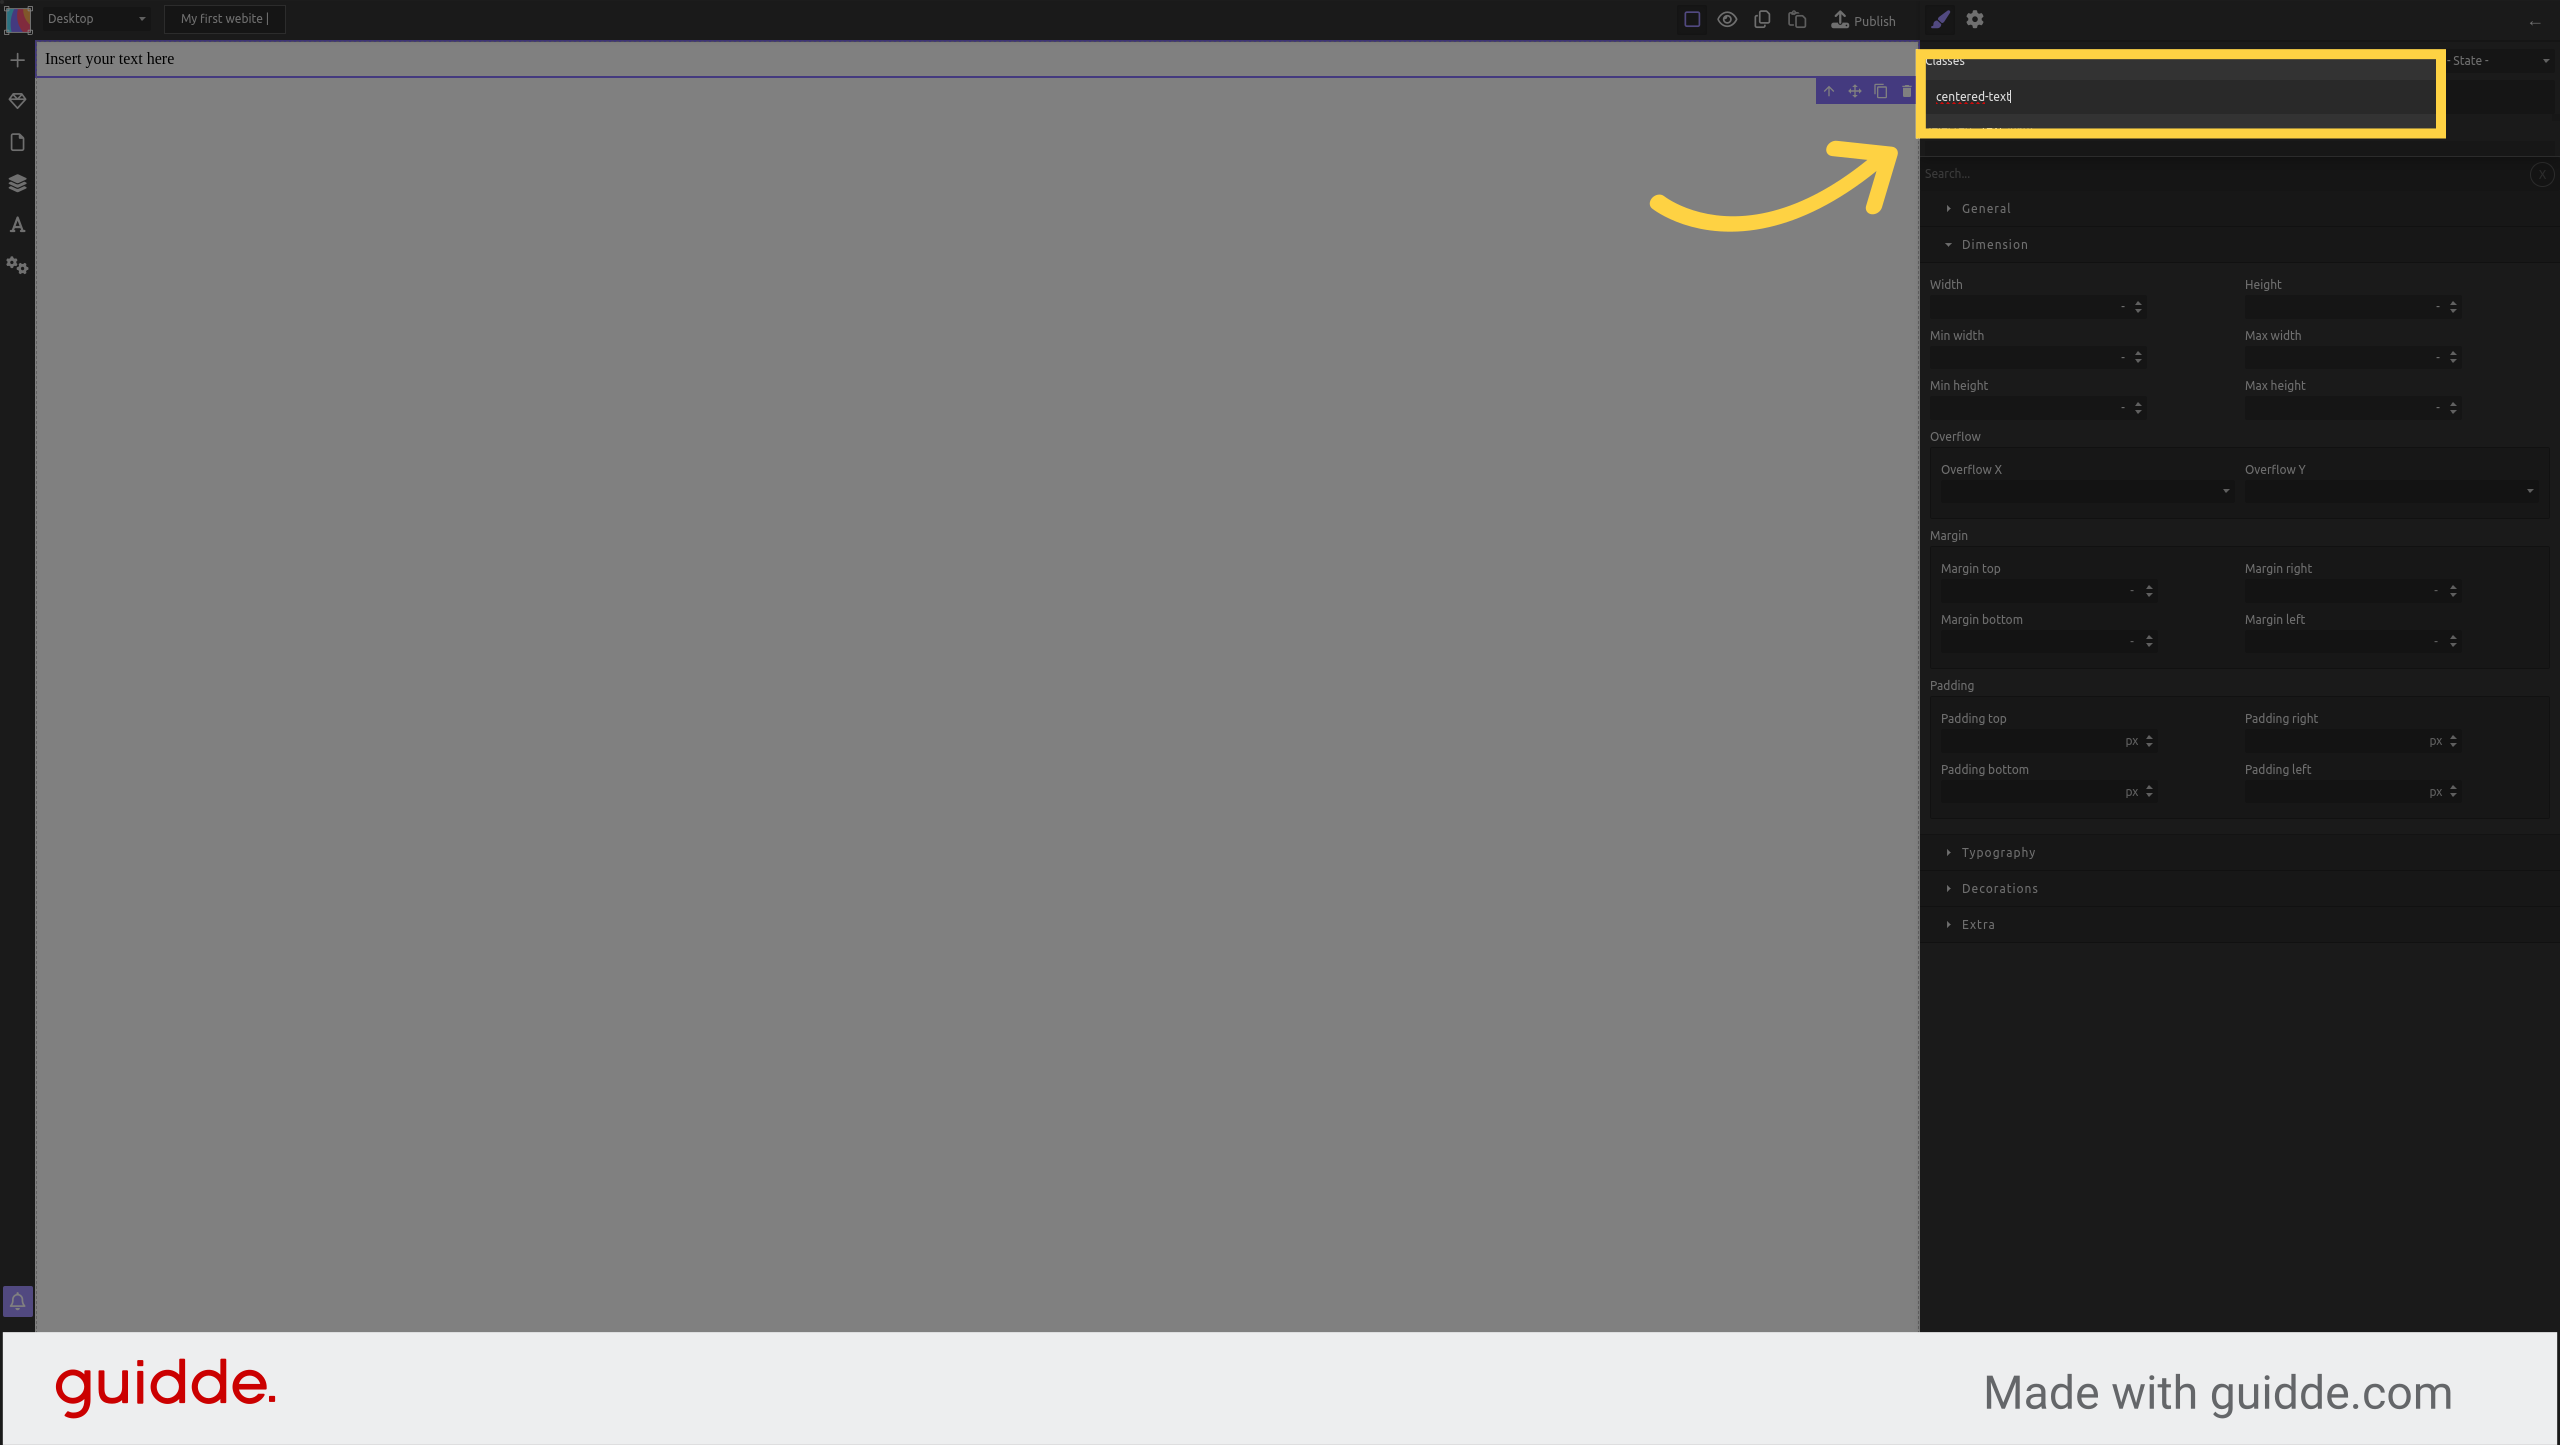
Press enter to create the new class
¶ Edit the styles
Set the width to 1200px

Set the margins top and bottom to 20px
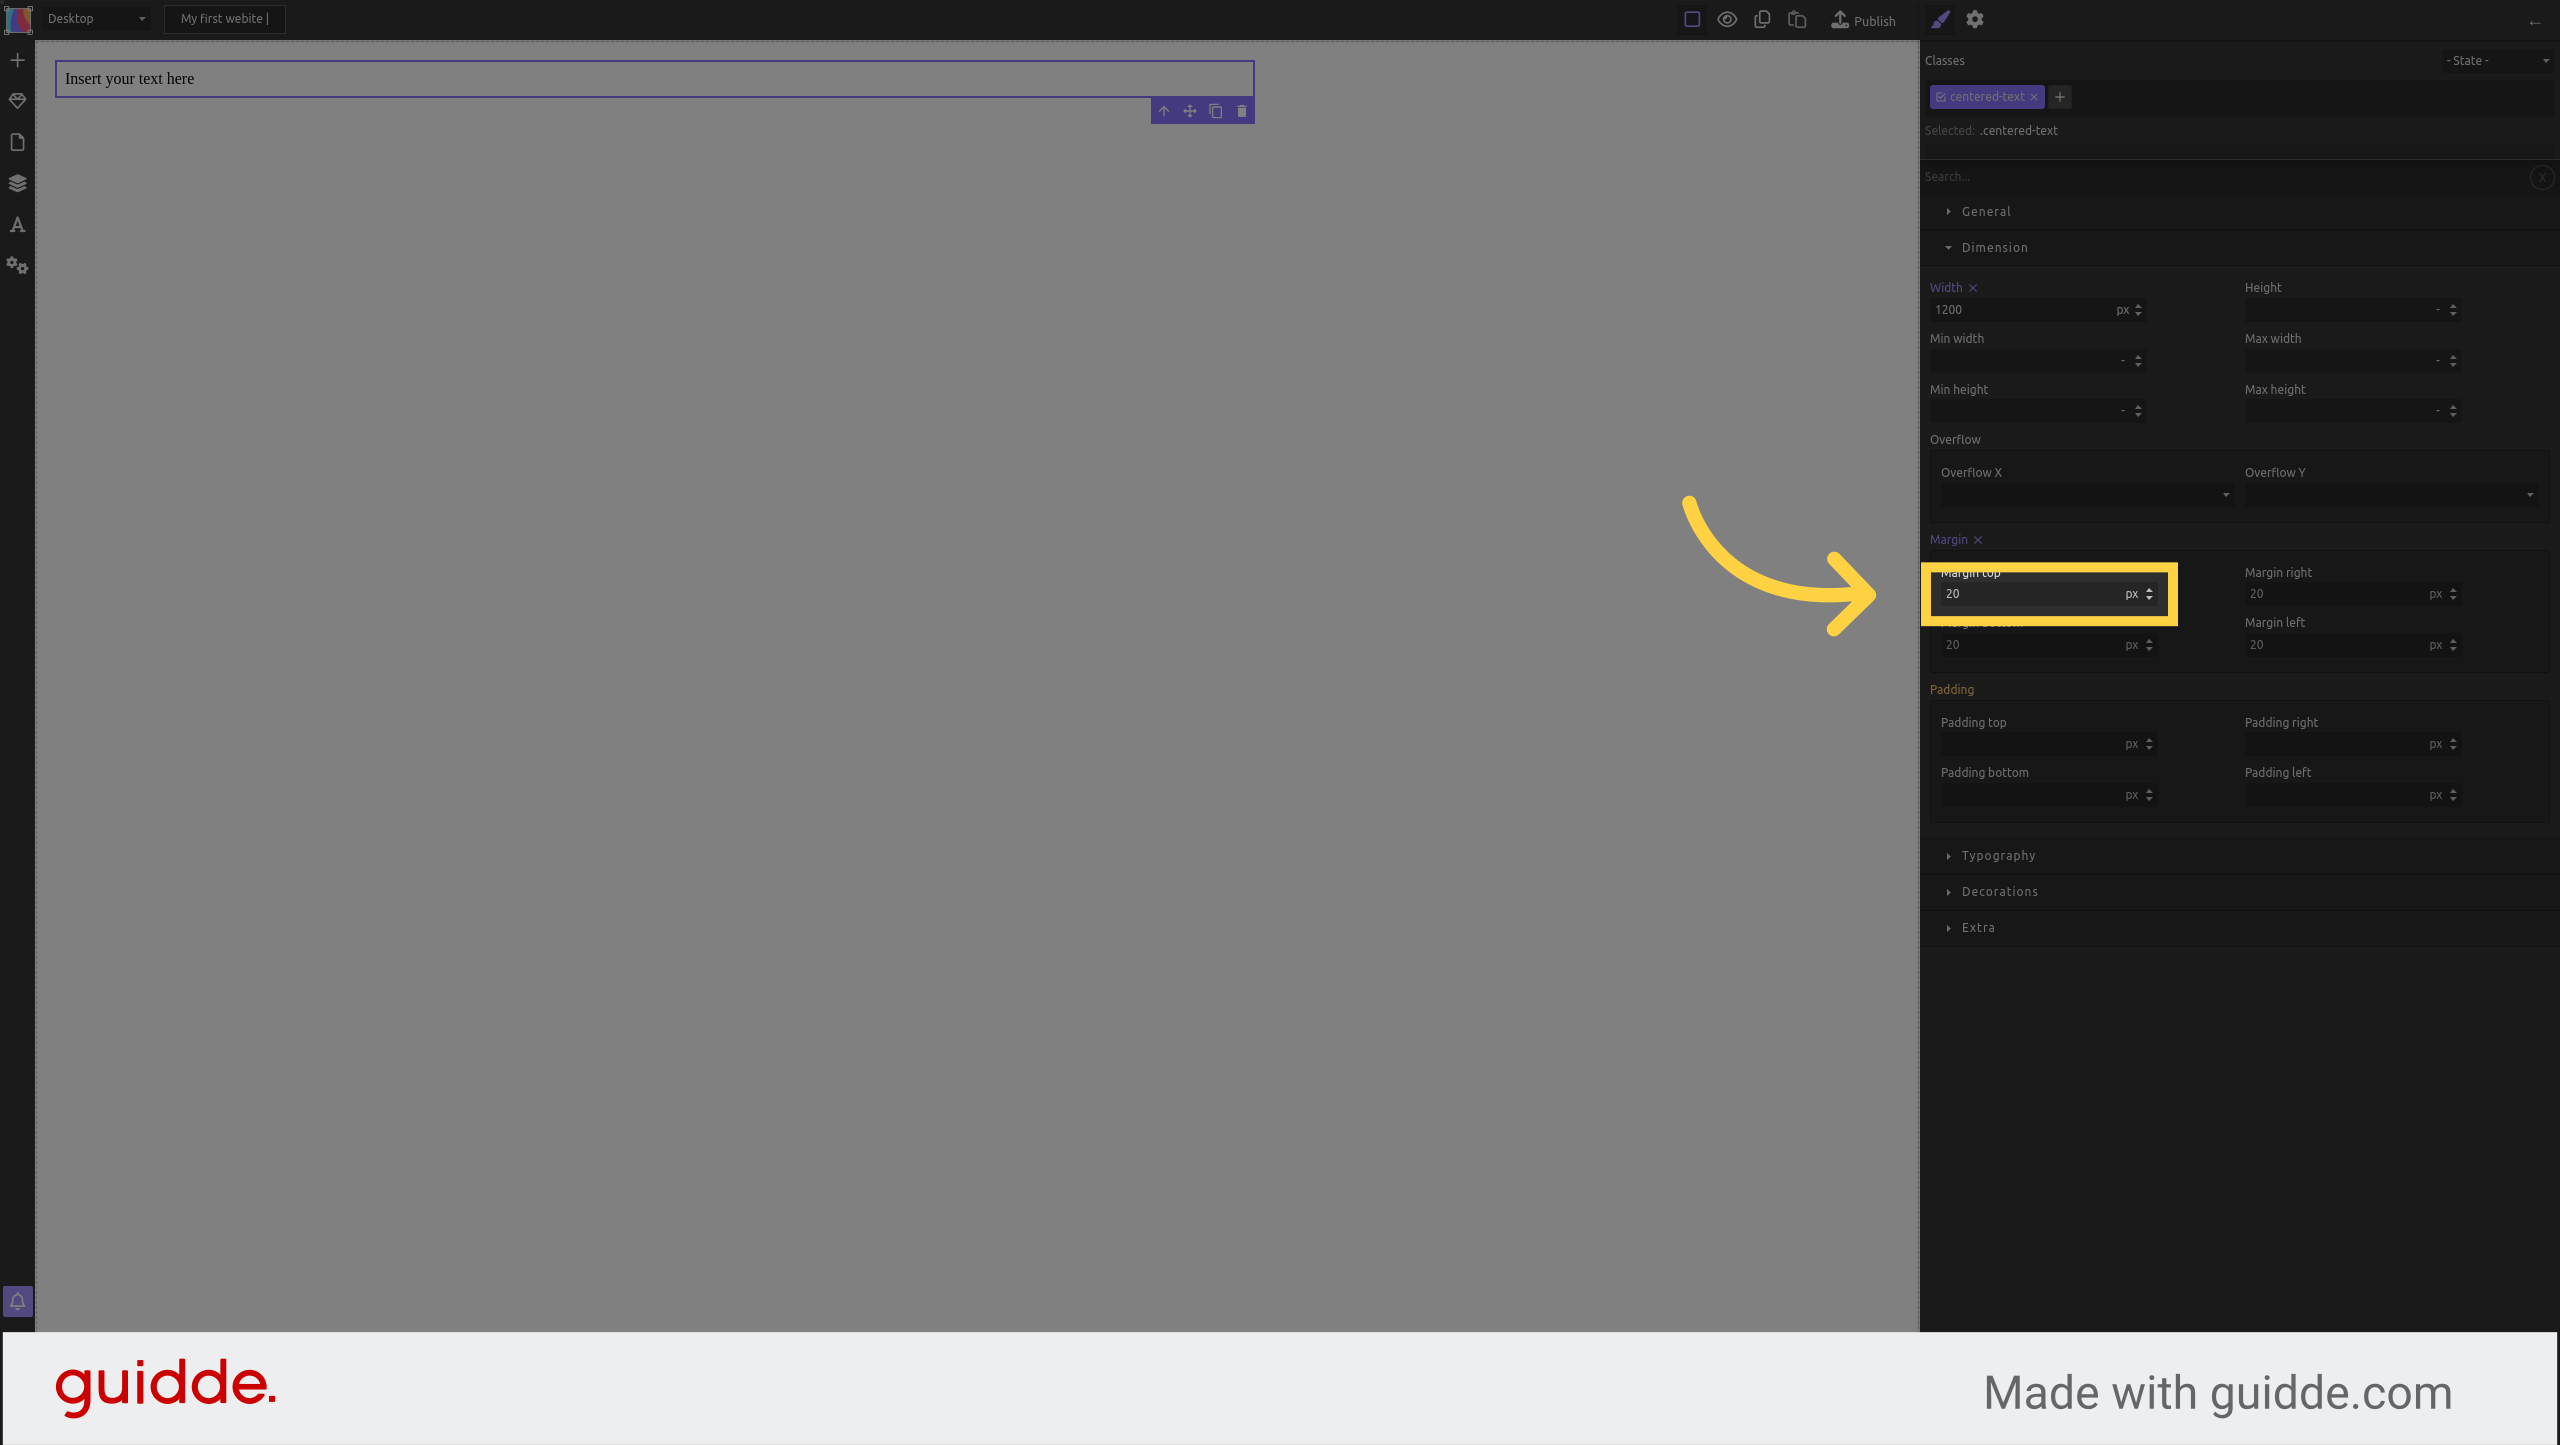
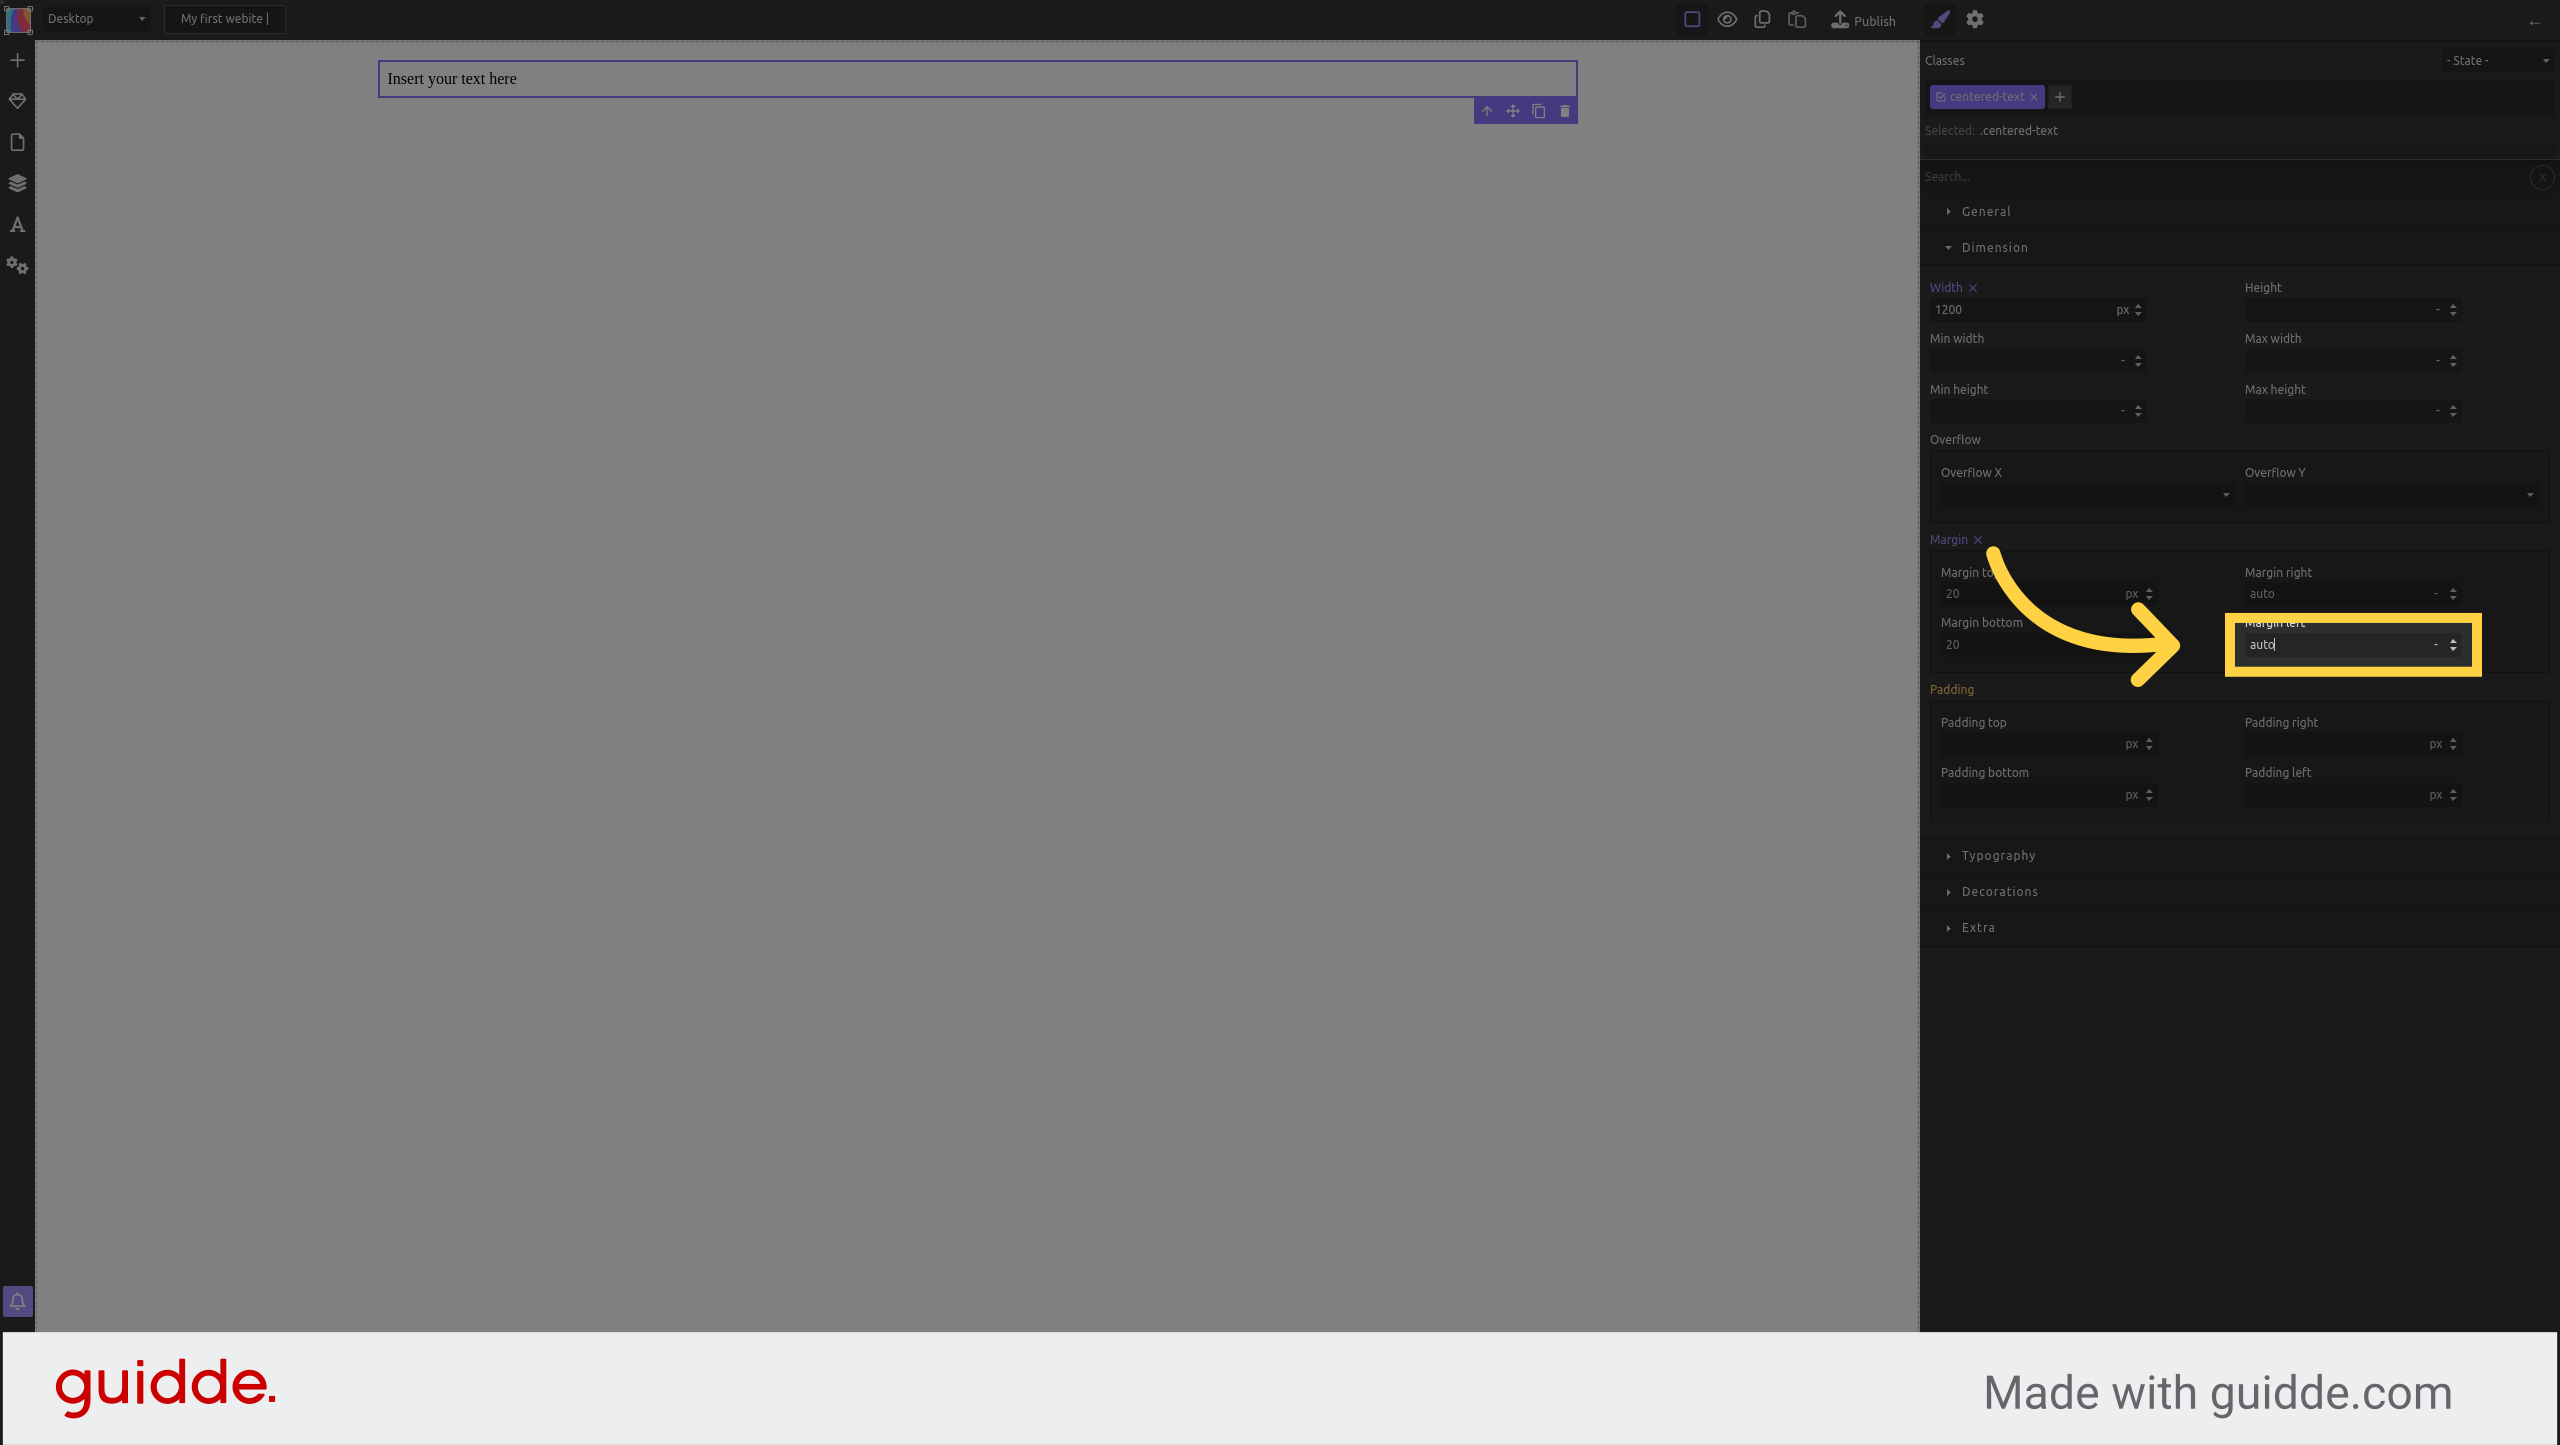
Set the margins left and right to "auto"
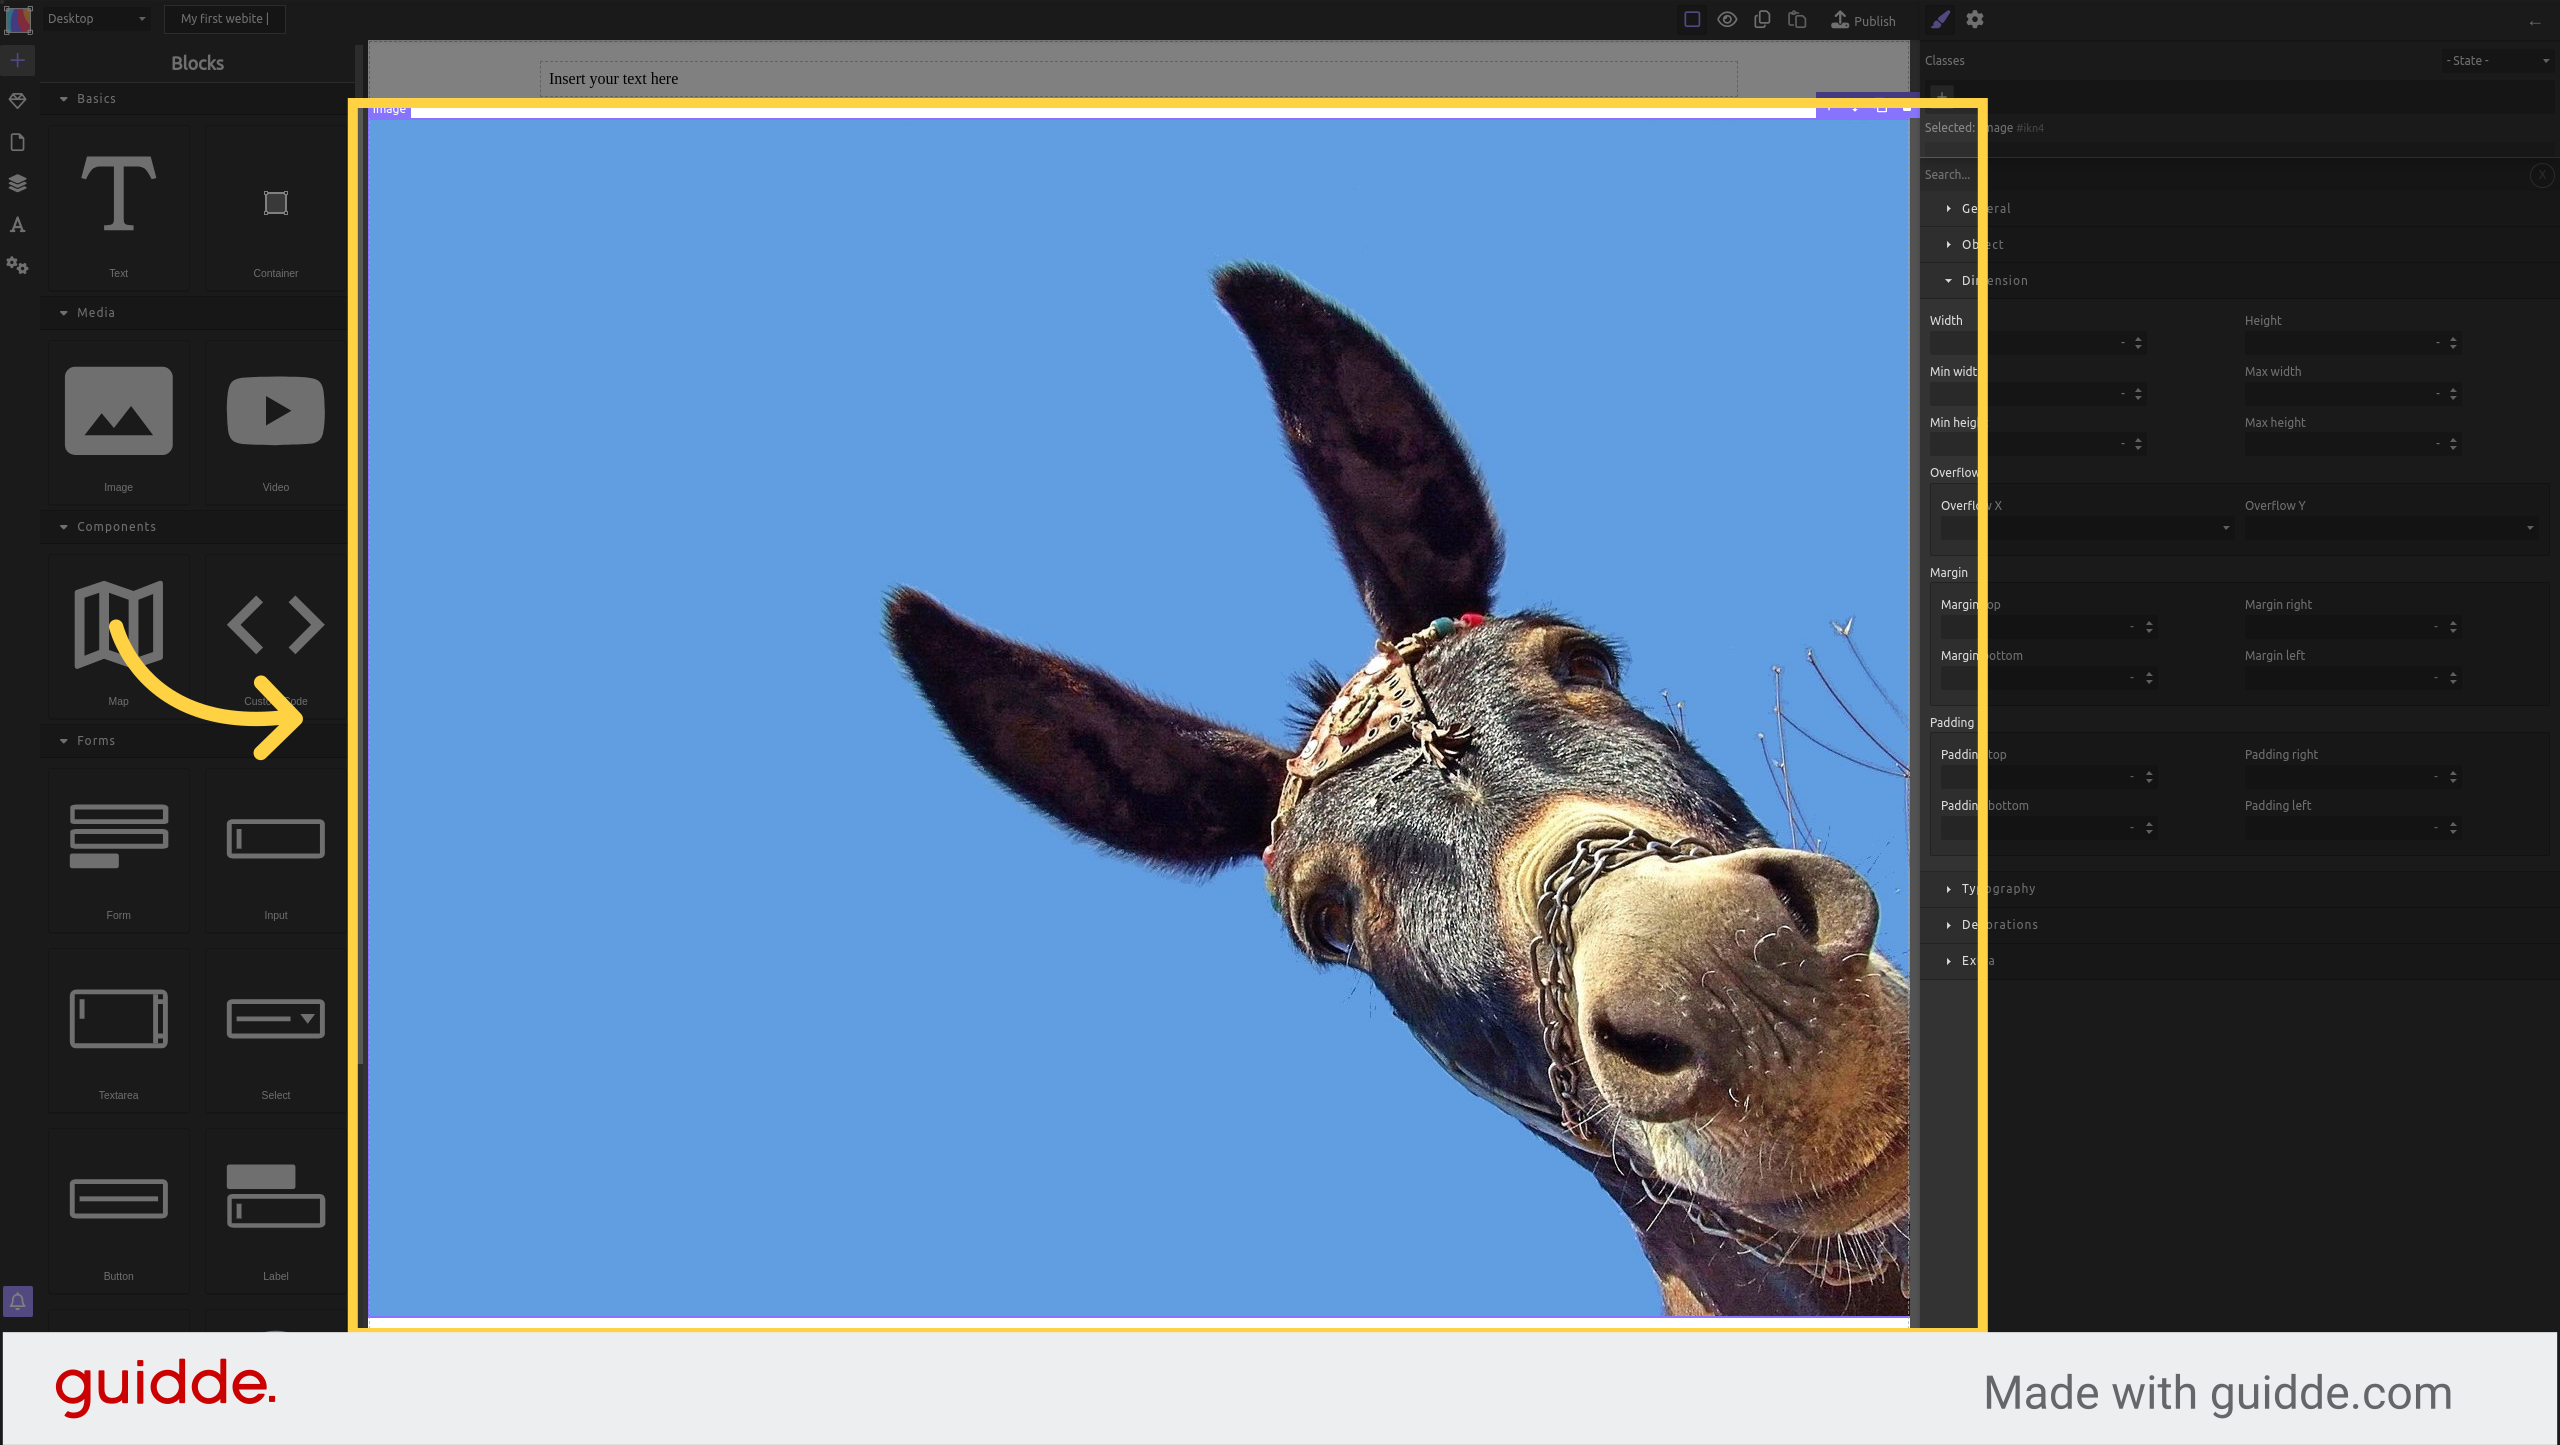
¶ Style an image
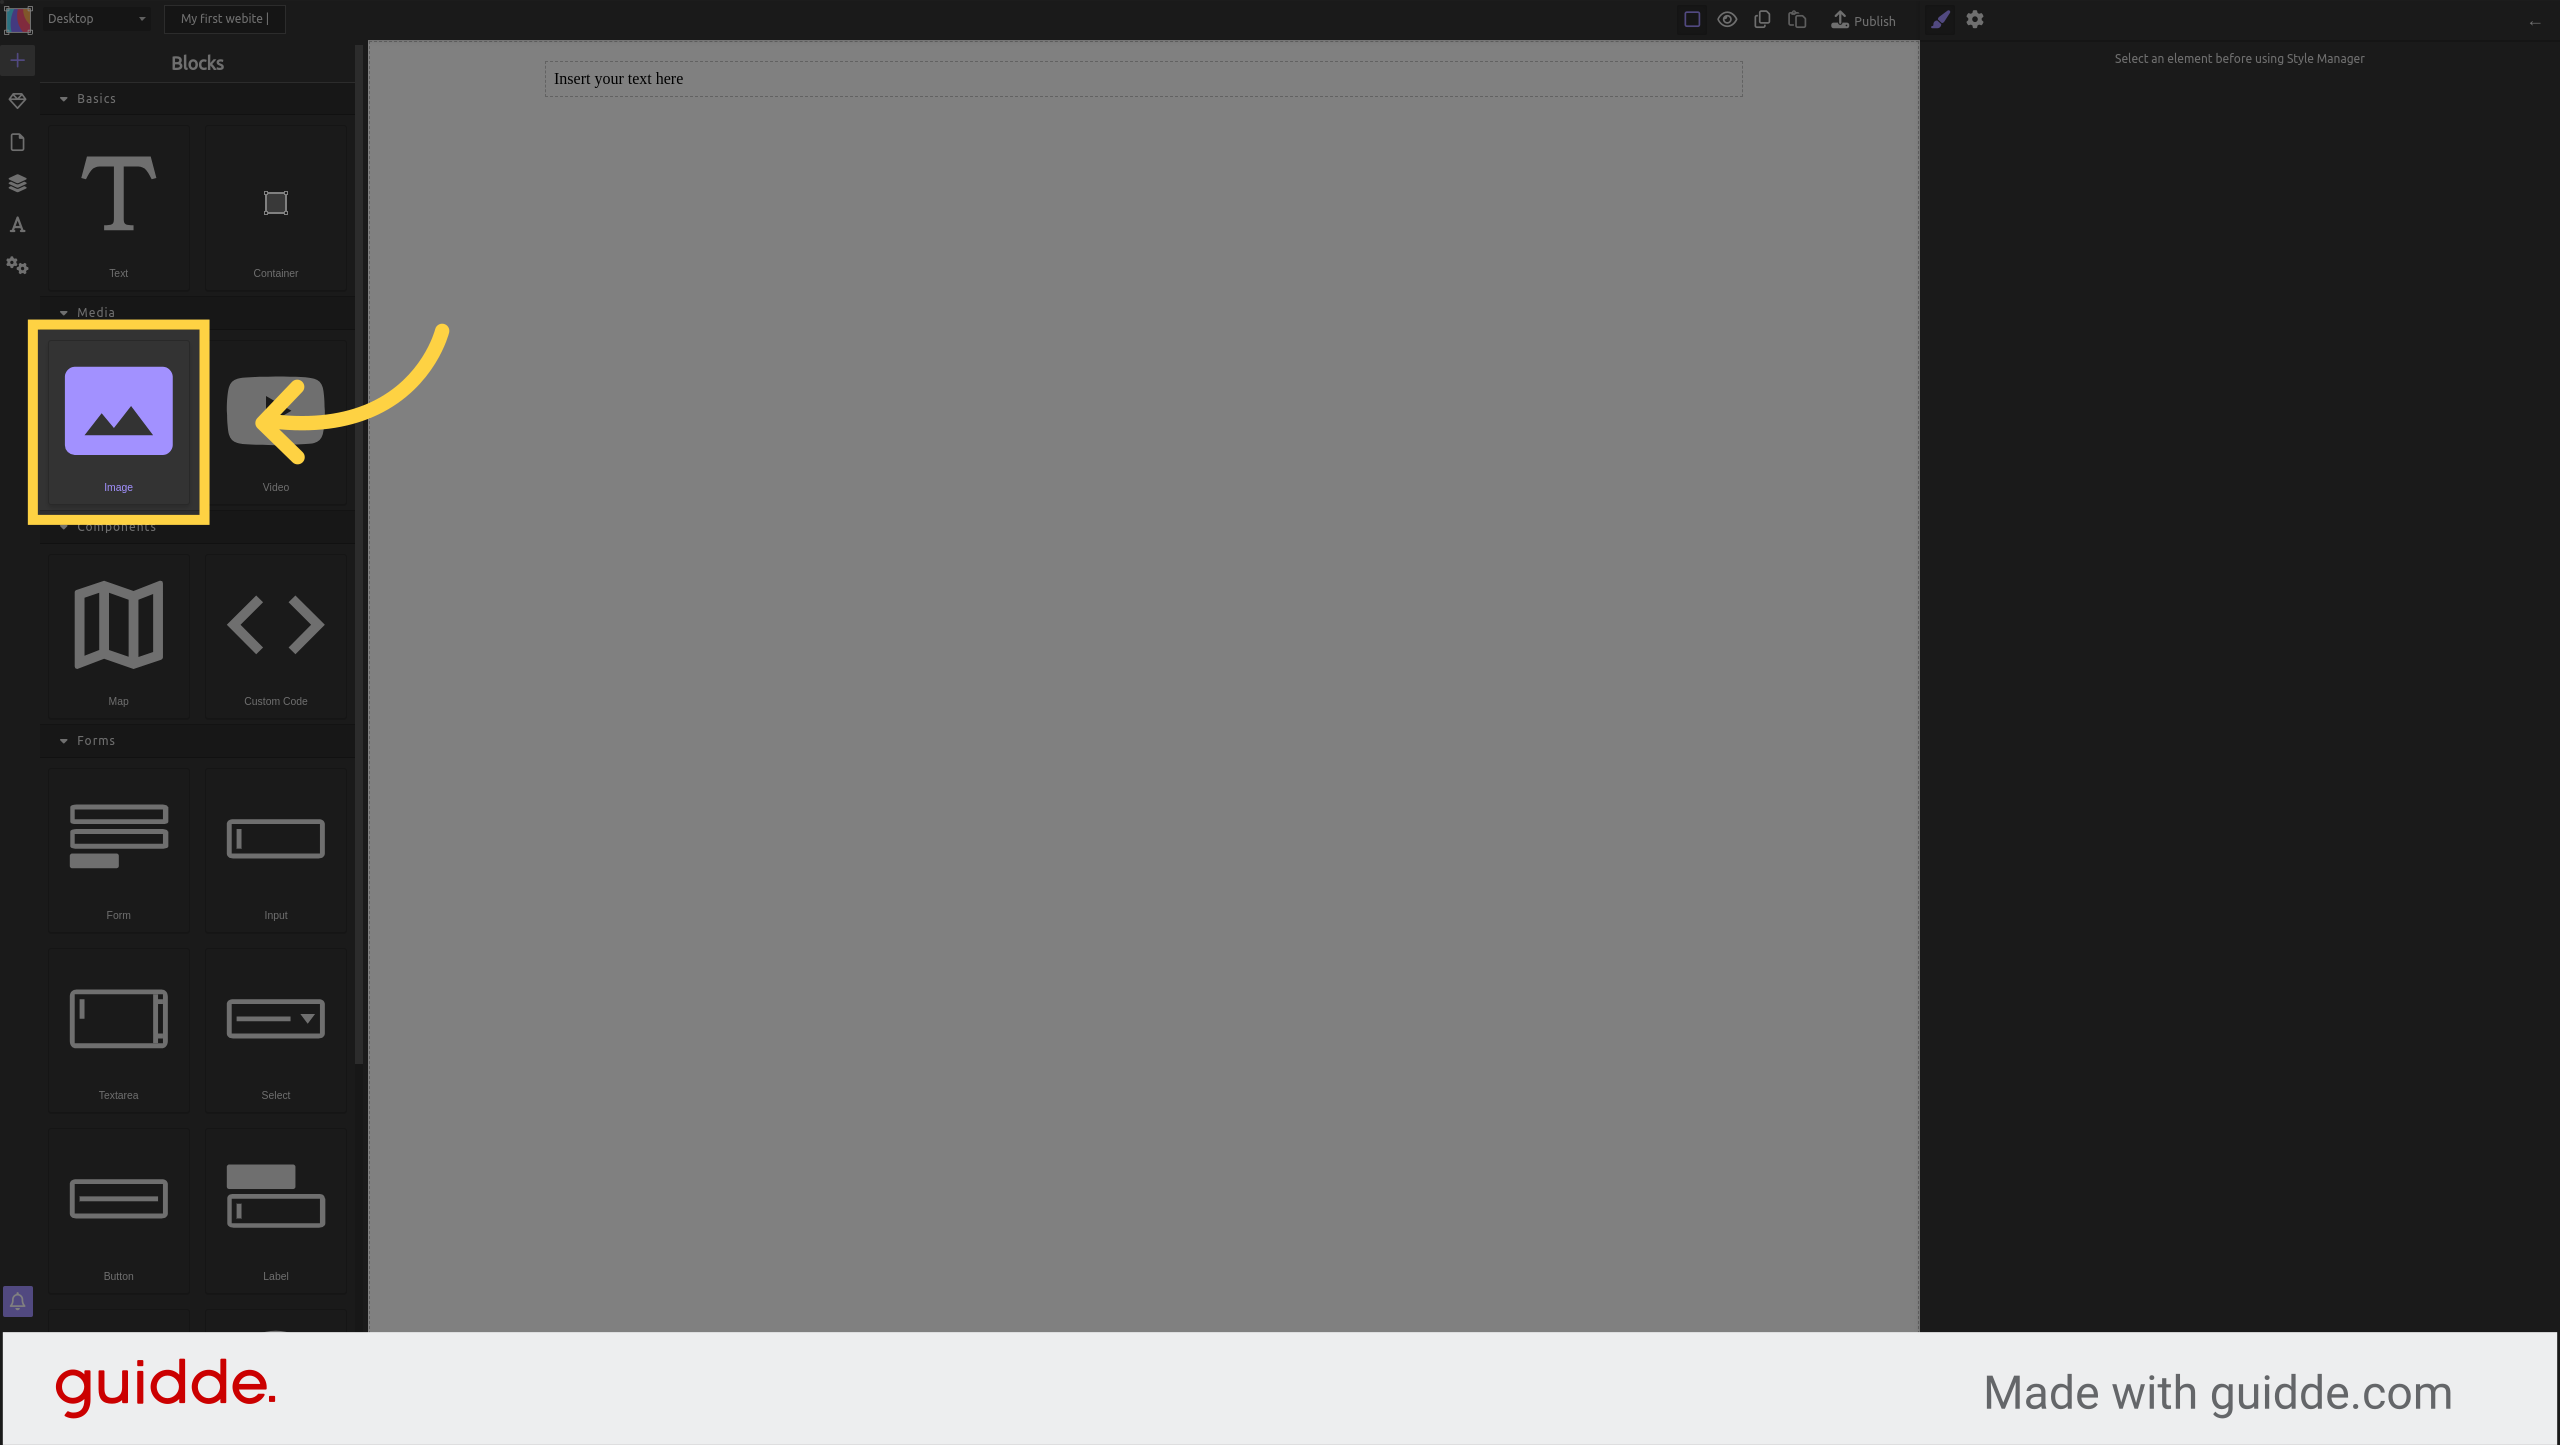
Drag and drop an image block to the canvas
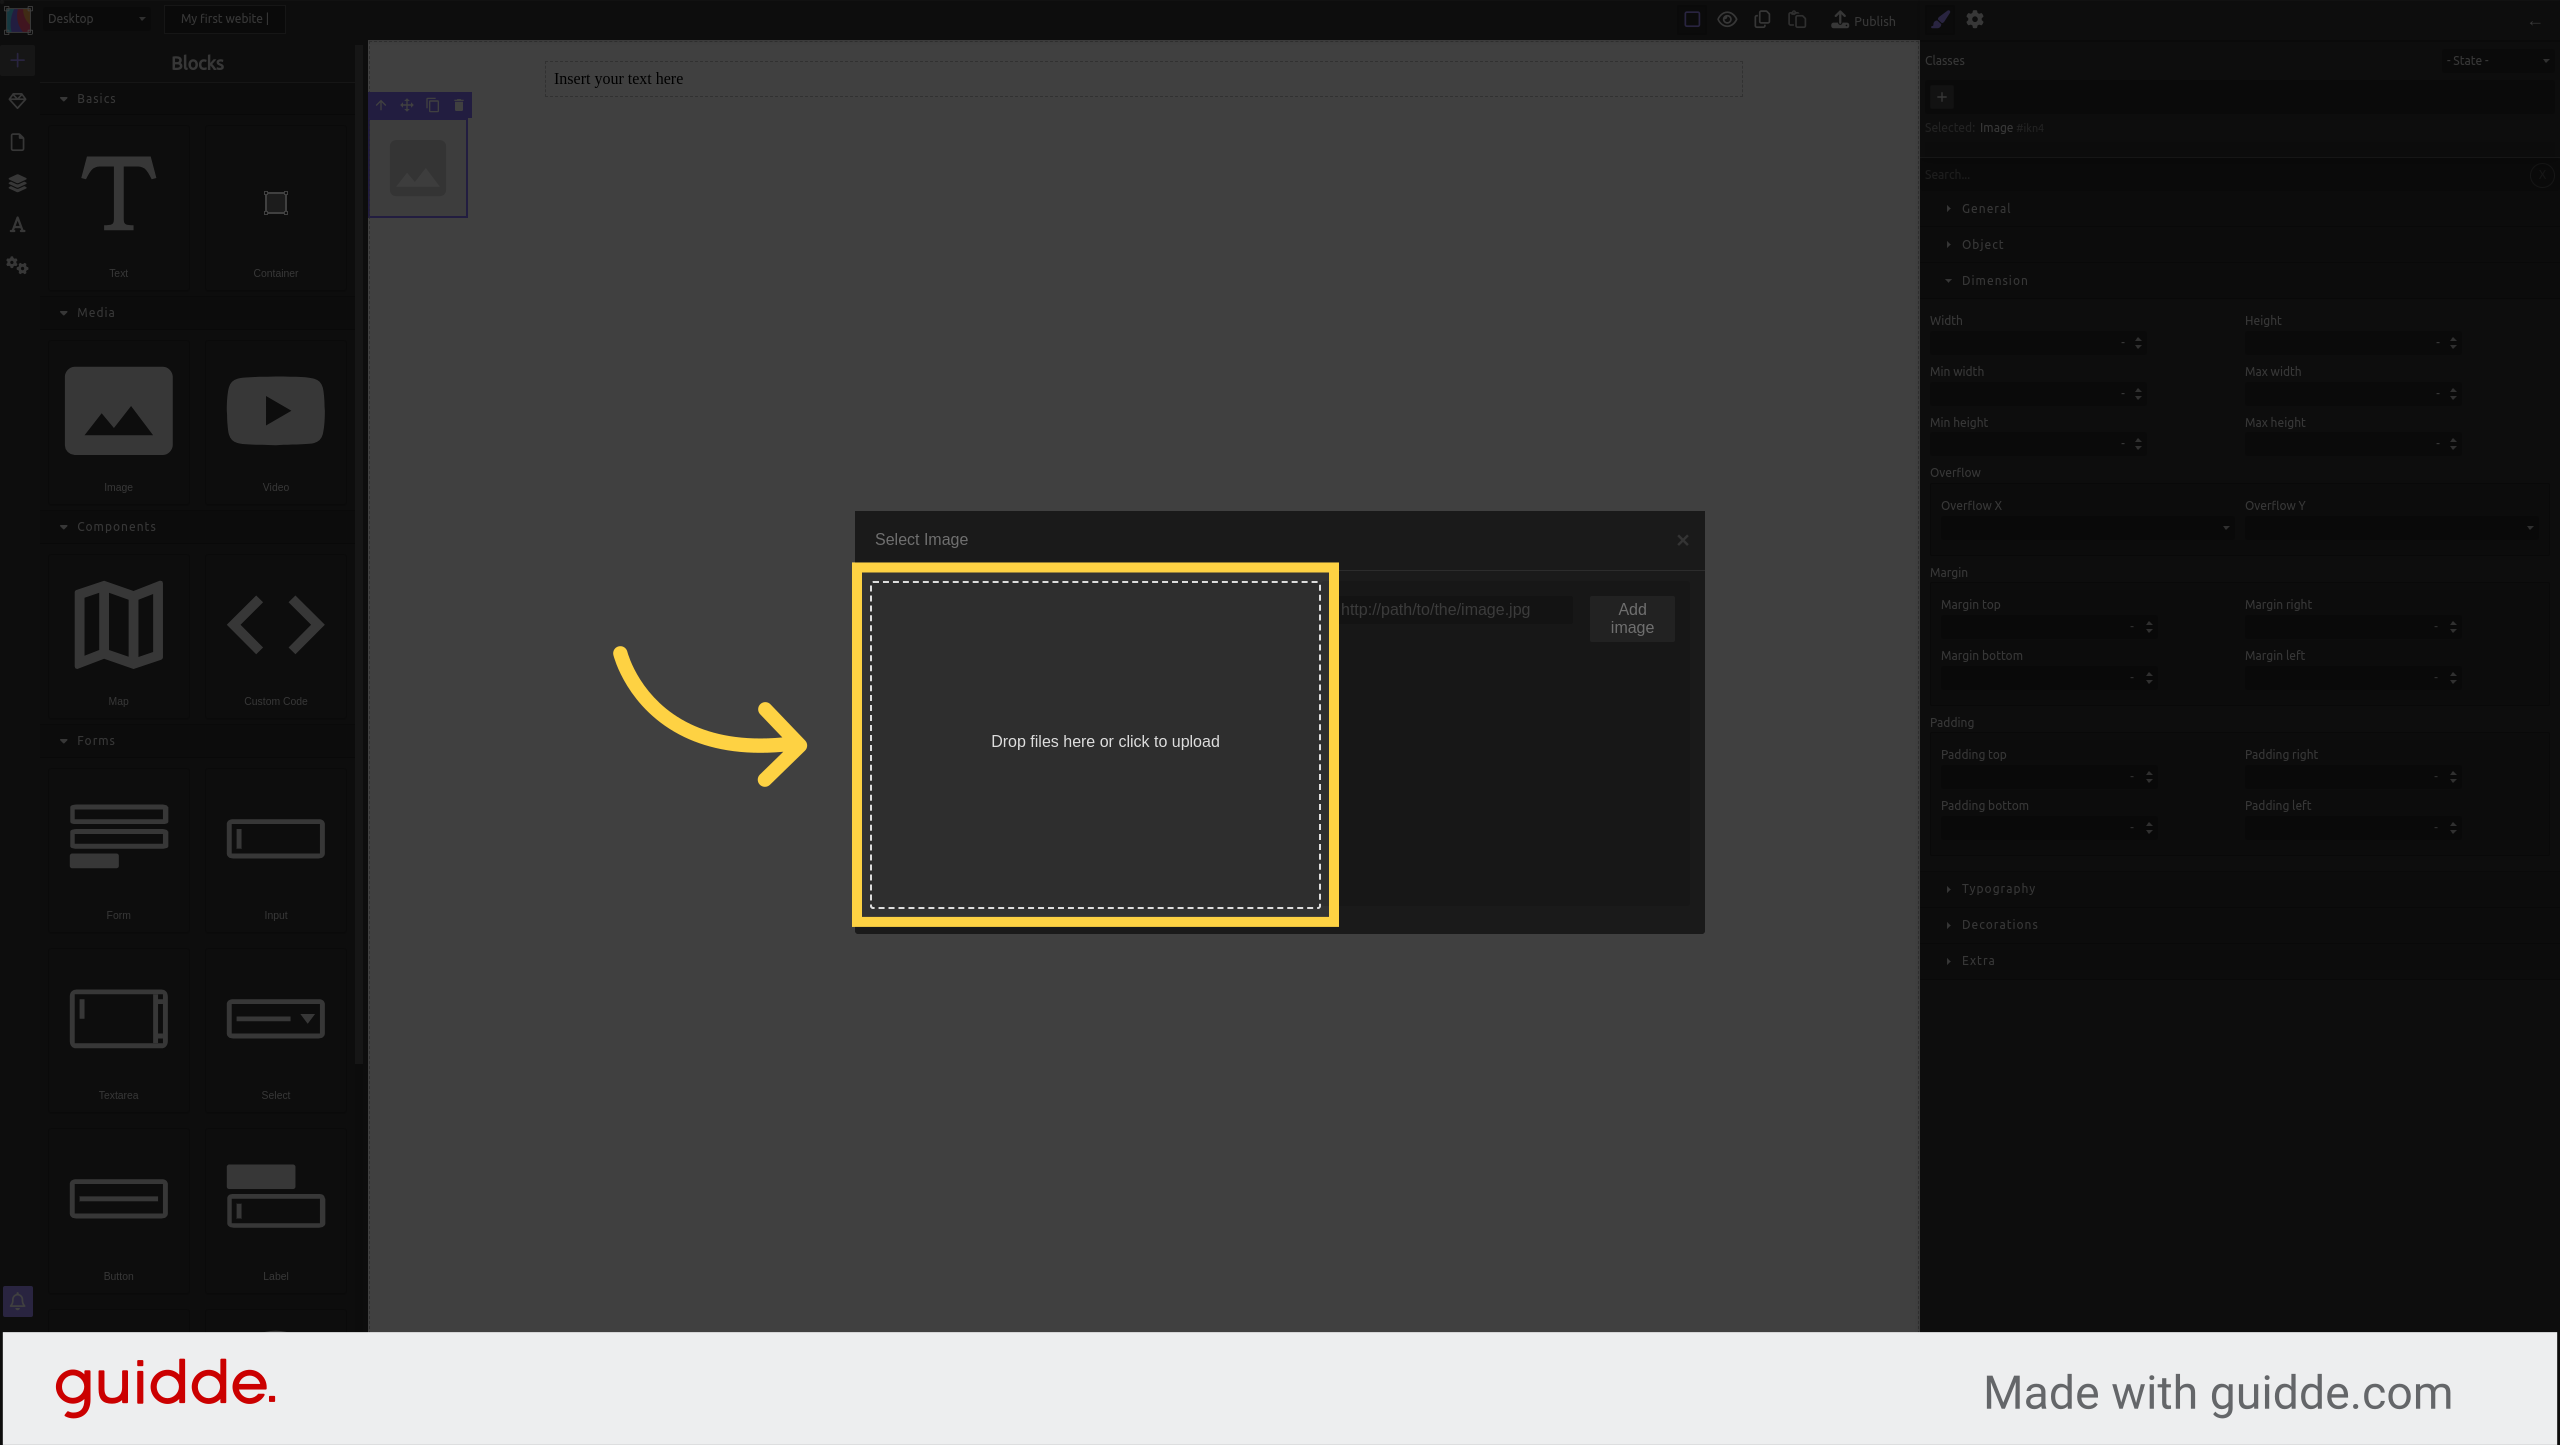
Find an image on your computer and drop it here
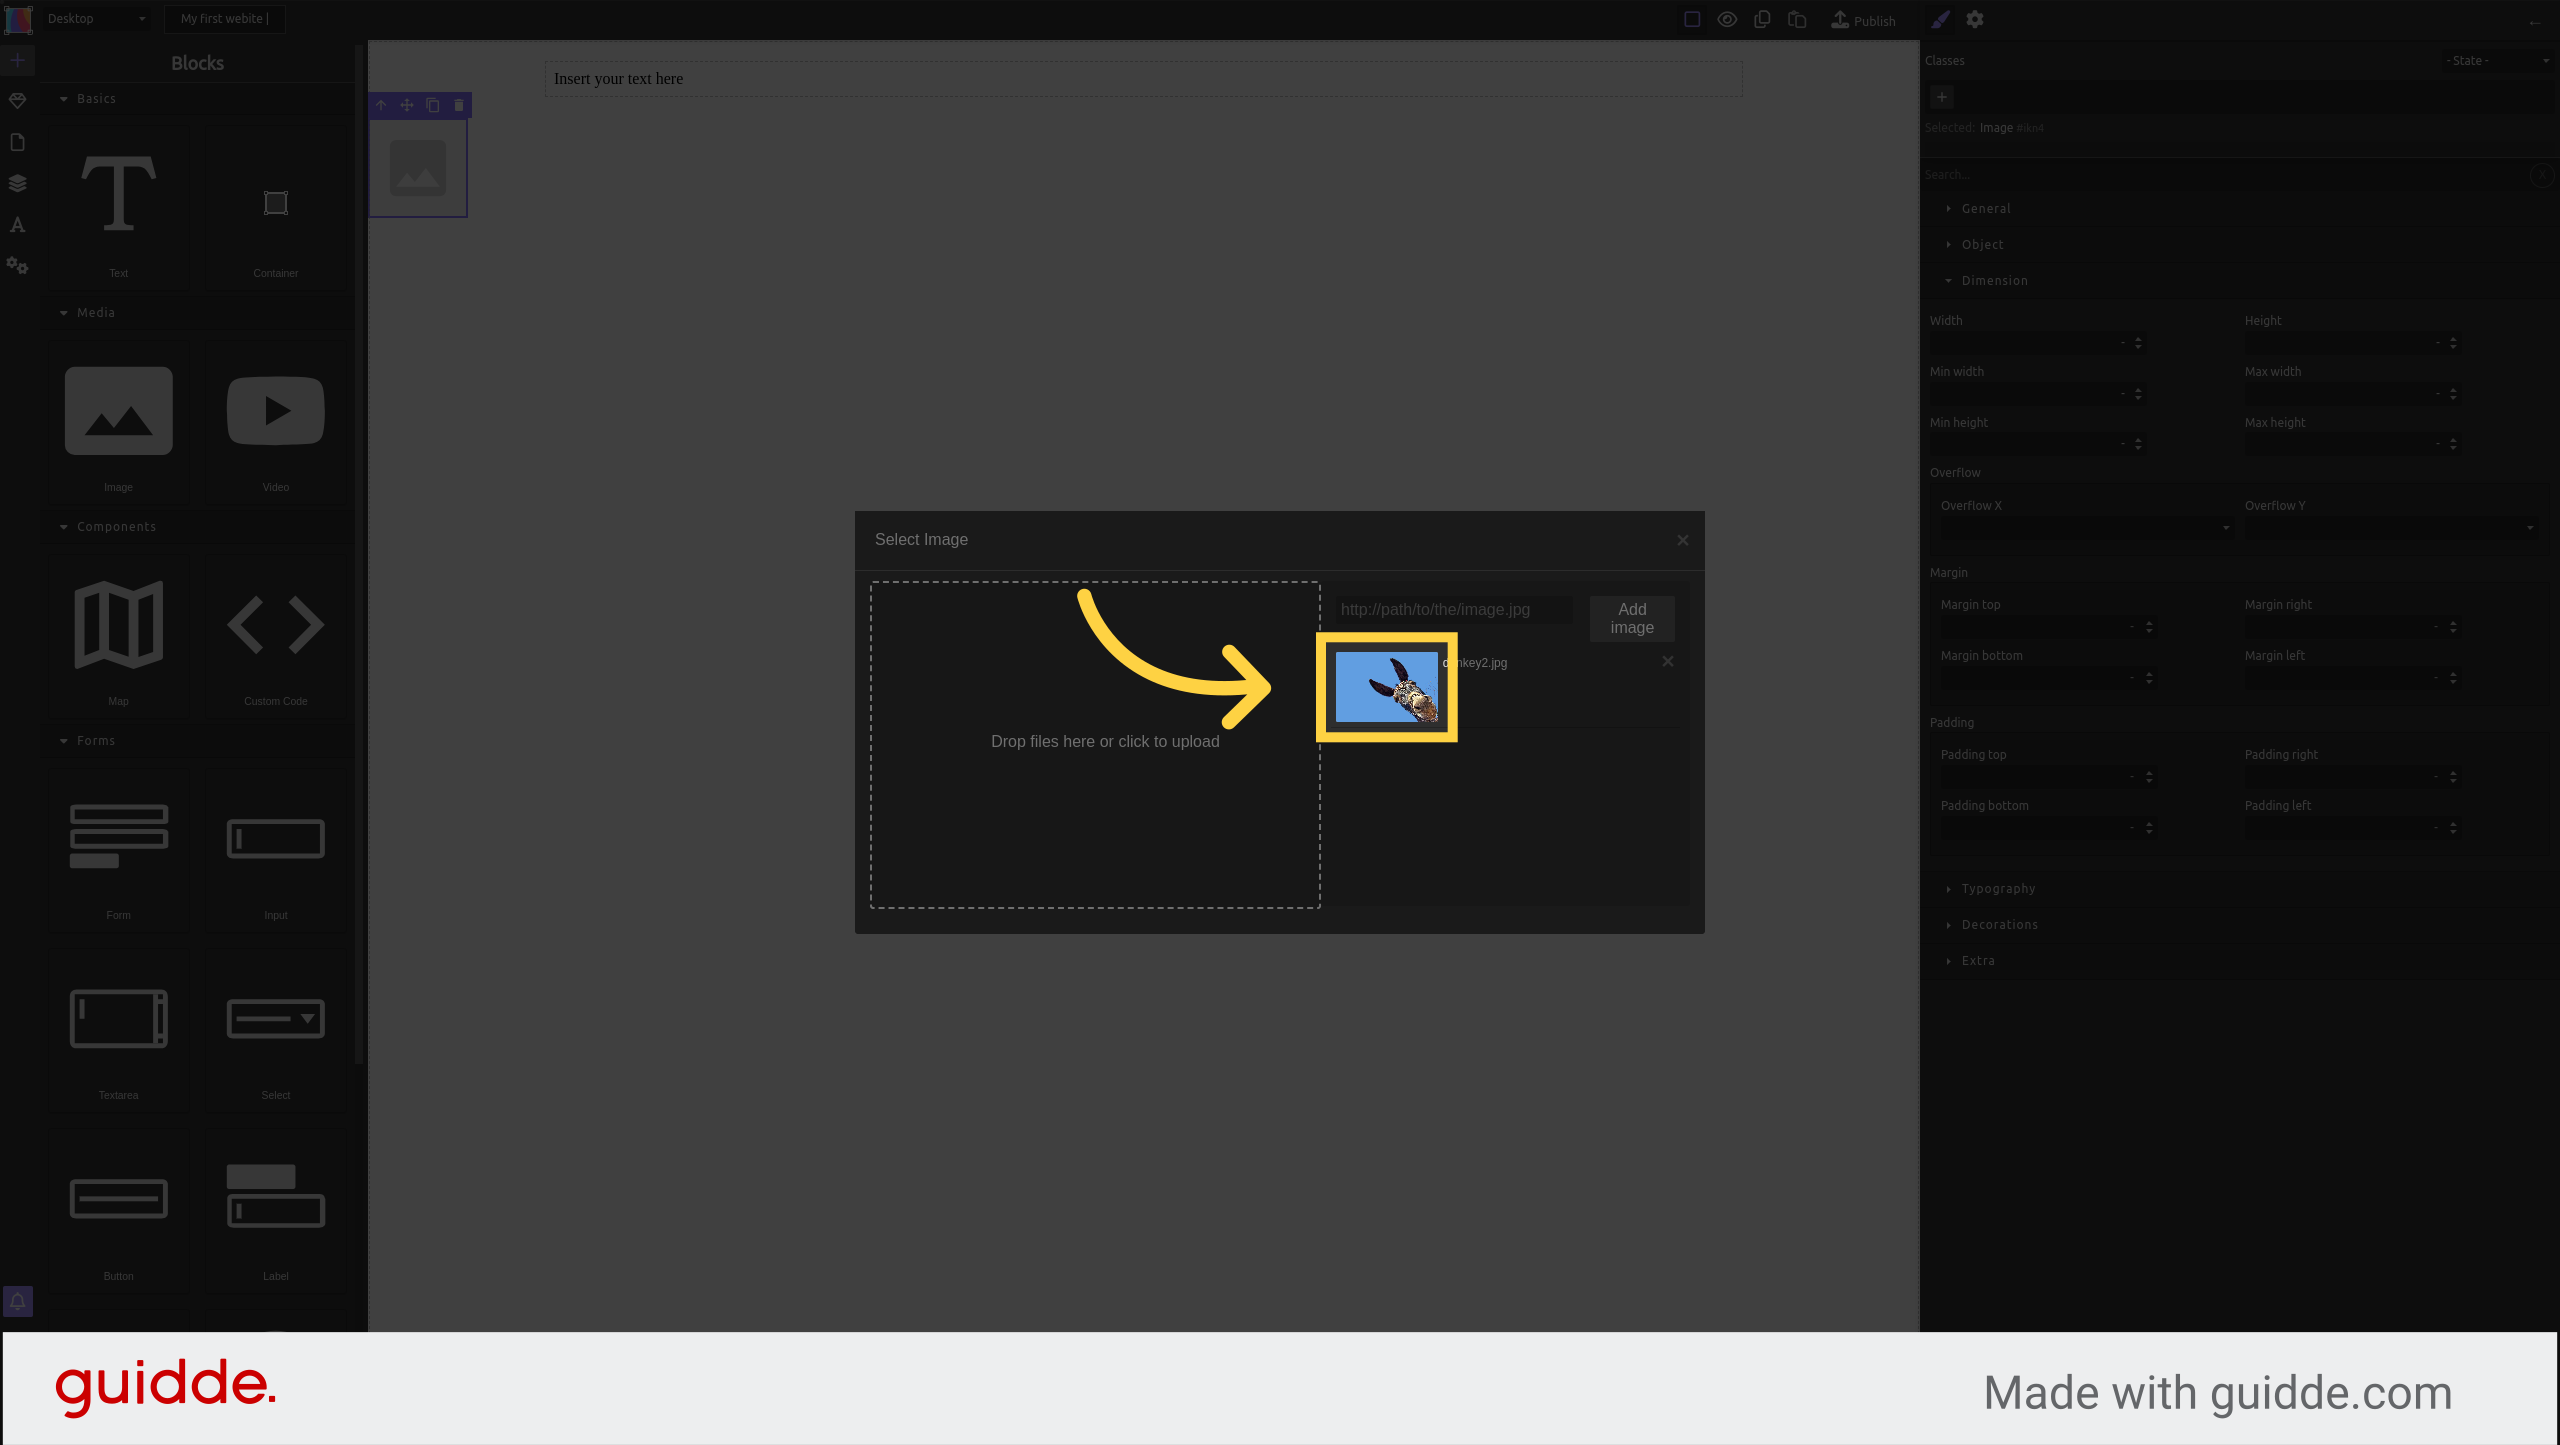
Select this newly uploaded image for it to appear on the canvas
Here is your new image in the canvas
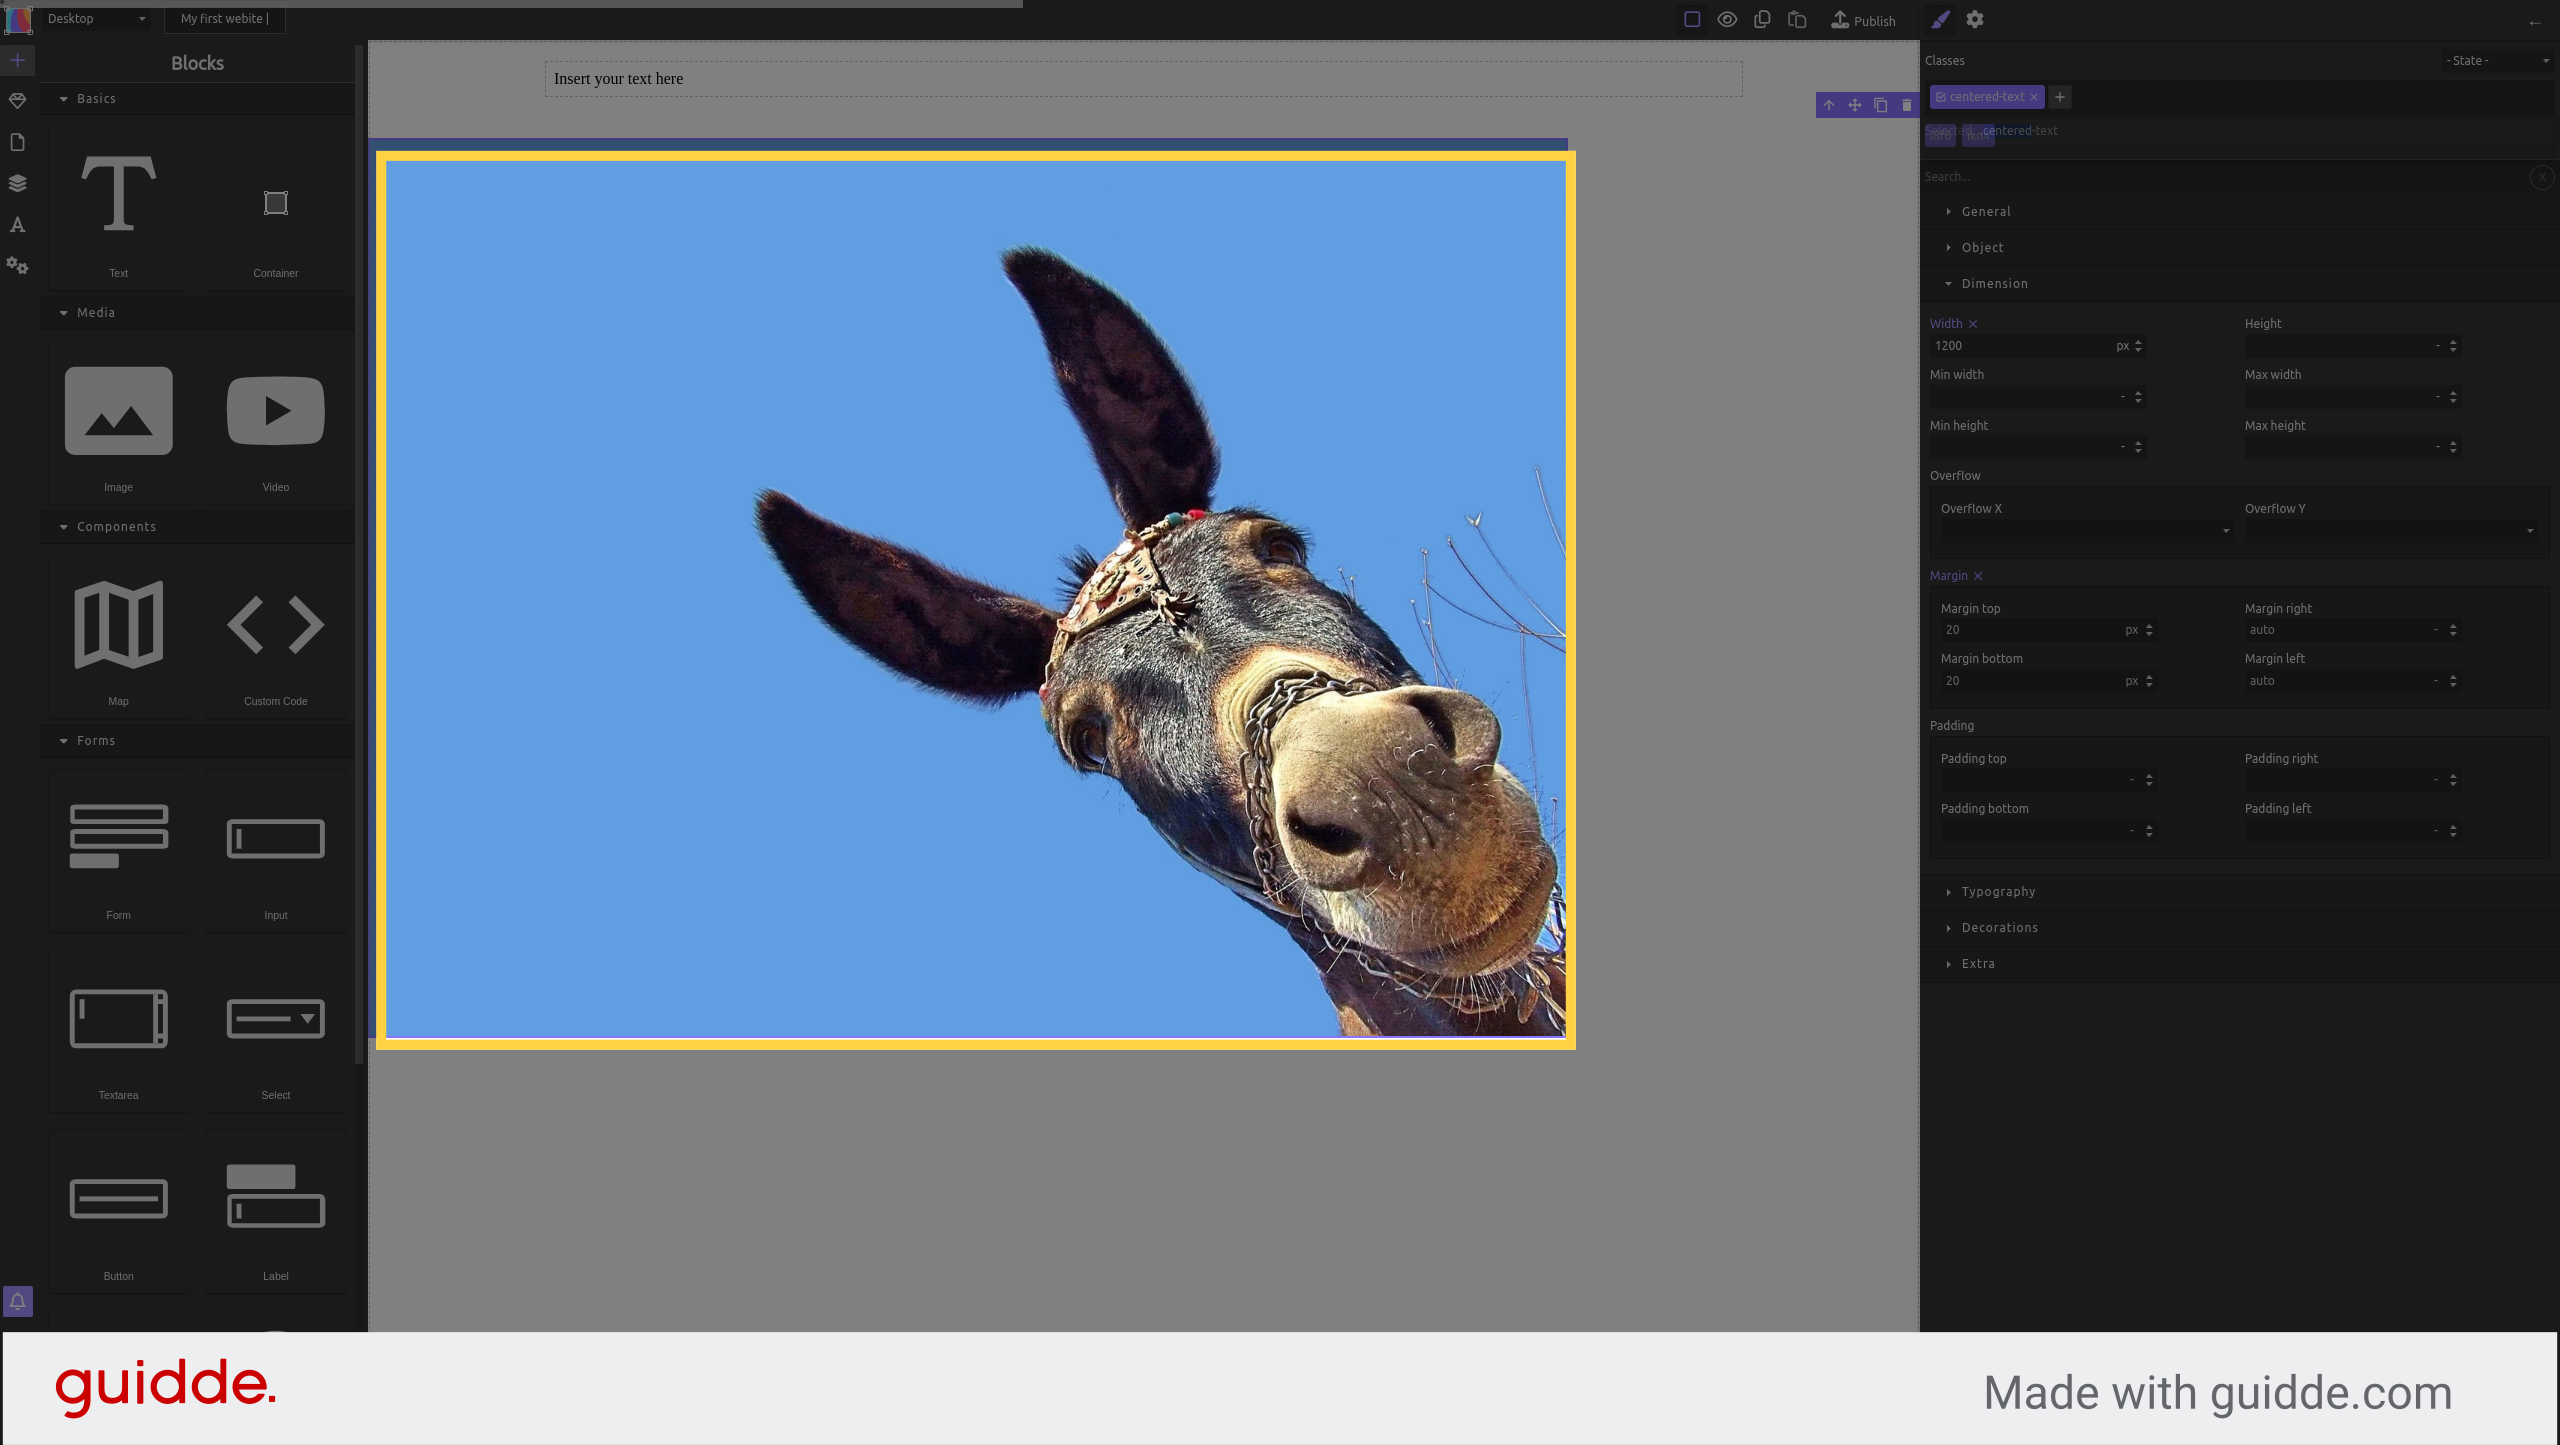
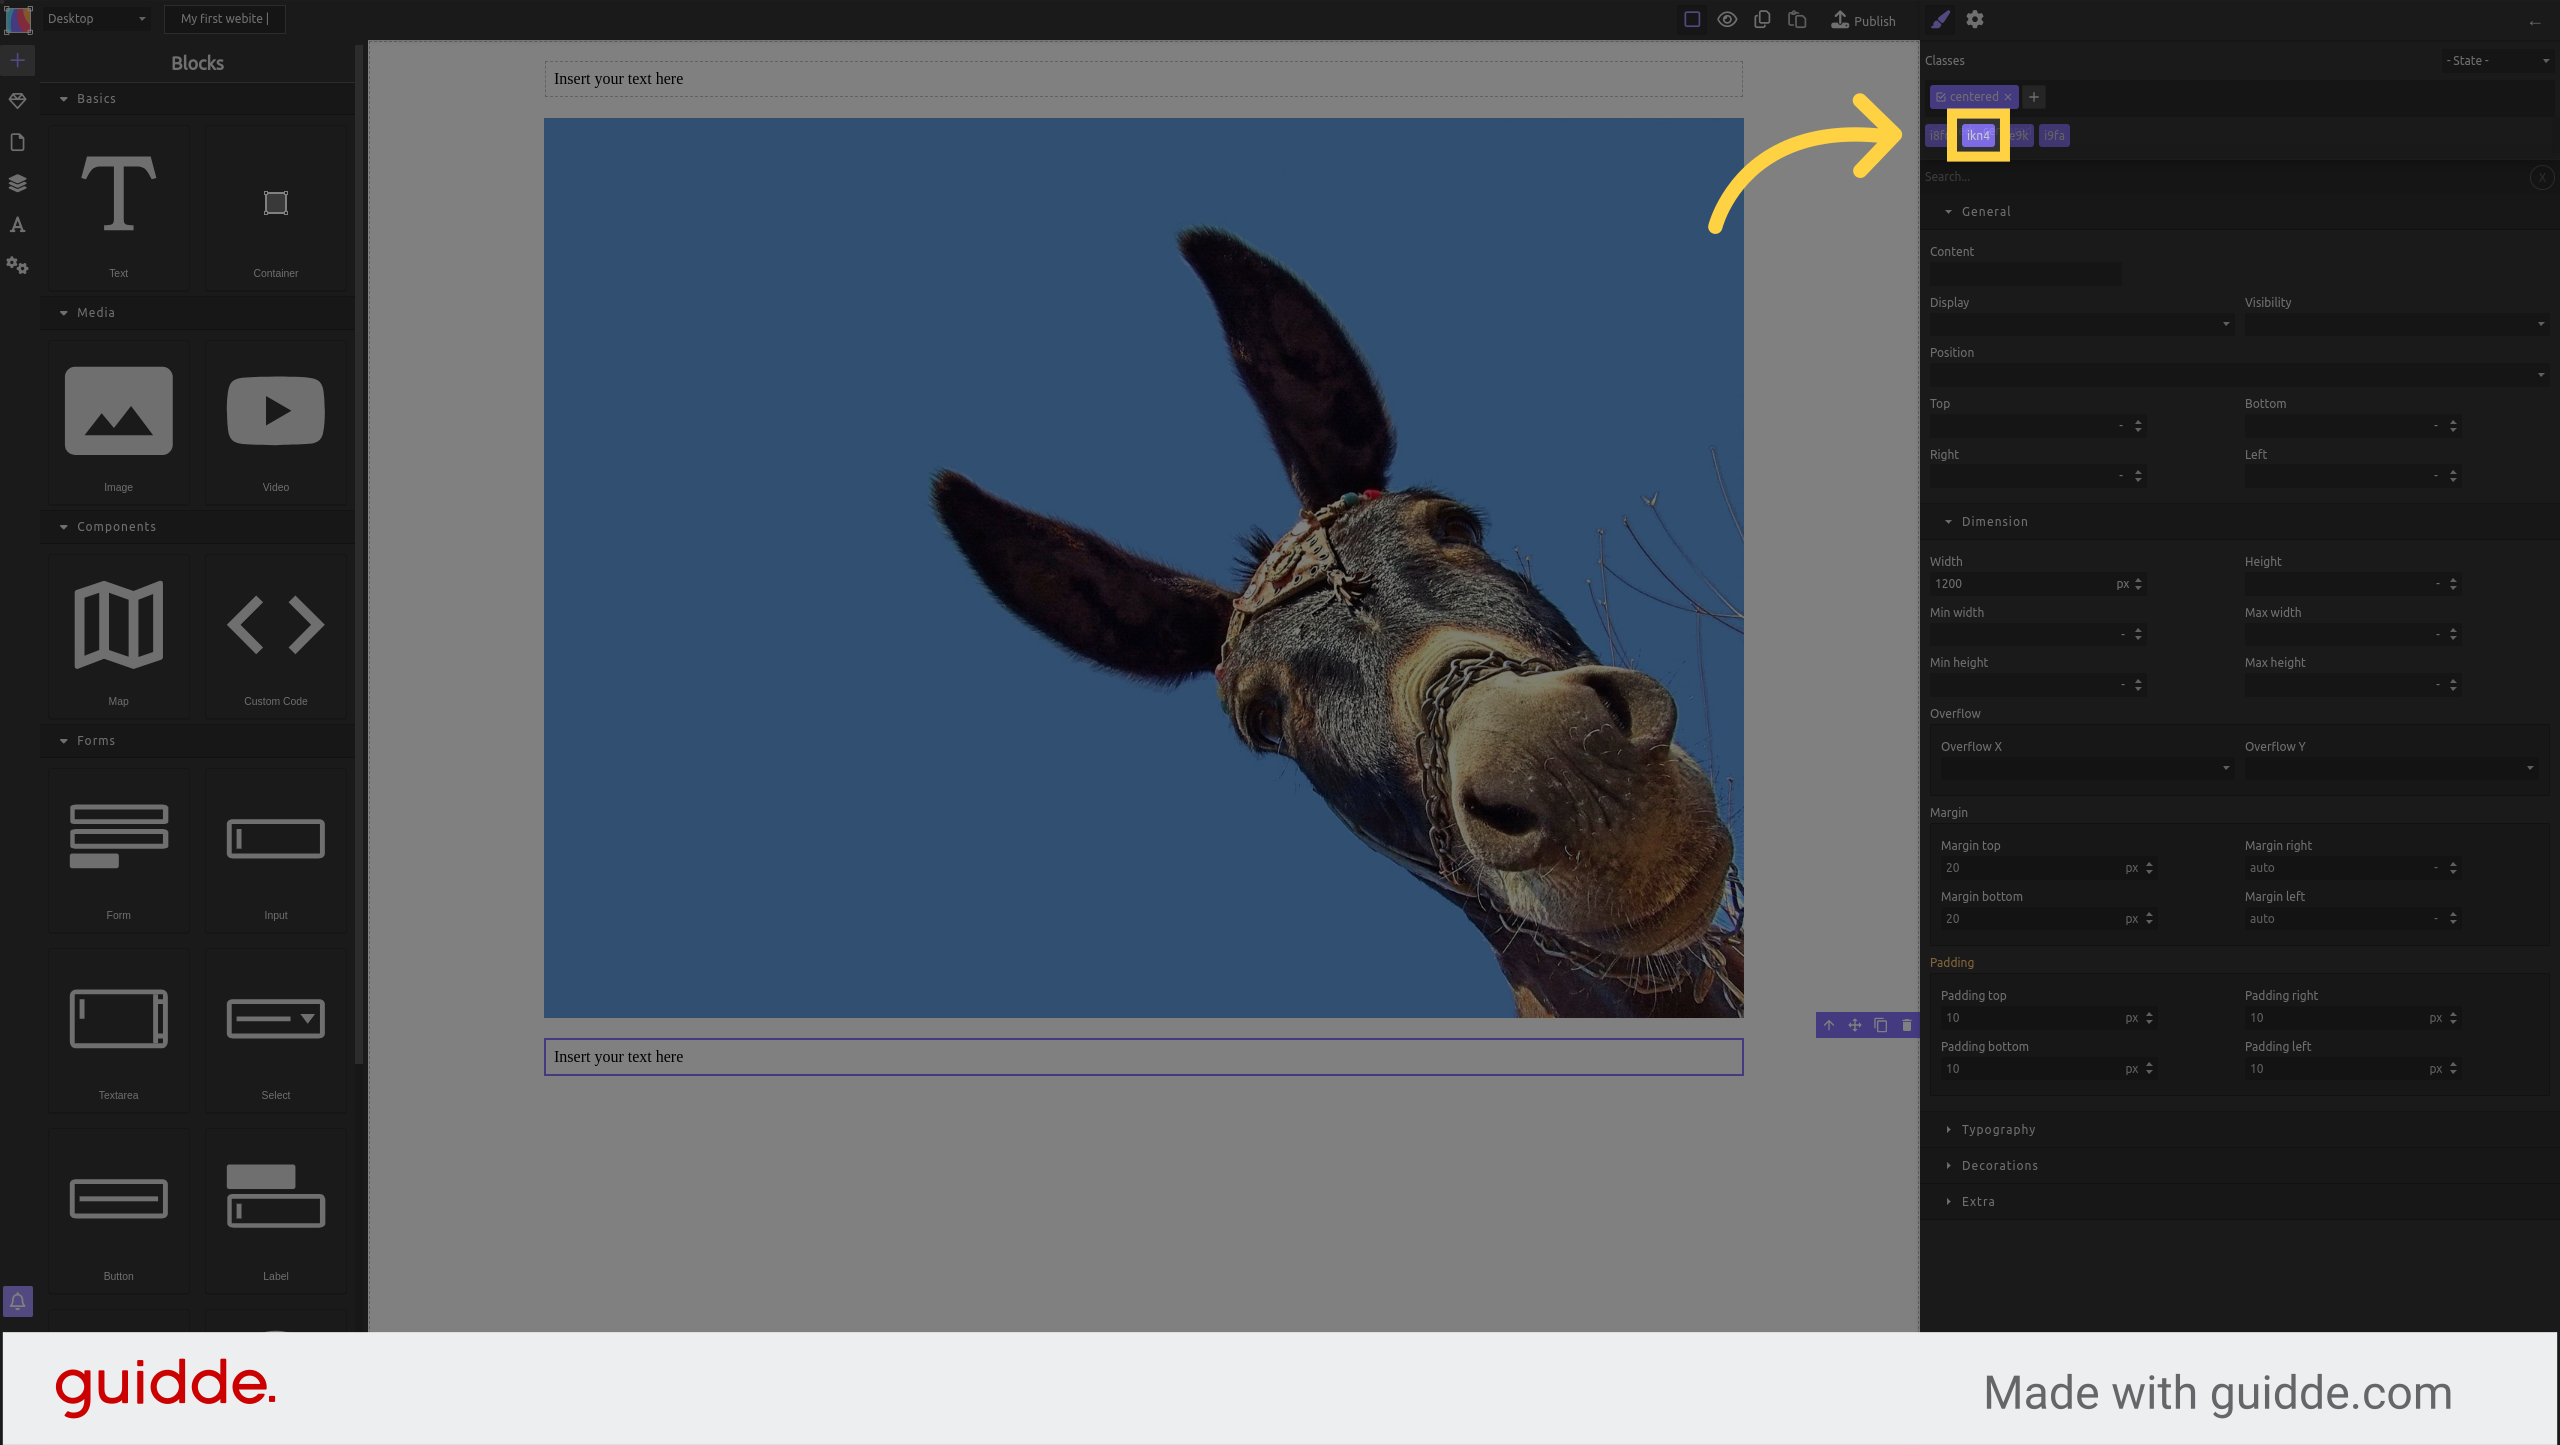
Add the same CSS class to the image ("centered-text")
You can see you are editing ".centered-text"
And your image has the new dimensions. It is not centered because images have "display: inline" by default.
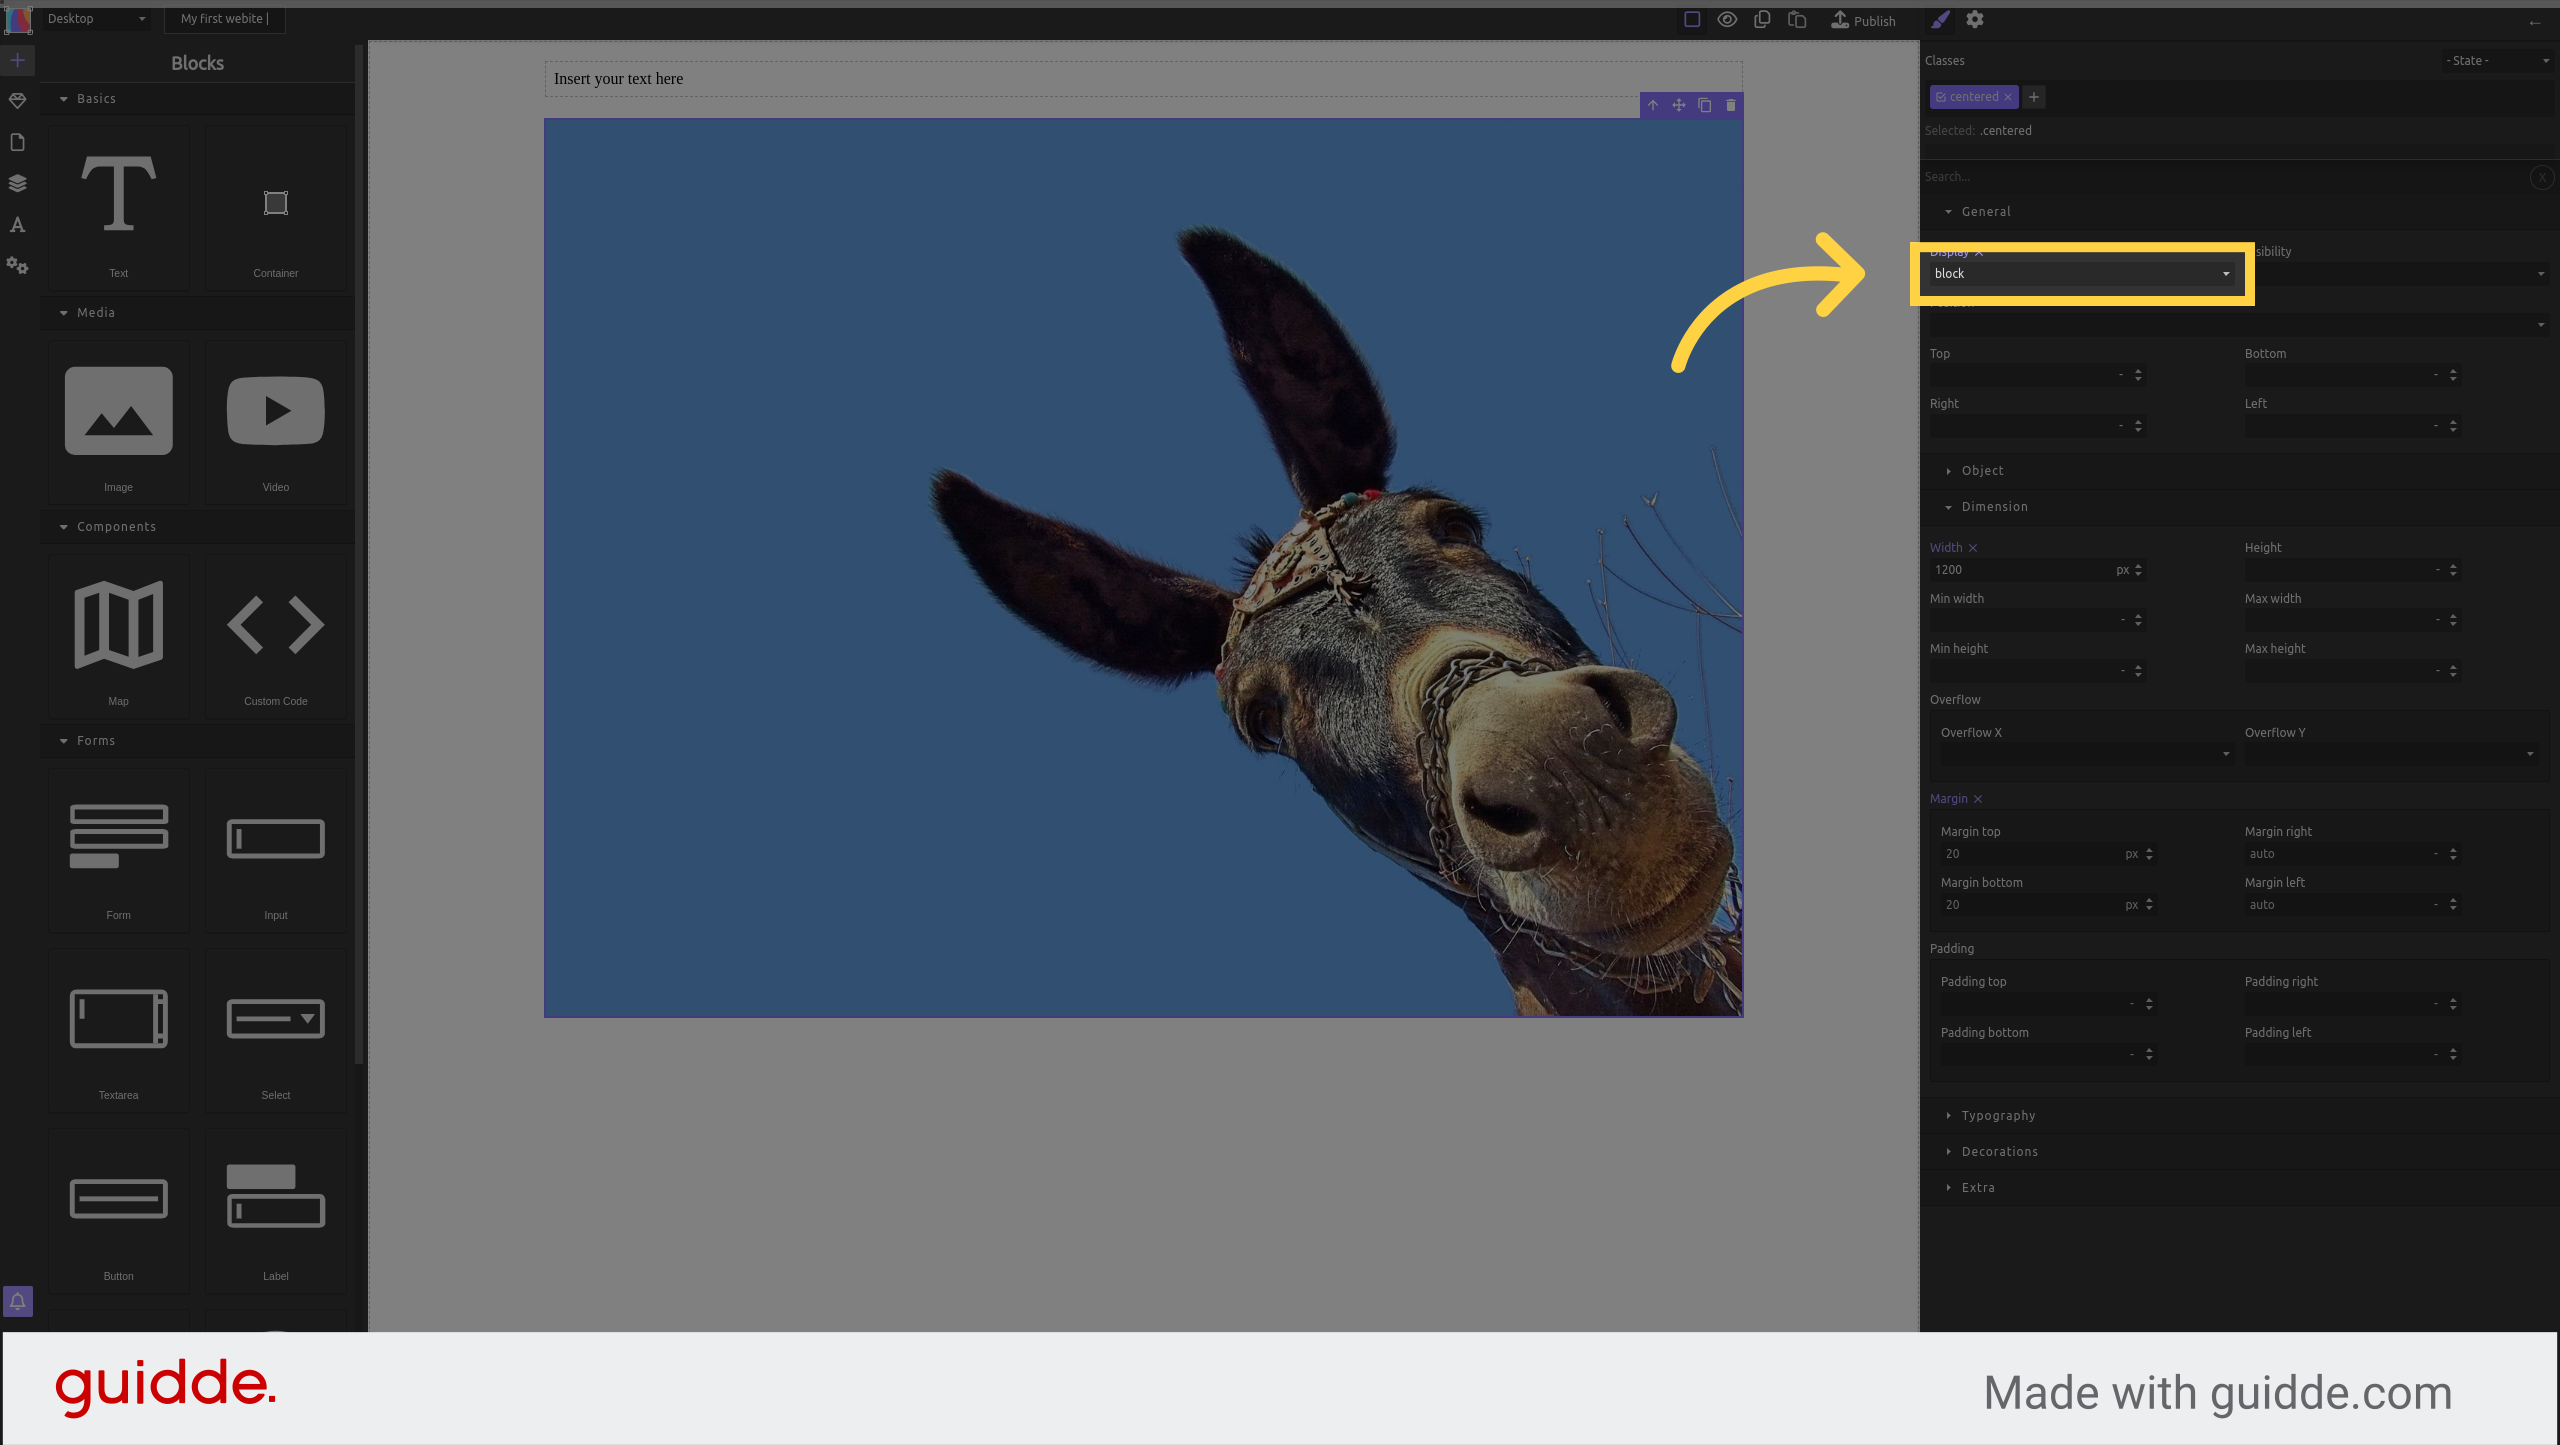
Double click on the class name "centered-text" And rename it simply "centered" as it better suits our example now that the style will center images too
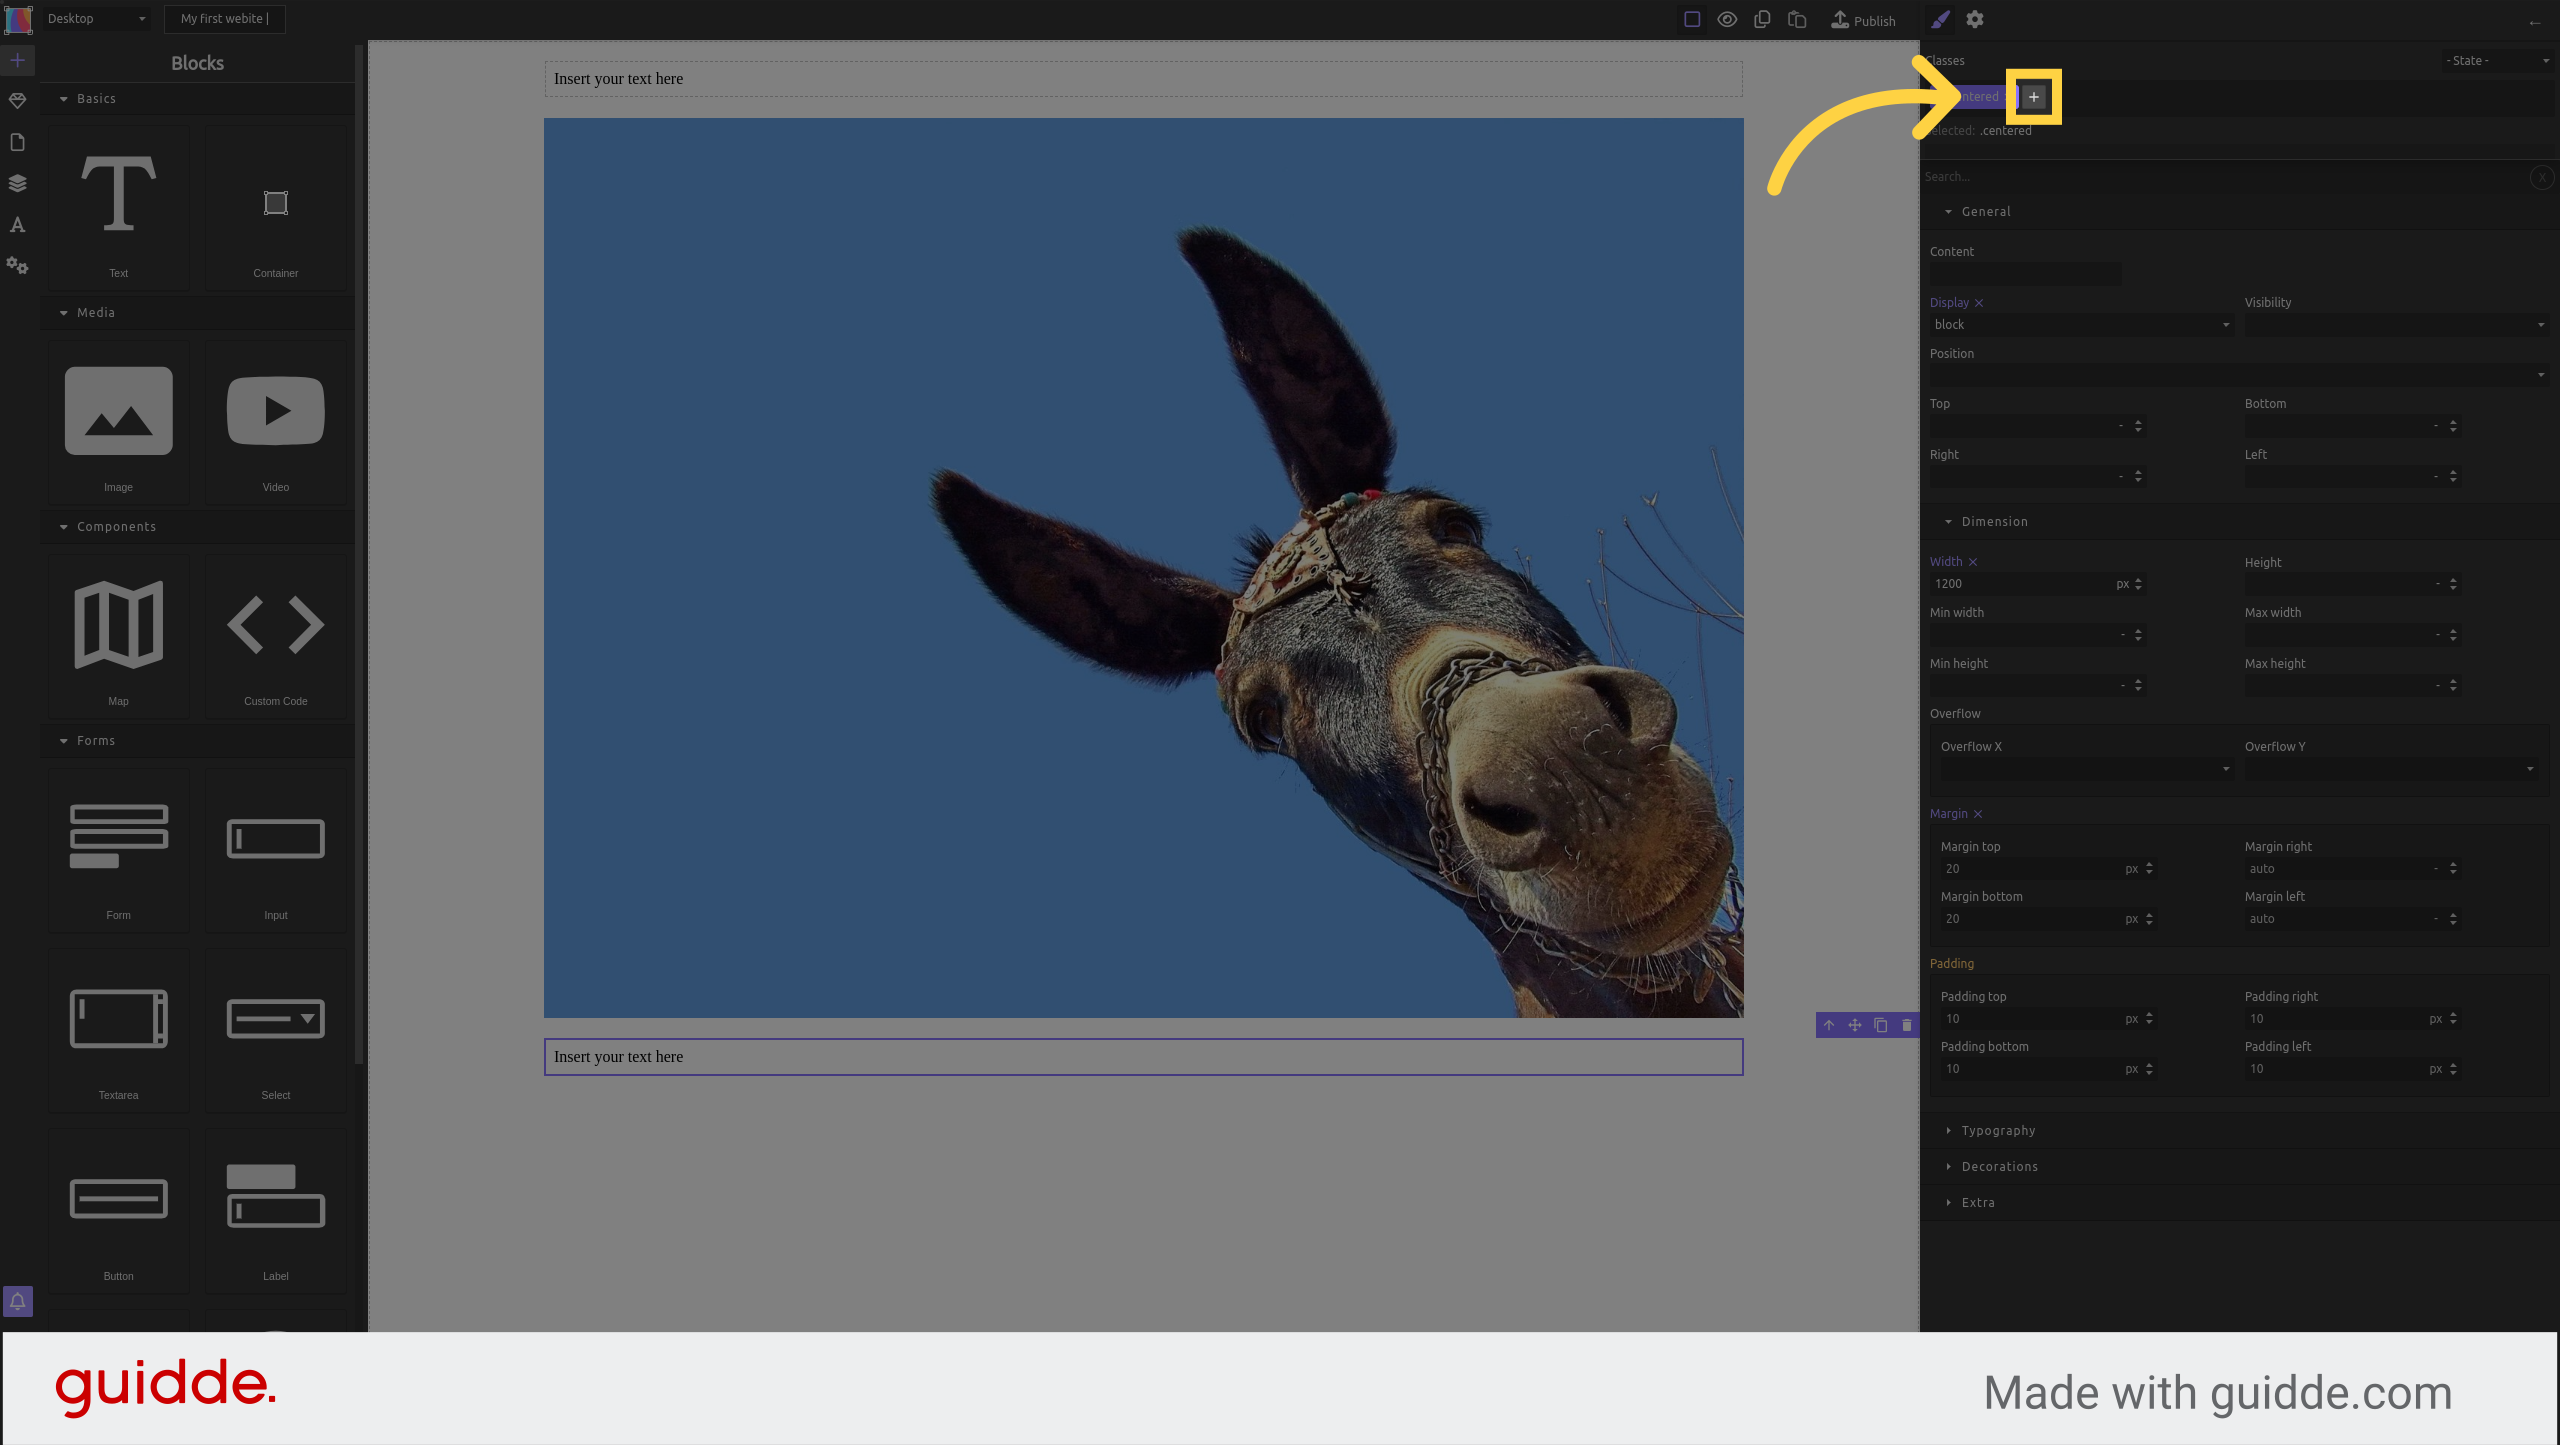
In "general" set the "display" to "block", this will apply the margins "auto" to the image.
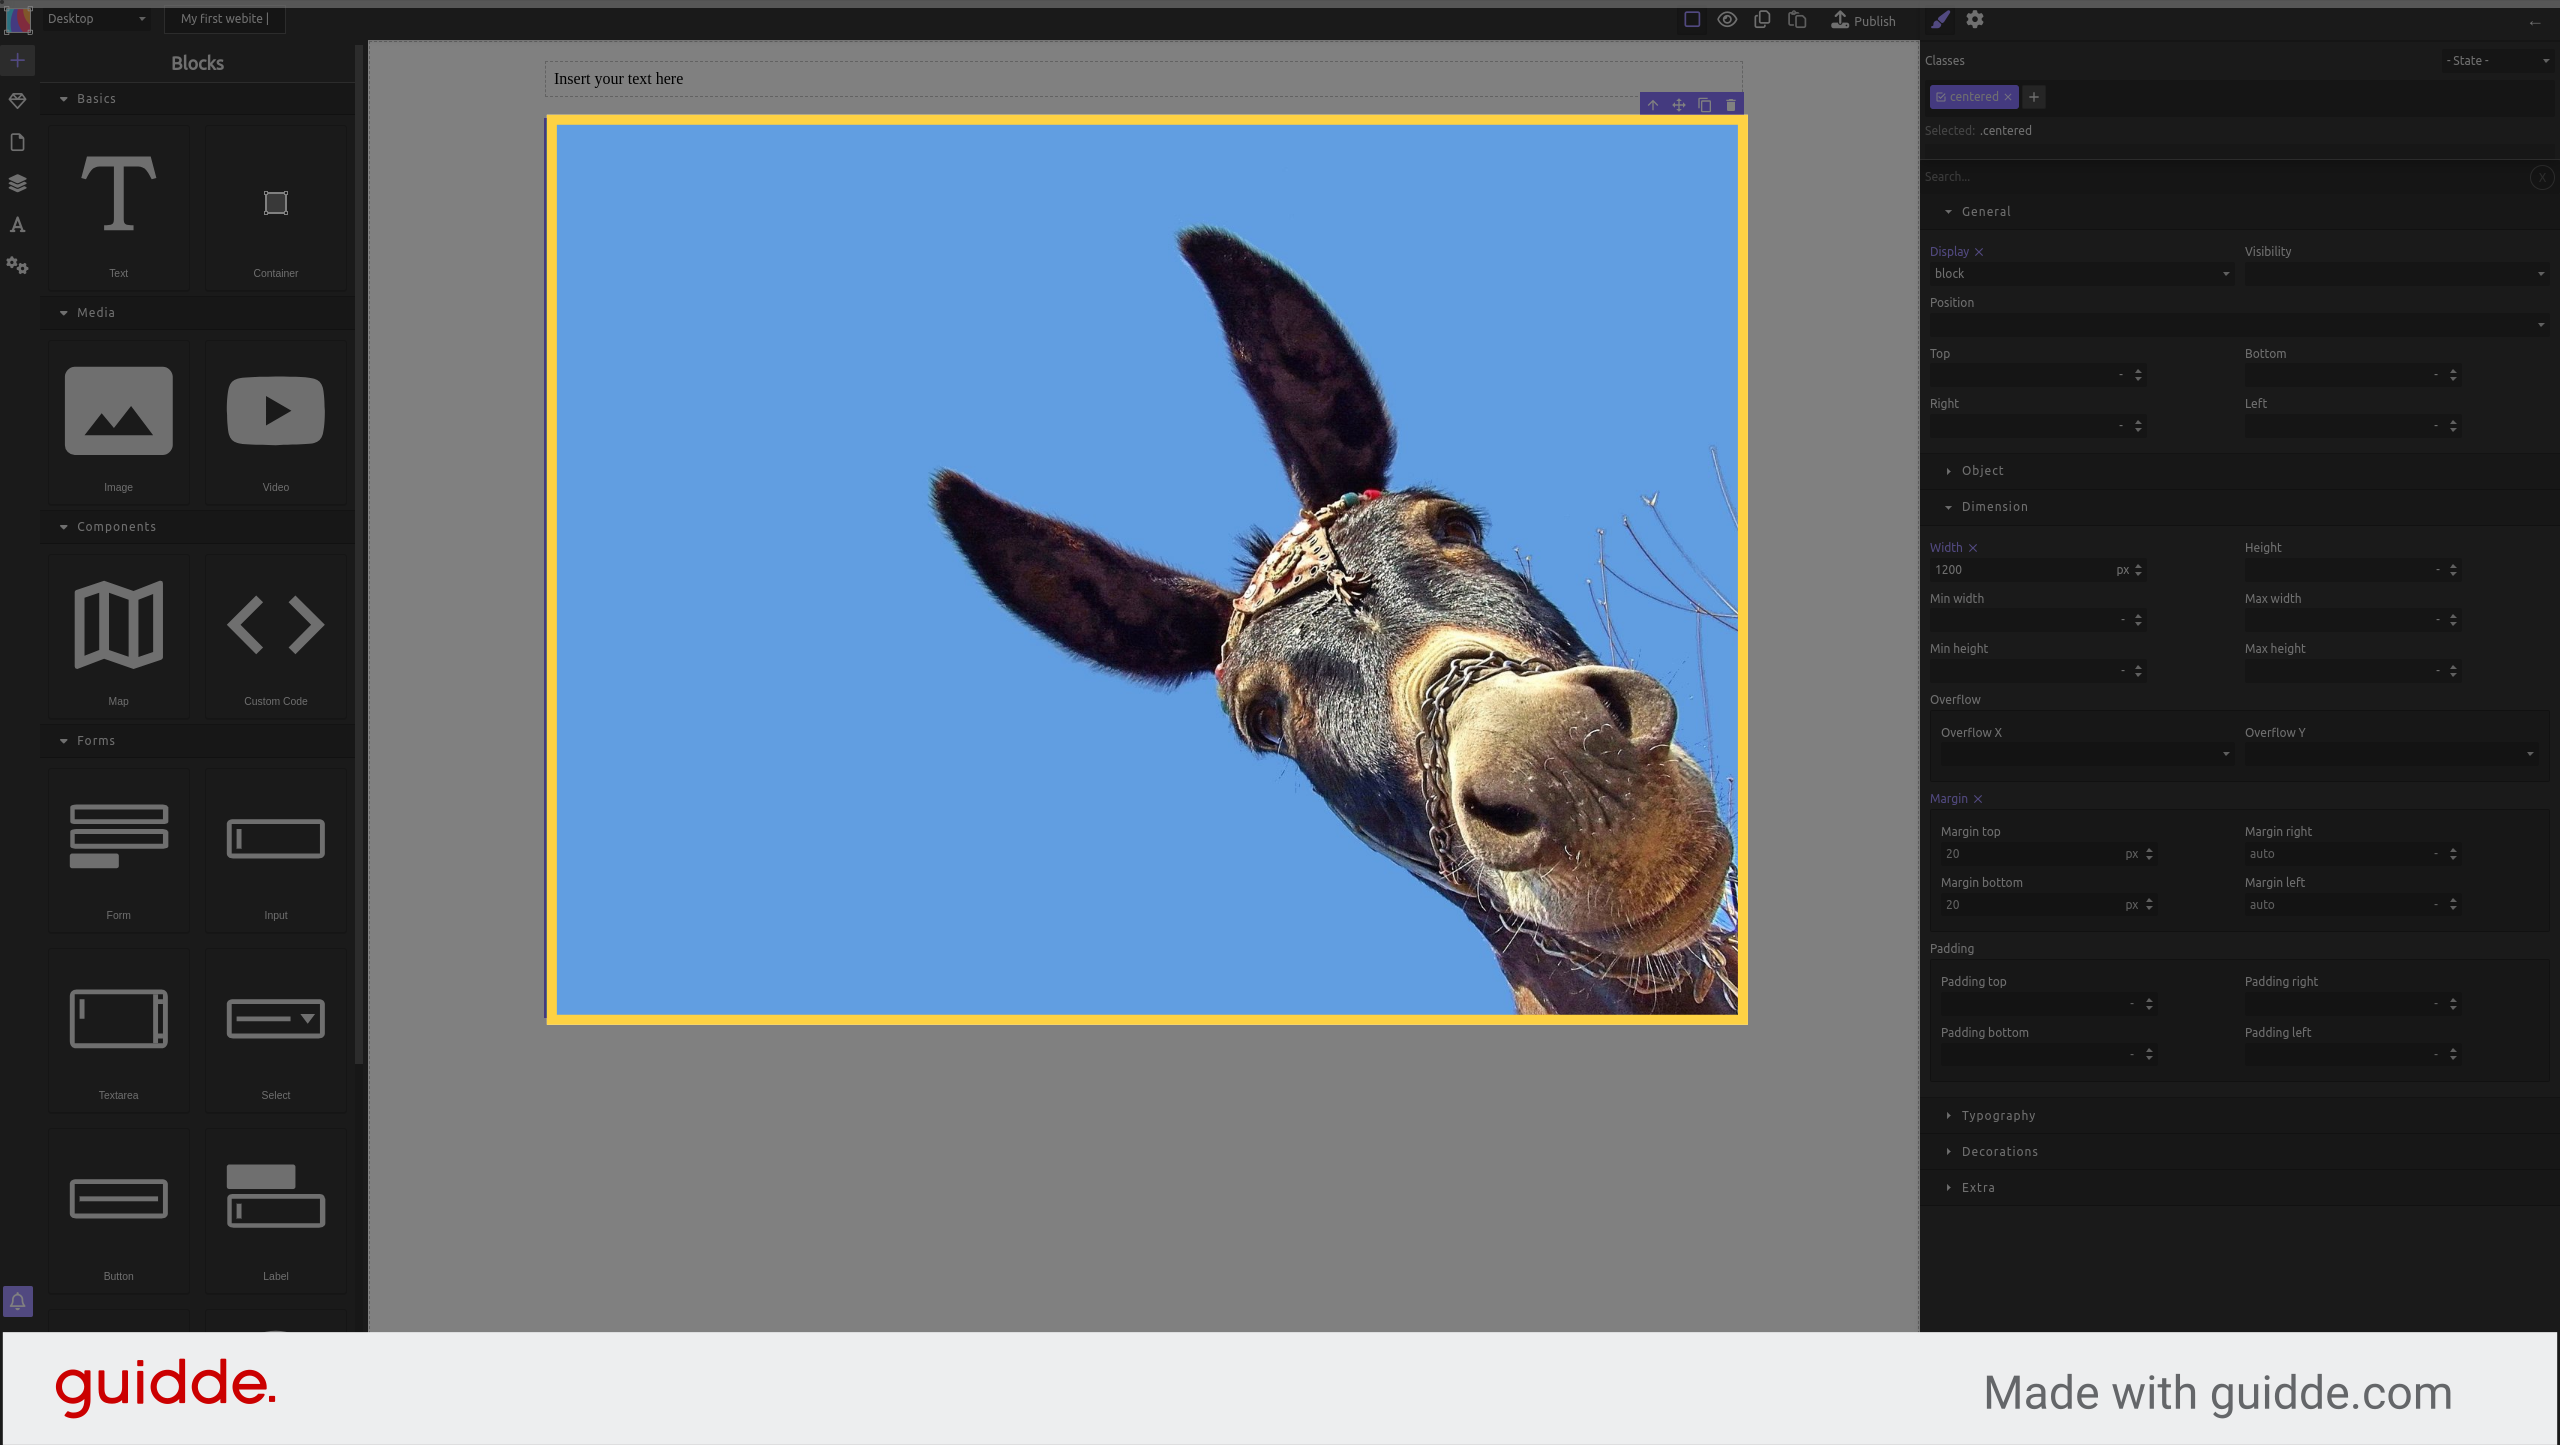
As you can see, the image is now centered
¶ Use multiple CSS classes
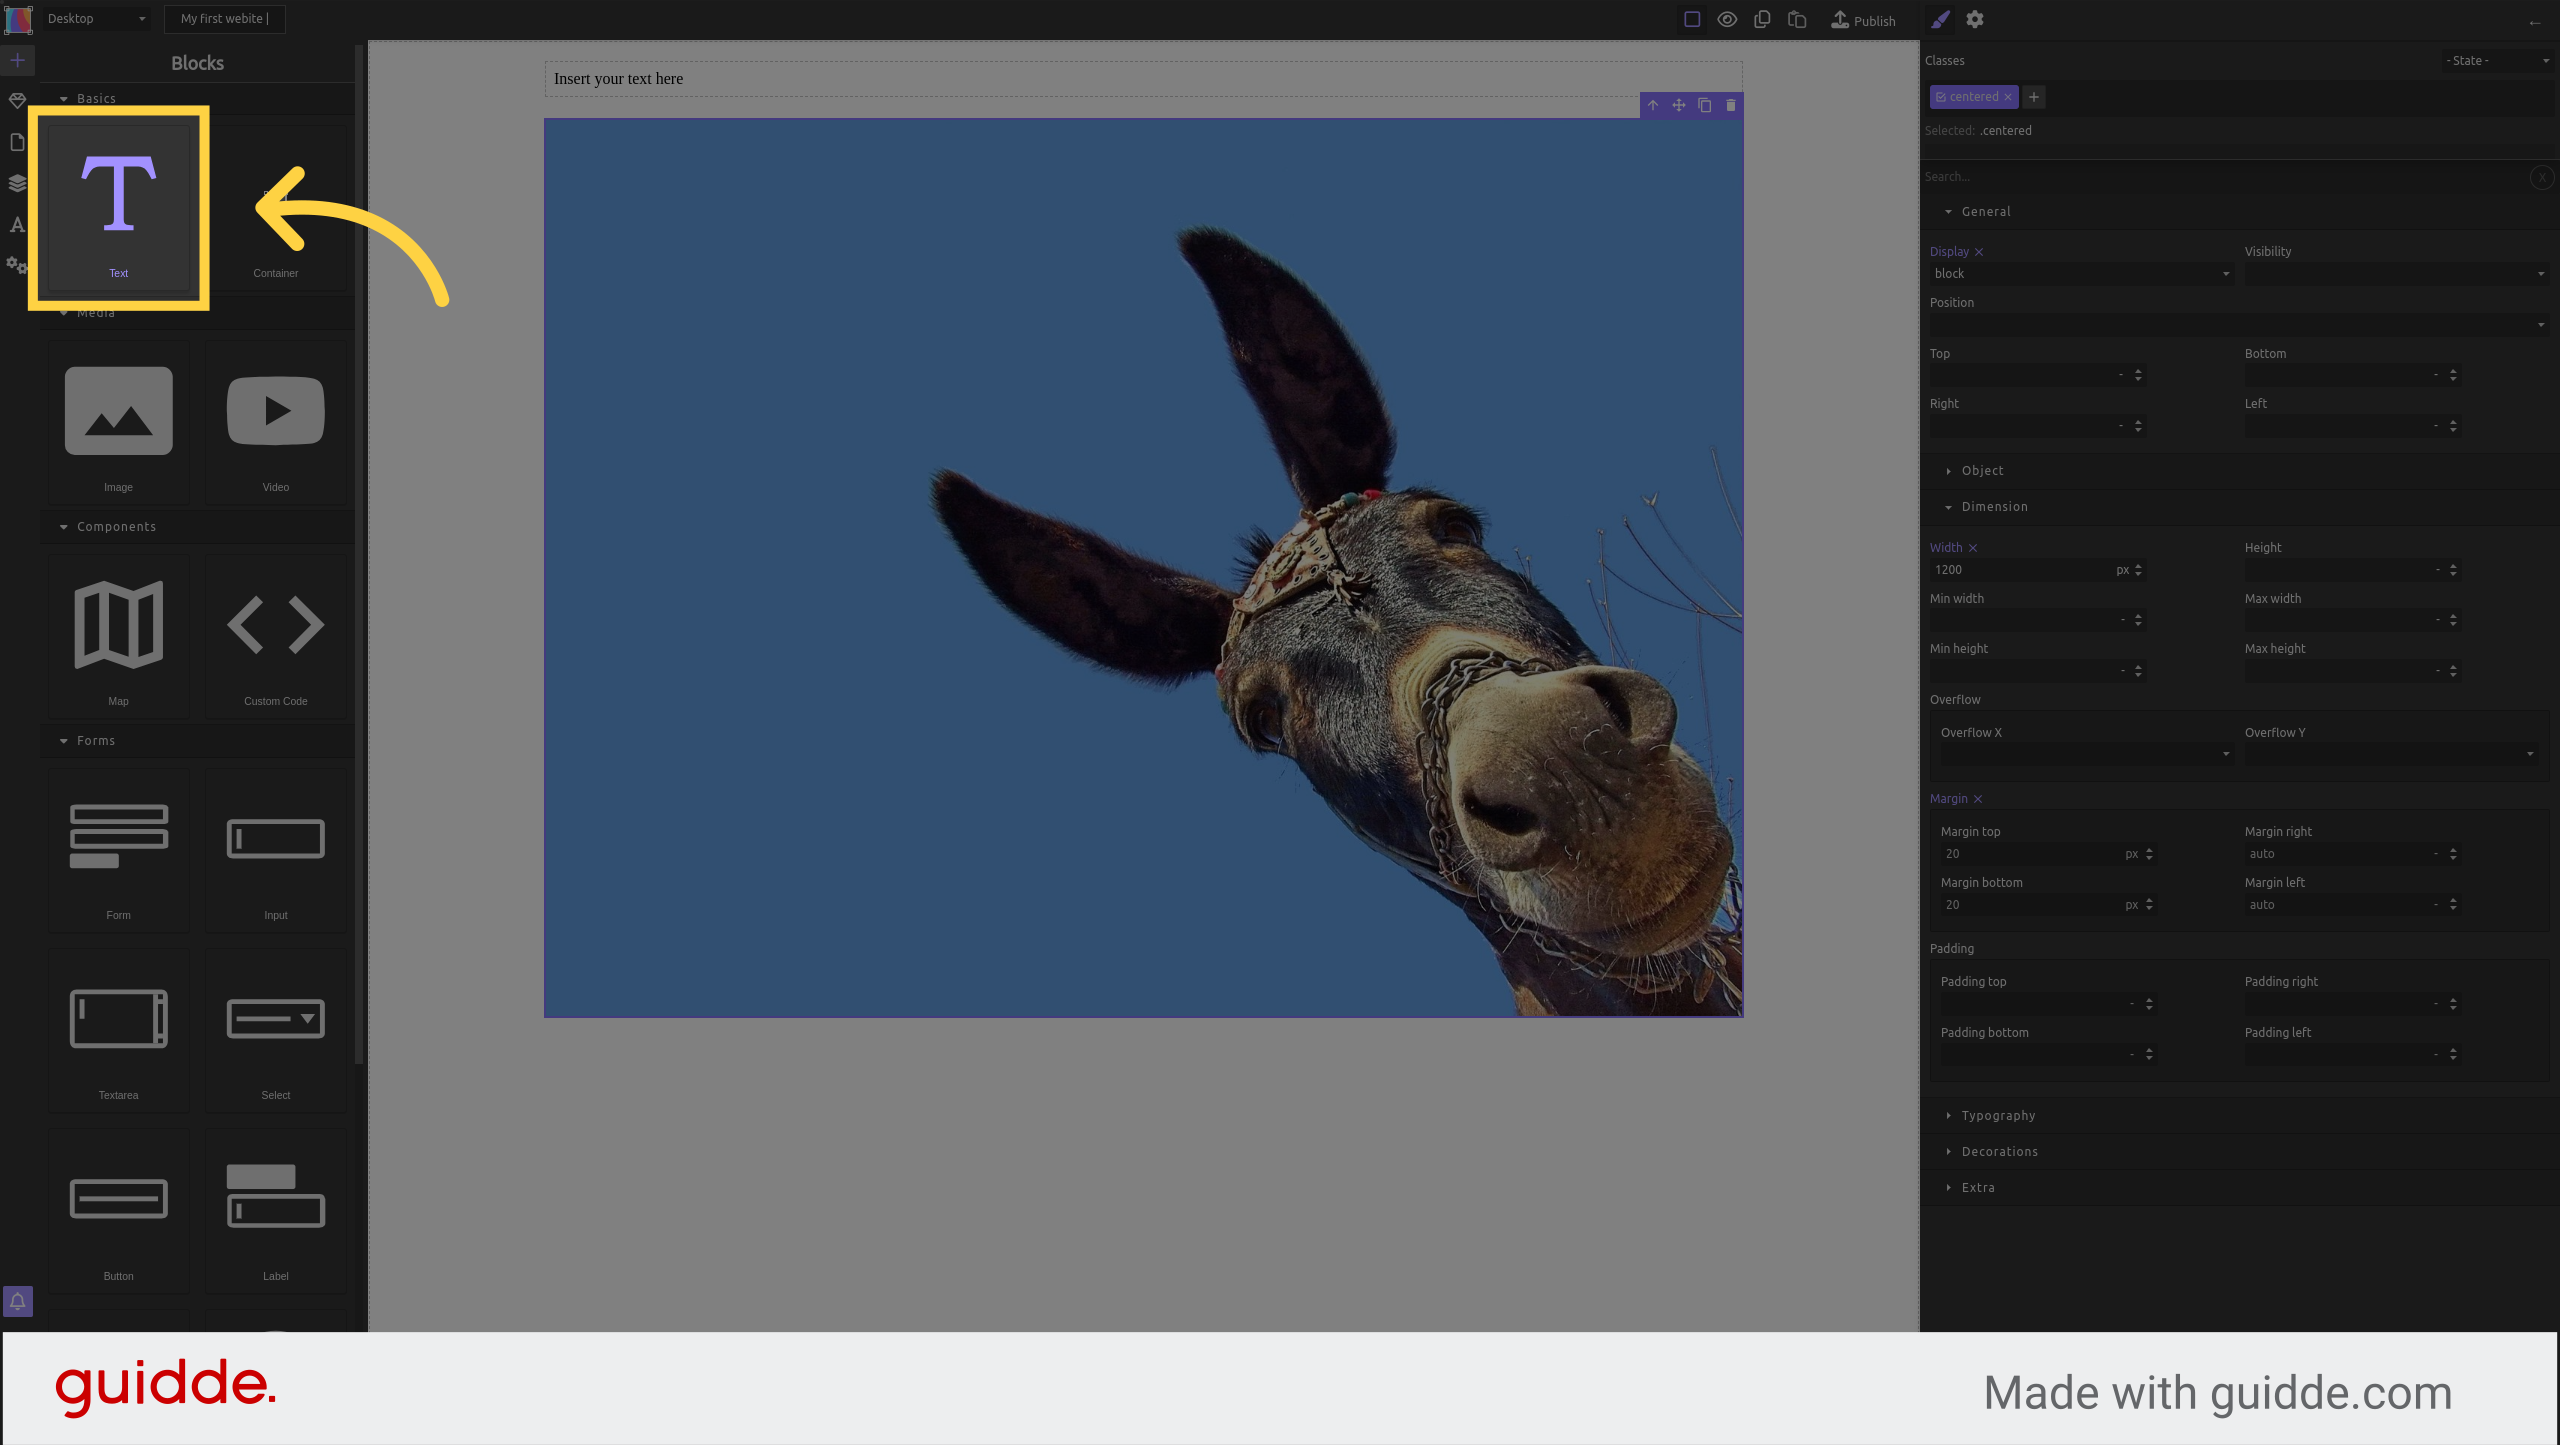
Add a new text field
Again apply the CSS class "centered" to it
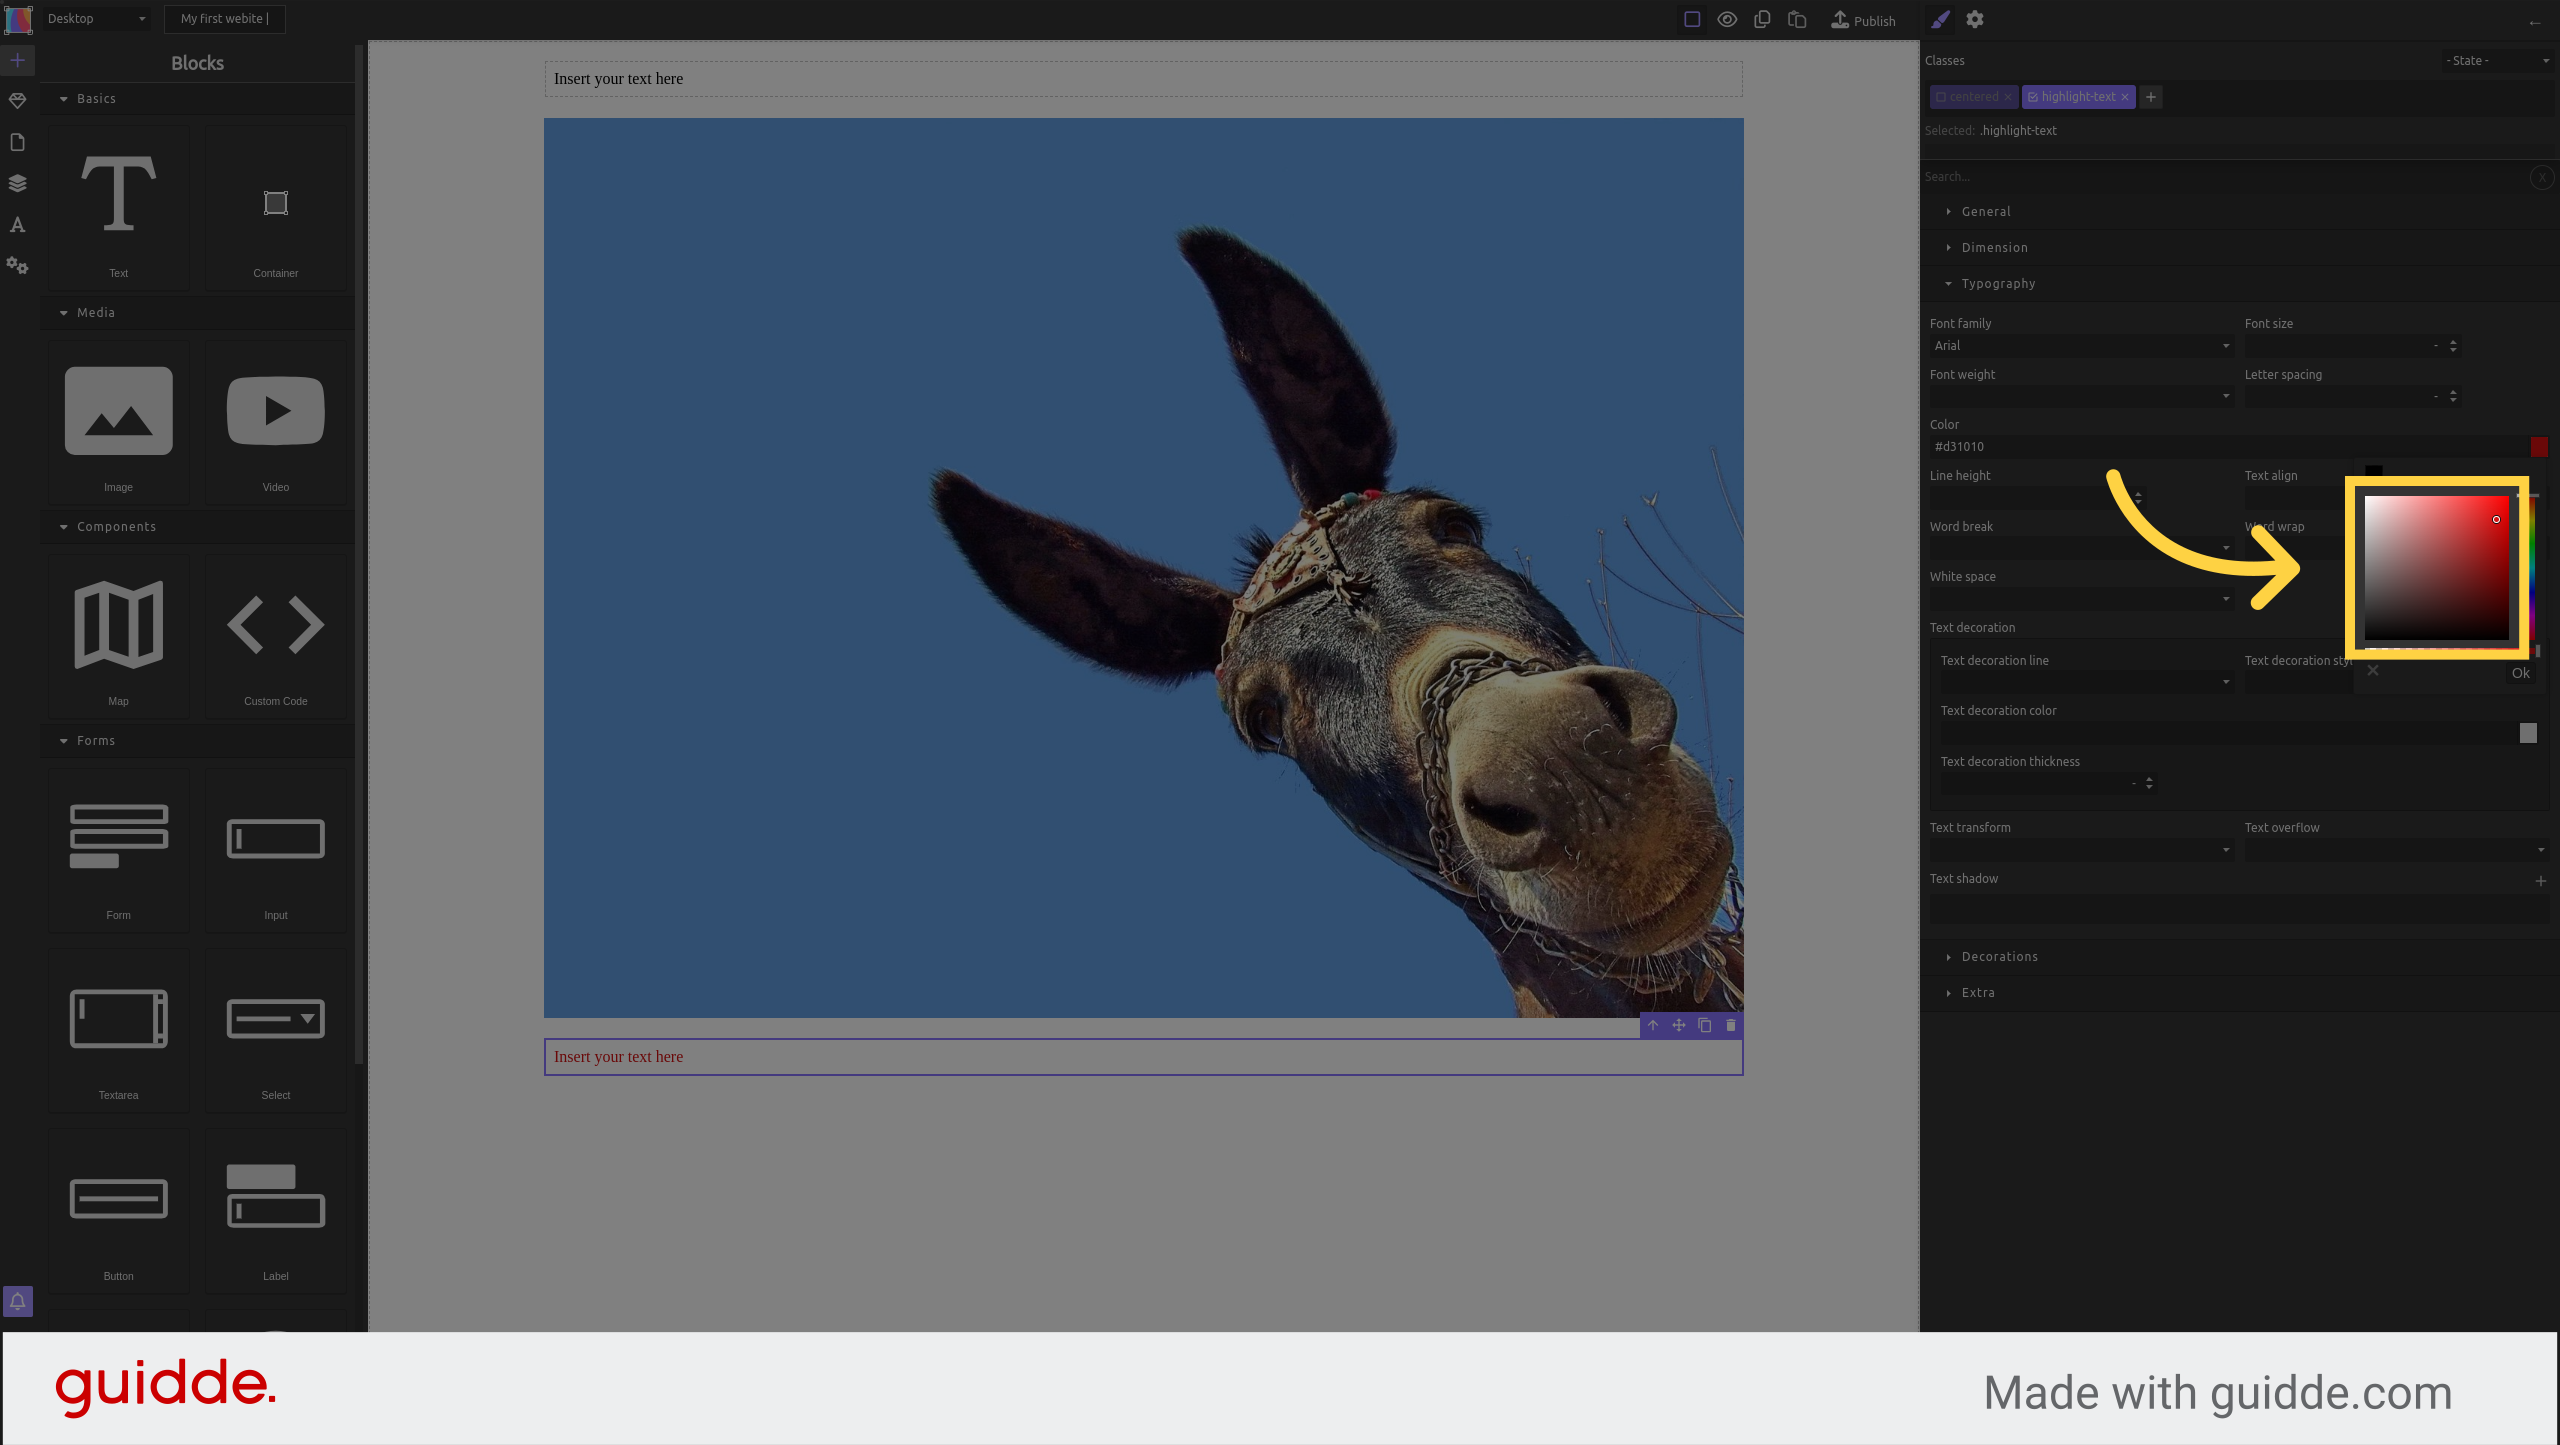
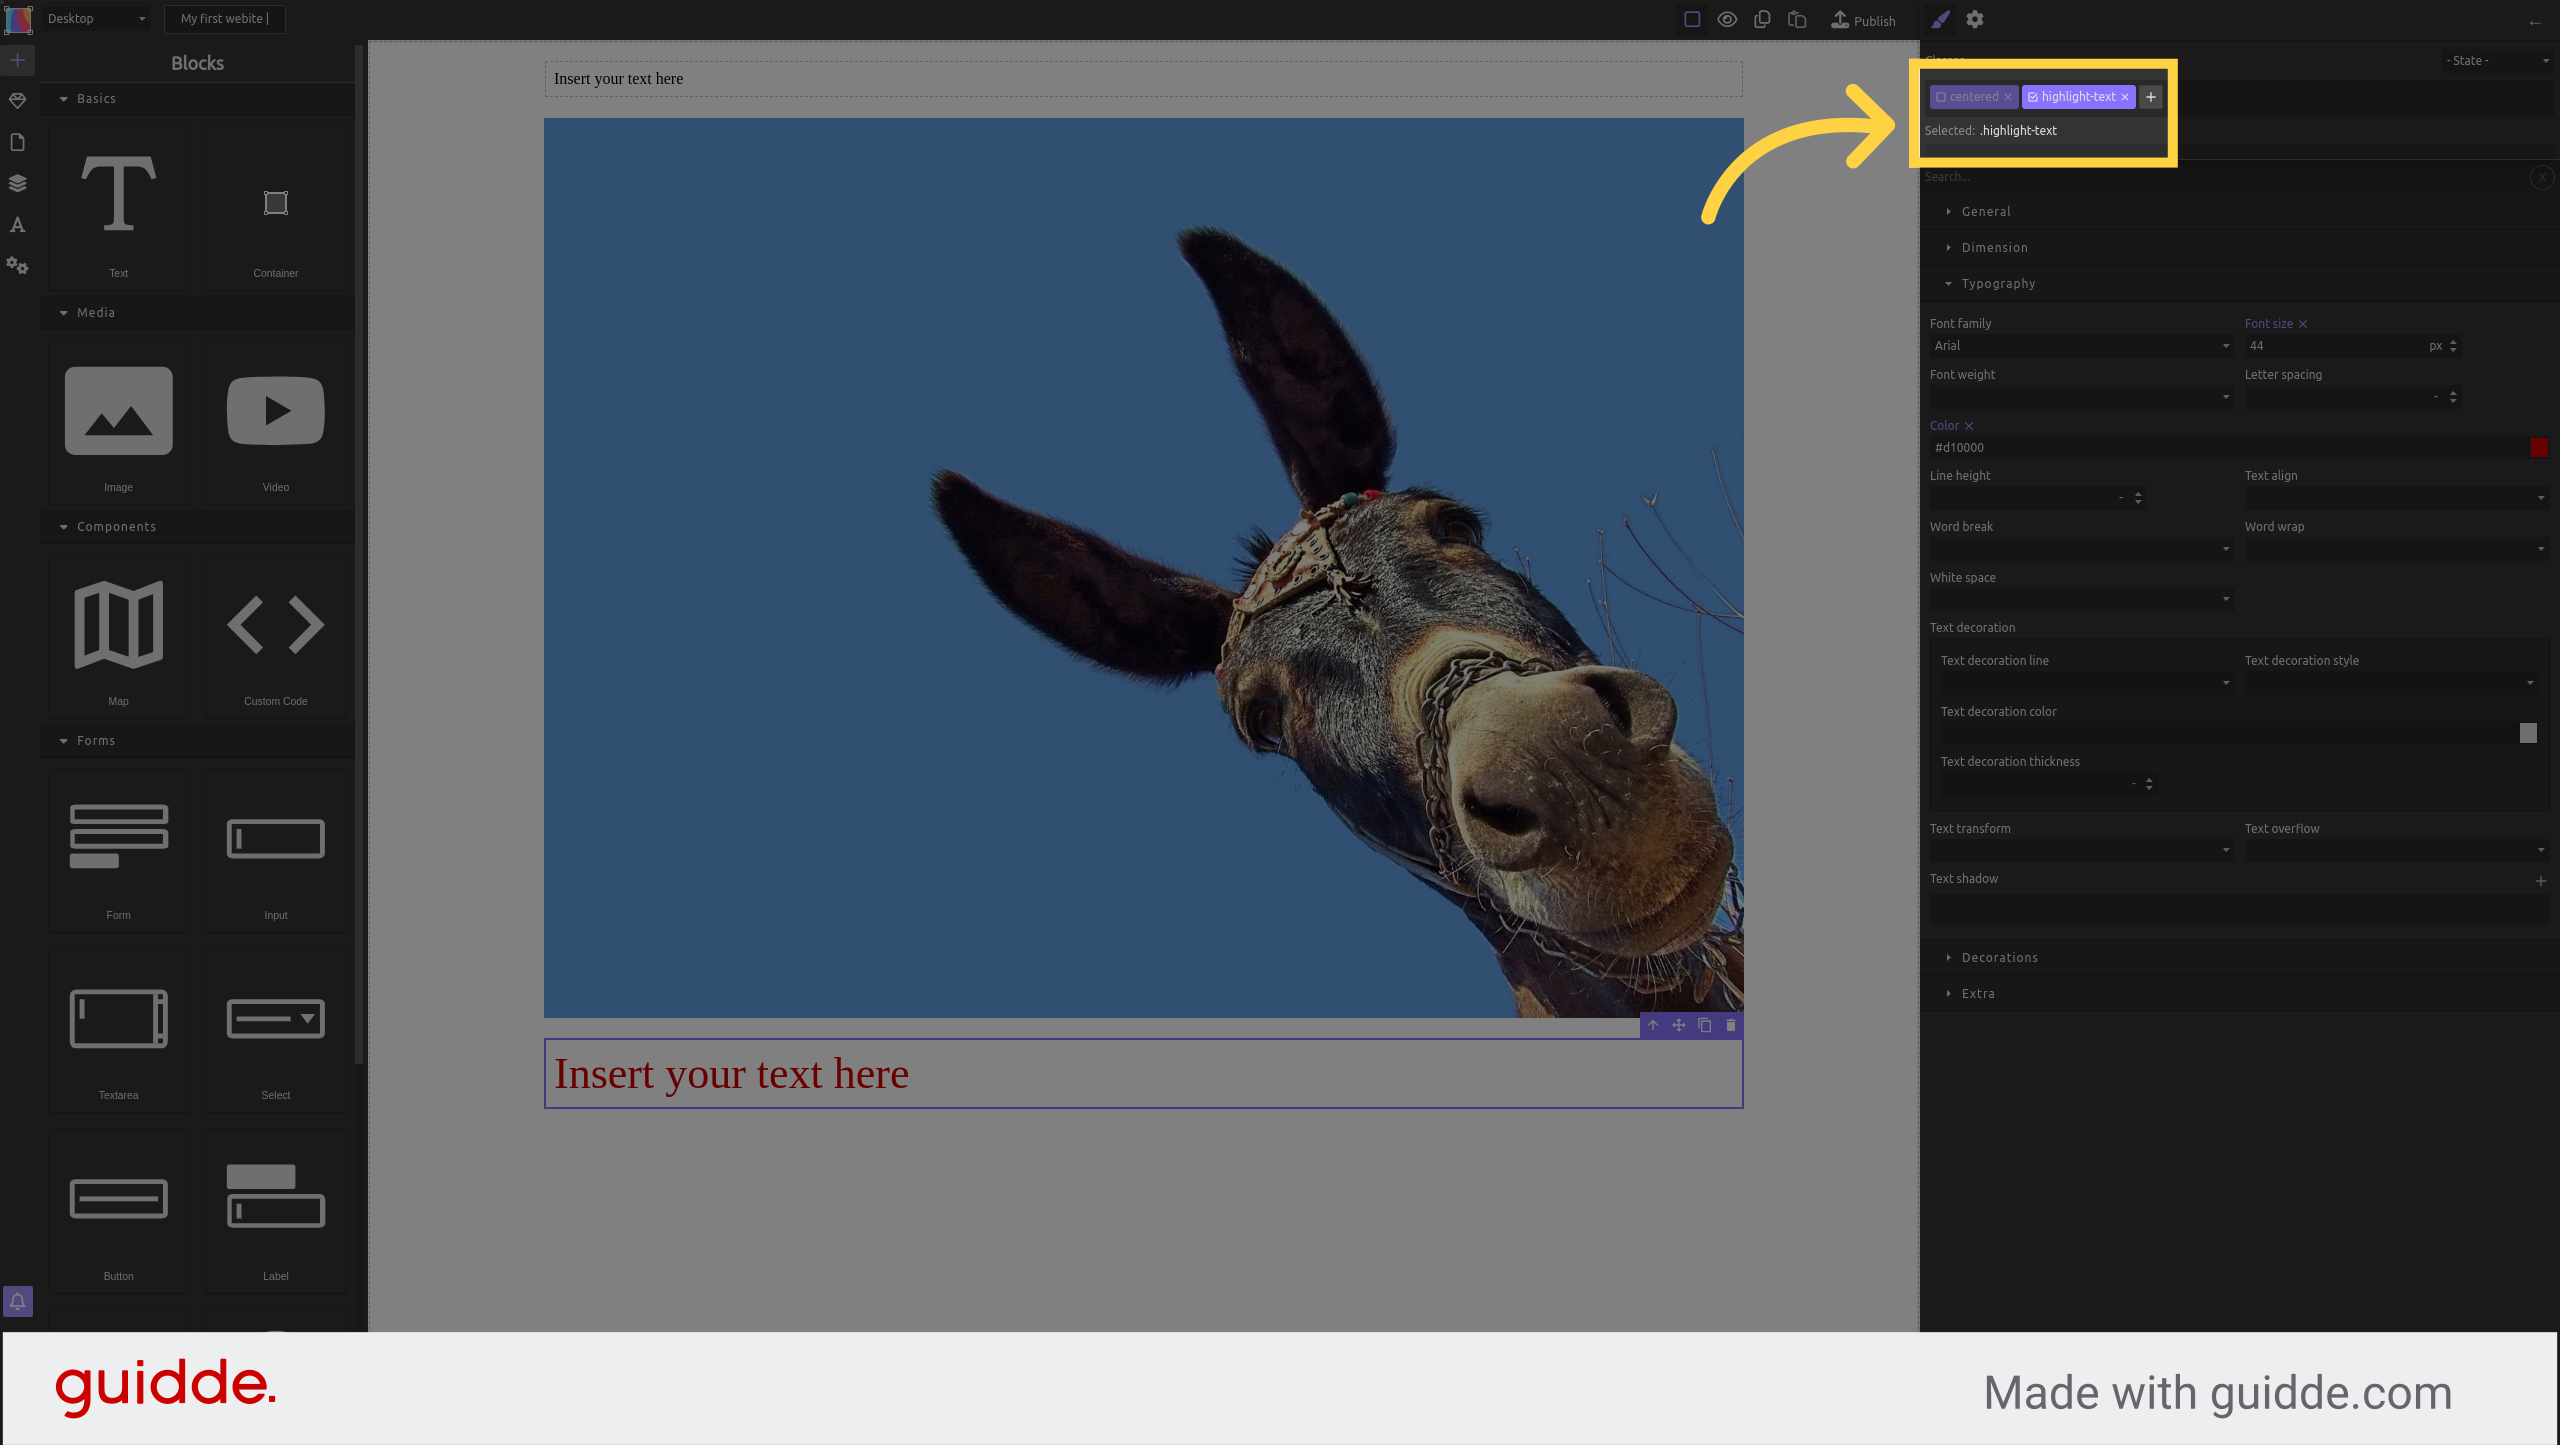
Create a CSS class and call it "highlight"
In "typography" set the text color to red
Make the font size bigger, e.g. 40px
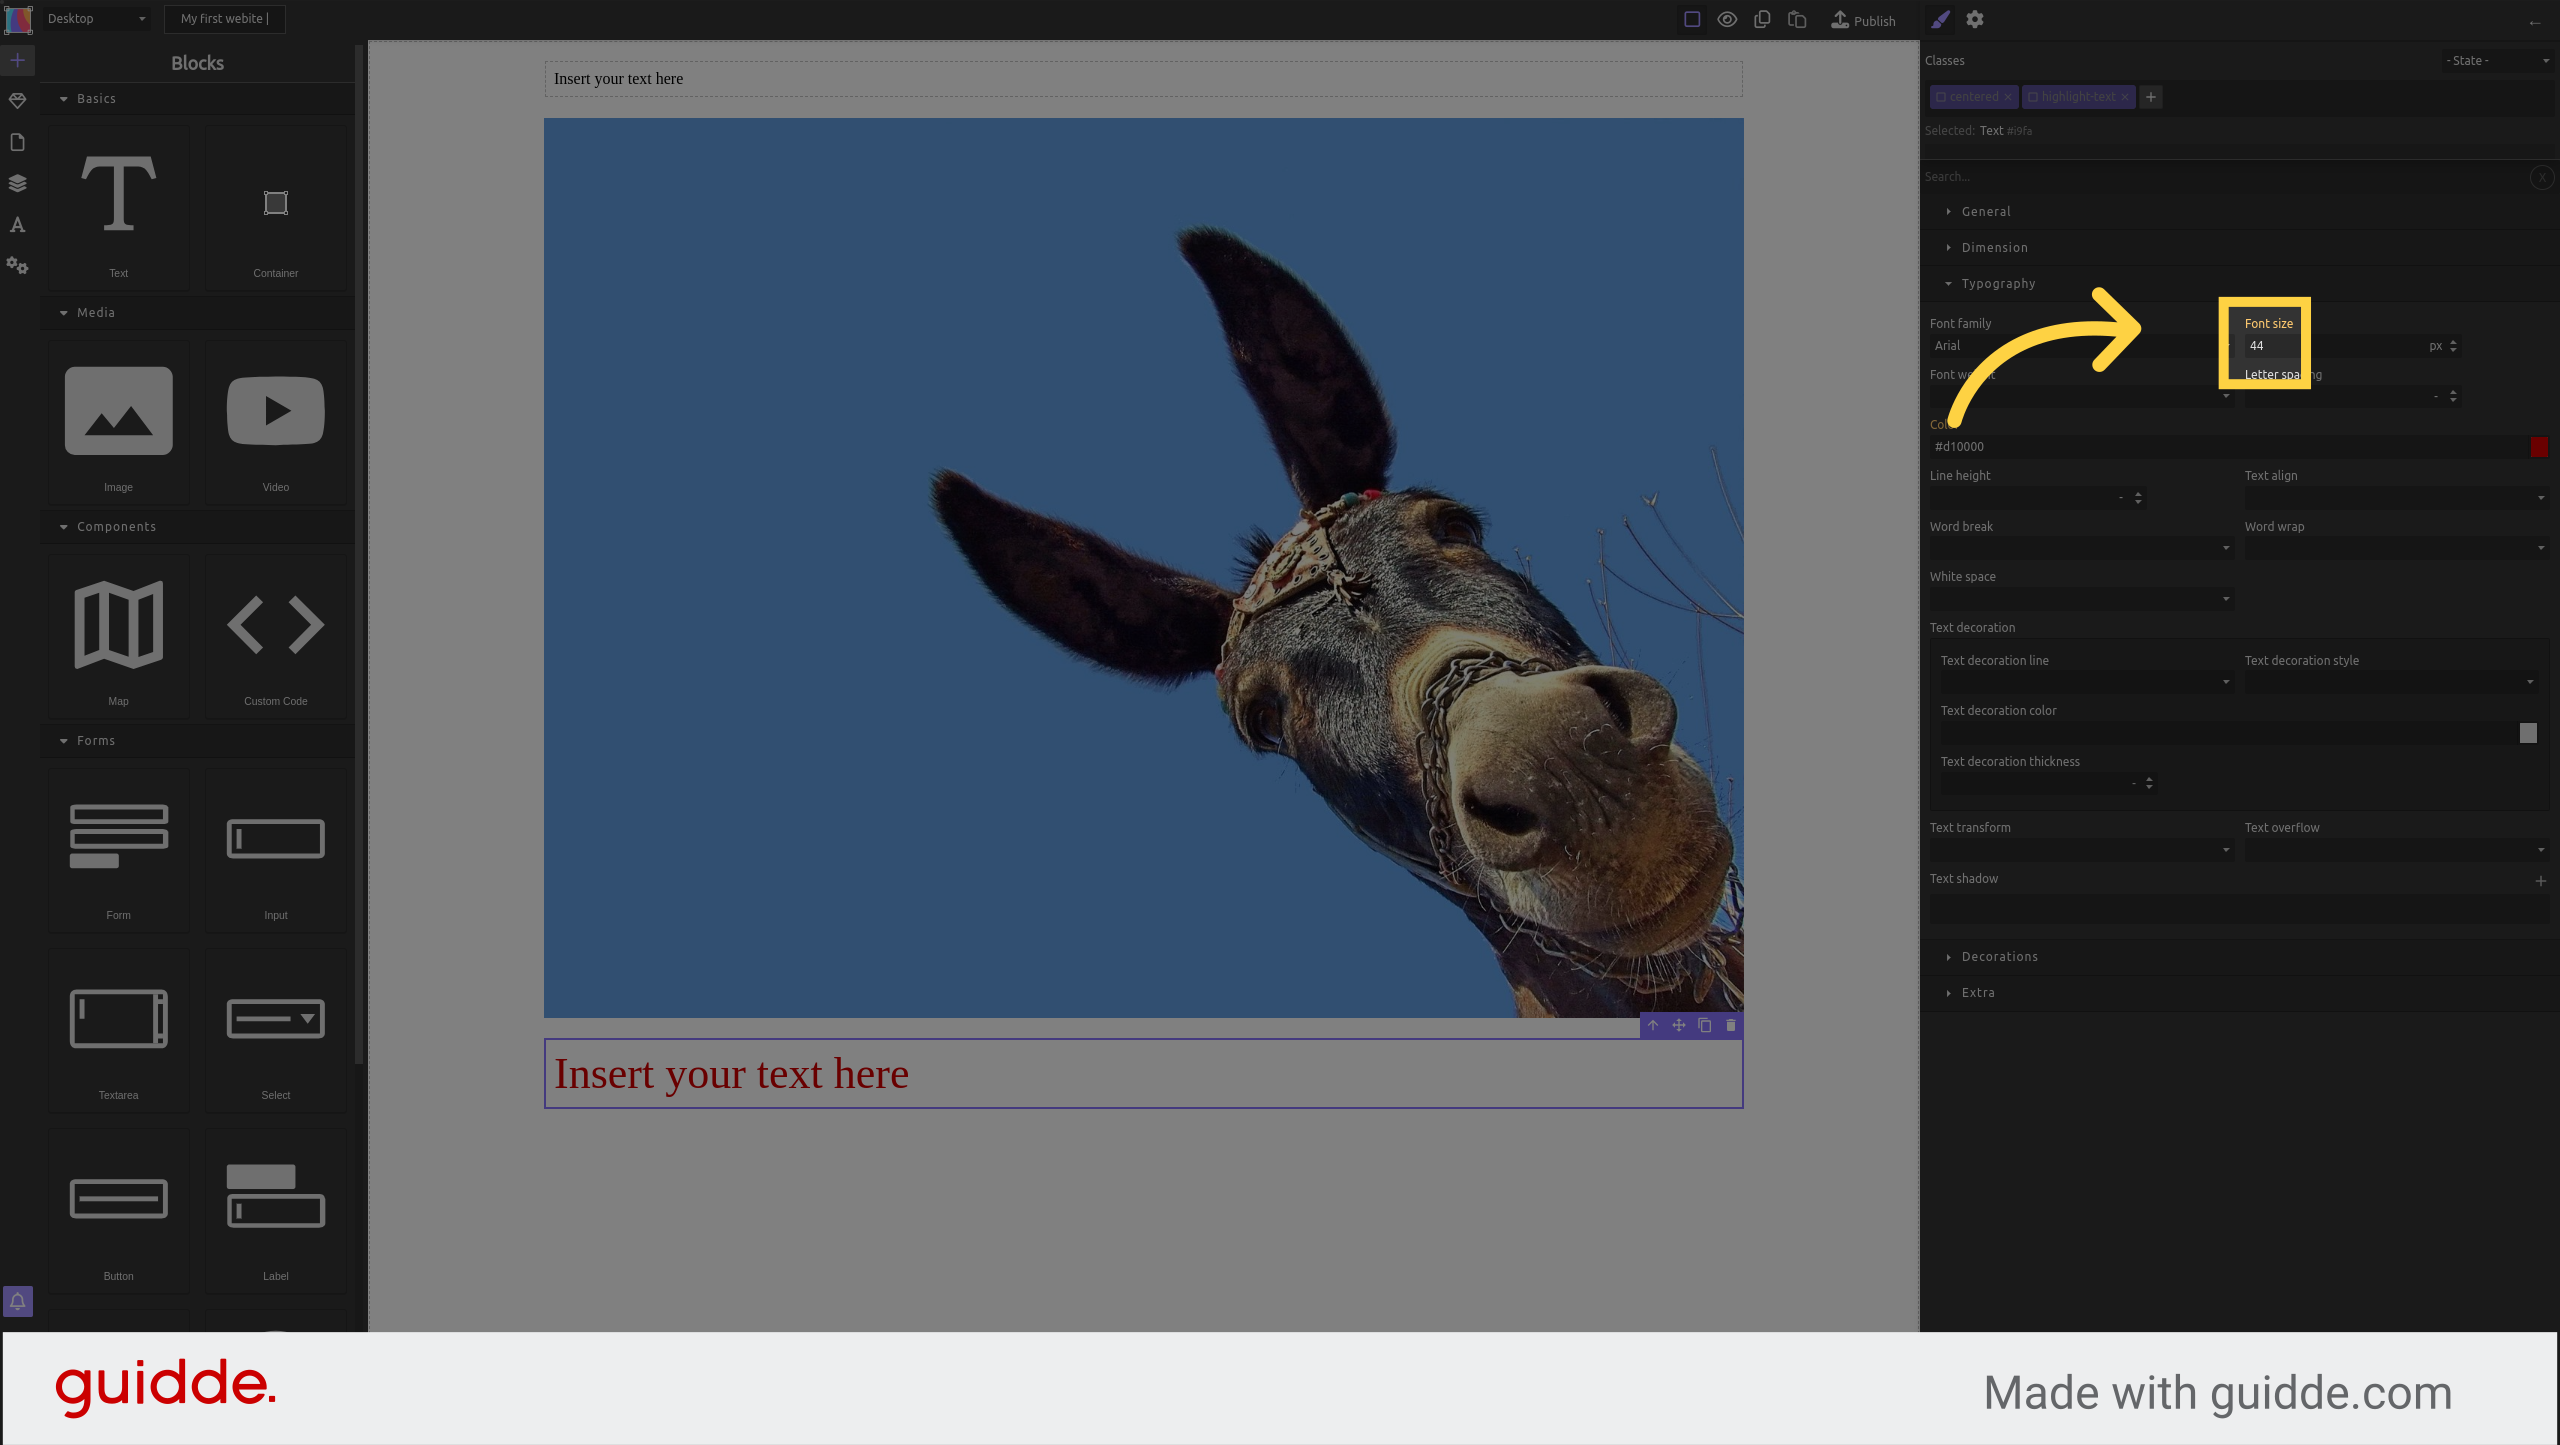
You are editing the styles of the class "highlight" only
If you activate the class "centered" with its check box then you will edit the styles for ".centered.highlight"
This guide delves into advanced CSS class styling in the Silex application. From selecting elements to filling in specific values, you've learned how to elevate your design skills through precise and engaging instructions.